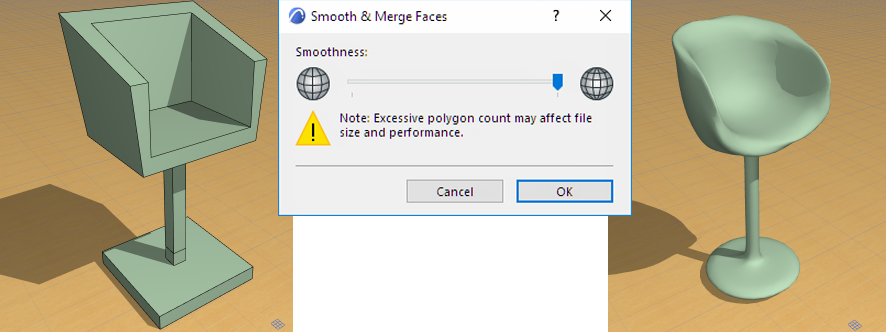
Transforming Morphs: Smooth & Merge Faces
Use this command if you have done a basic angular-shaped model, and wish to achieve a more rounded effect with just one click.
Smooth A Non-Solid Morph
For example, we start with the following hollow Morph.
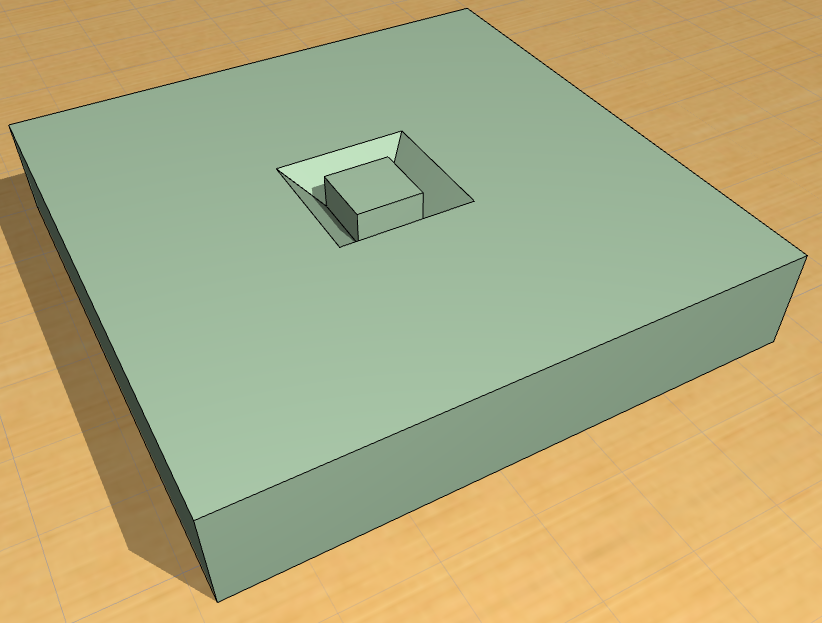
To achieve a smoother effect:
- Select the Morph or a sub-element.
- Use Design > Modify Morph > Smooth & Merge Faces.
- The Smooth & Merge Faces dialog box appears.
Since the current (non-solid) Morph has outer boundaries (edges that are not adjoined by any faces), you can choose how to treat these boundaries:
- Smooth boundaries means that the bounding edges of the selected element(s) or sub-elements will also take part in the smoothing:
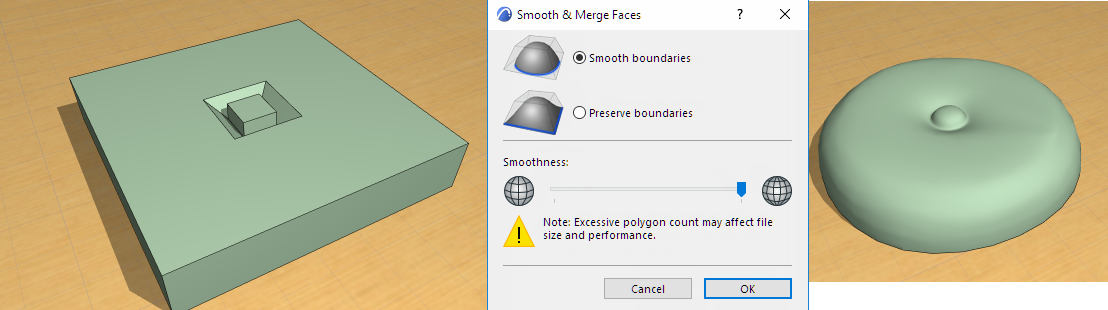
- Preserve boundaries means that the bounding edges of the selected element(s) or sub-elements will stay intact, and only the inner parts are smoothed.
- Subdivision level: Use the slider to adjust how much triangulation (subdivision) you wish to achieve. Be aware that a higher subdivision level, used on complex or multiple Morphs, can lead to a high polygon count that can affect model size and performance.
Smooth a Solid Morph
With a solid Morph, you have no free-hanging edge boundaries, so all selected parts take part in the subdivision: