Save 2D Elements as Label
Use this function to create your own symbol Label, consisting of any combination of symbols or custom text, including Autotext.
- Use the Text tool to place a Text box.
- Insert the desired text.
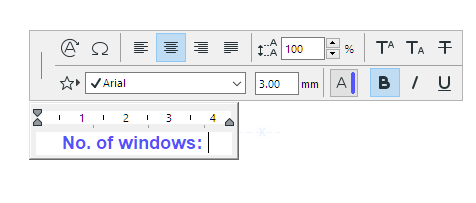
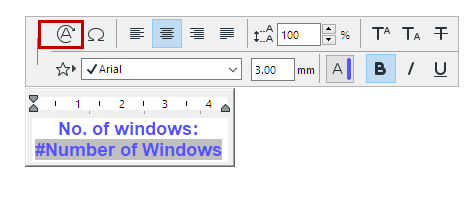
Use Autotext as needed to display element-specific information (e.g. #NumberofWindows).
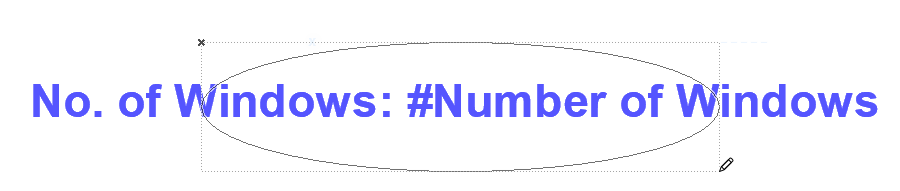
- If the Label should have a frame, use a 2D tool (e.g. Line tool) to create a frame of any shape around the text.
Tip:
- If the label contains Autotext, consider the estimated size of the resulting Autotext value (e.g. number of digits or length of expected text), and draw the frame accordingly.
- It may be a good idea to make the centerpoint of the text block and the frame element coincide, and to use a center anchor point for the text block.
- Select all the 2D elements.
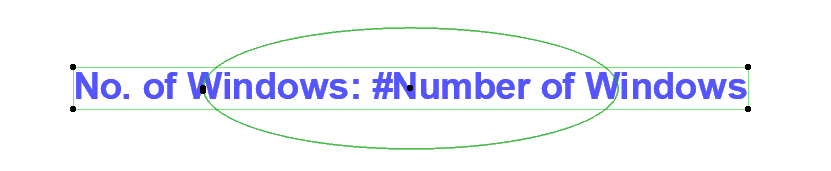
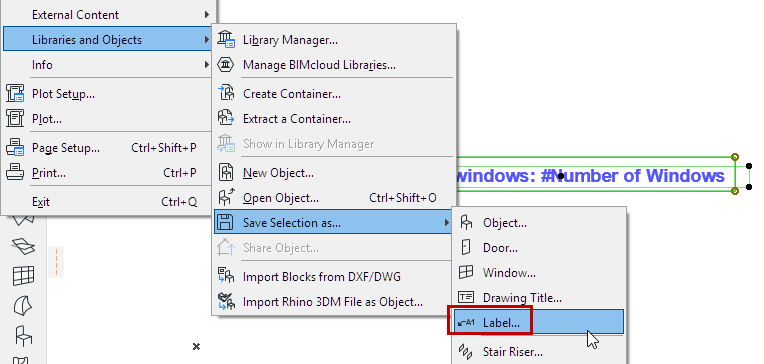
- Use File > Libraries and Objects > Save Selection as, and choose Label.
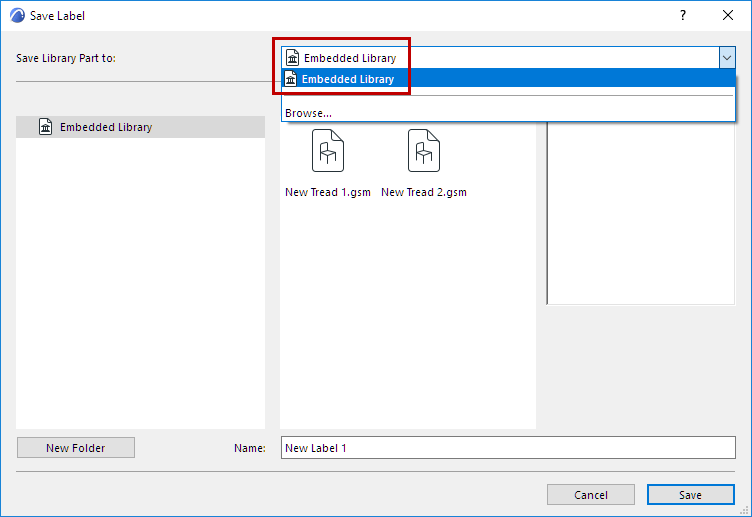
- In the Save Label dialog which appears, enter a name and choose the desired folder location for the object:
- The Change Label’s Basic Settings dialog box appears. Here, you can define the new Label’s Fills and Pens. Even after placing the Label, you can further fine-tune these attributes in Label Settings.
To add information to the new Label (for example, keywords to make it easy to search for), click Change Details at bottom left.
- Click OK to close the dialog box.
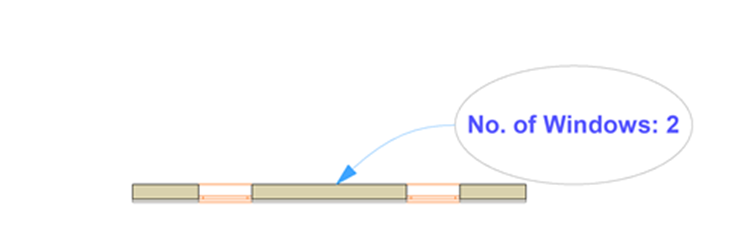
- Place the new Label. If associated to an element, its Autotext information is shown as applicable.
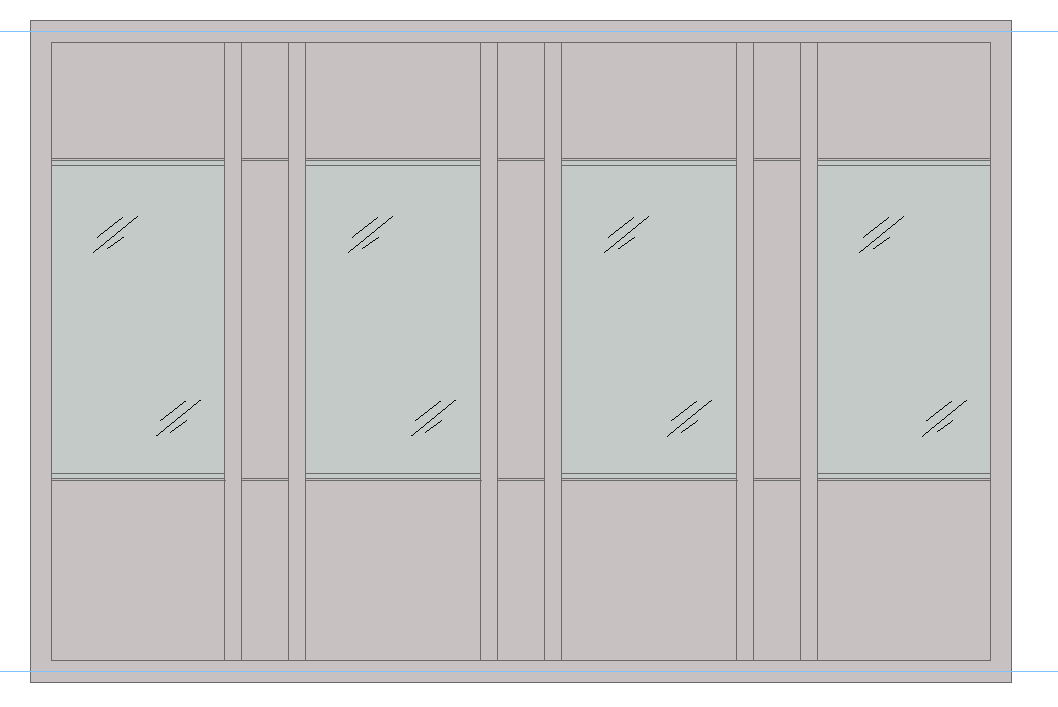
Example: Fixed Glass Symbol Label
In this example, the custom label consists of a simple line drawing to indicate fixed glass. This label has no frame.
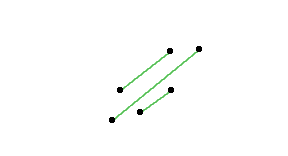
It is applied to all the fixed-glass panels of a Curtain Wall (using Documentation > Annotation > Label Components of Selected Elements).
See also Labeling Curtain Walls.