Place a Beam
Before placing a Beam, go to Beam Settings to adjust its core geometry, height, positioning and end cuts.
To place a Beam, choose one of Geometry Methods (input methods) from the Info Box.
Single Beam
- Choose the Single Beam method from the Info Box.
- Click twice to place each end of the Beam.
- In the 3D window:
- Snap the endpoints to existing elements
- Click Shift to constrain input to an editing plane.
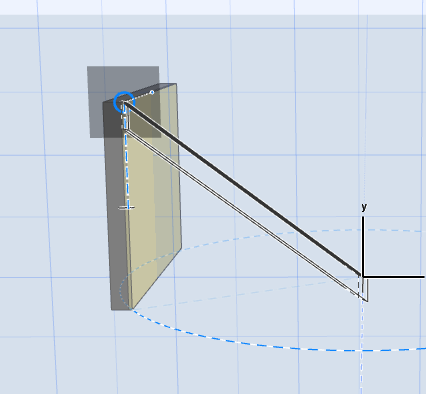 Note: If the Beam already has a defined slant angle (in Settings or Info Box), the slant angle prevails, regardless of the constraint.
For a slanted Beam: see Create a Slanted Beam.
Chained Beam
- Choose the Chained Beam method from the Info Box.
- Click in succession to place segments of a chained Beam.
This input method is analogous to creating a chained Wall.
In the 3D window:
Rectangle/Rotated Rectangle Beam
Choose one of these methods from the Rectangle Beam icon’s pop-up:

Horizontal Curved Beam
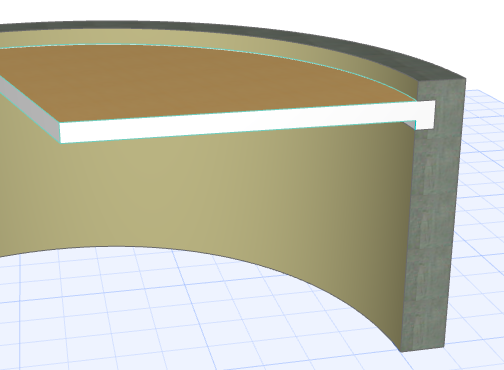
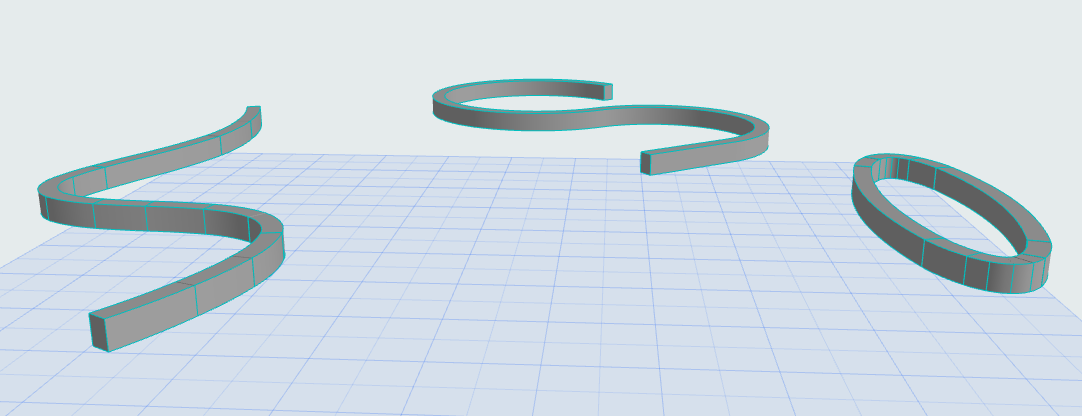
To create a horizontally curved Beam, do one of the following:
Curved Beam Input from Info Box

Choose one of the three curved input methods. These methods are analogous to creating a curved Wall.
See Create a Curved Wall.
Other Ways To Create Horizontal Curved Beams