Customize Roof Plane
For a Multi-plane Roof, you can customize any of its planes so that its surfaces, eaves overhang, and pitch are different from the Roof Settings in effect for the roof as a whole.
To open the Custom Plane Settings dialog box:
- Select the Roof.
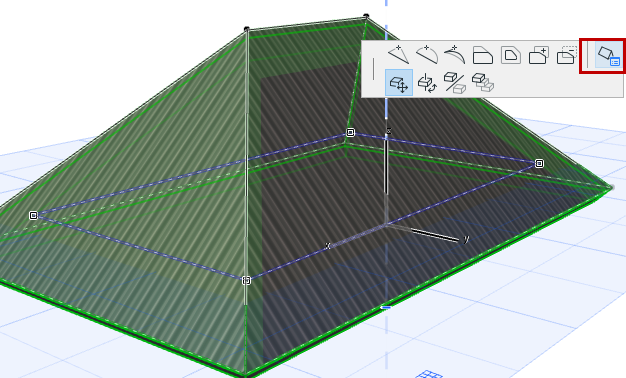
- Click the pivot line of the roof plane which you want to customize.
- From the pet palette, choose Custom Plane Settings:
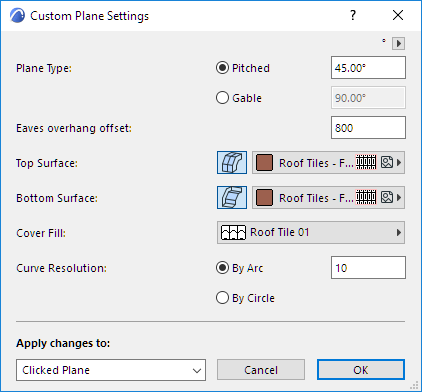
Here, set one or more of the following custom settings:
Apply Changes
Apply changes to: Choose to apply the custom settings to:
- Clicked Plane (this is the default)
- Clicked Level (all planes of the current Roof Level; this is meaningful only if you have a multi-level roof.)
See Add Roof Level.
- All Planes
Custom Values in Roof Settings
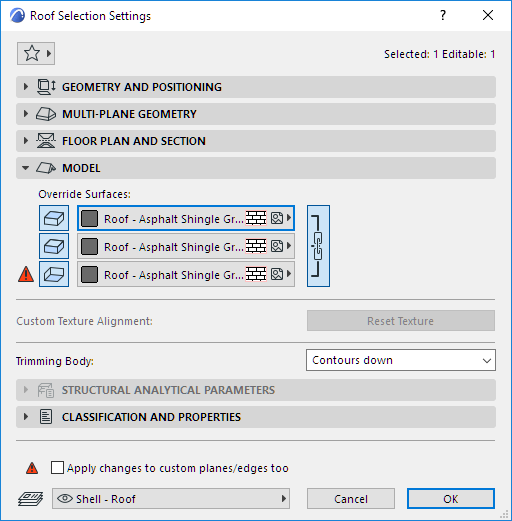
In Roof Settings, the values shown for roof pitch, eaves overhang, surface and/or curve resolution will not change, because they reflect the settings of the roof as a whole.
However, a yellow patch appears next to those controls for which at least one roof panel or edge has a different, customized setting.
If you later change the one of these values in Roof Settings while the dialog box is still open, the yellow patch (indicating “custom plane”) gets a red shadow. This means that a Roof plane setting is going to change: Do you want to apply this change to your customized plane too? If so, check the box at the bottom of Roof Settings (Apply changes to custom planes/edges too). If you do not check the box, your custom planes remains the way you set them.