Create a Worksheet Drawing with Model Source
To create a Worksheet with its source in the model, place a Worksheet marker in any of the following windows: Floor Plan, Section/Elevation/Interior Elevation, Worksheet or Detail.
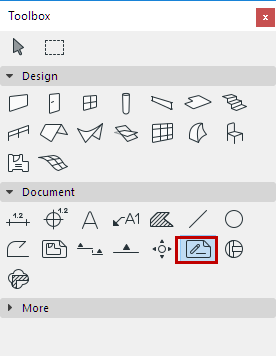
- Activate the Worksheet tool.
- In the Info Box or Default Settings, make sure that “Create new Worksheet viewpoint” is selected.
- Choose any of the geometry methods from the Info Box.

- Capture Screen input method: Use the single-click method: The first input method in the Worksheet info box. Choose this icon, then click anywhere in the active project window. You will create a Worksheet based on the entire contents of the window.
- Area-based input method: Use one of the polygonal or rectangular/rotated rectangle geometry methods to define the Worksheet area.
- Draw the Worksheet boundary and click to complete.
- After drawing the Worksheet boundary, click with the hammer cursor to place the Worksheet Marker.Note: Source-type Worksheet markers are distinguished on screen by an optional semi-transparent fill. (Use View > On-screen View Options > Highlight Source Markers to enable or disable this distinguishing fill for all source markers. The color of this highlight can be set in Options > Work Environment > On-Screen Options.)
- A new Worksheet viewpoint is created and listed in the Navigator Project Map.
To define the reference information displayed in a source-type Worksheet marker.
See Define Marker Reference for Source Marker.
Other information about the new Worksheet viewpoint - its Markers and Reference information - are defined in Worksheet Settings.