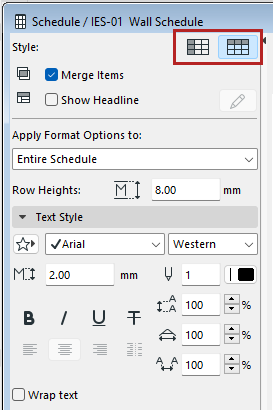
From the two Style buttons, choose to display the schedule fields by either rows or by columns.
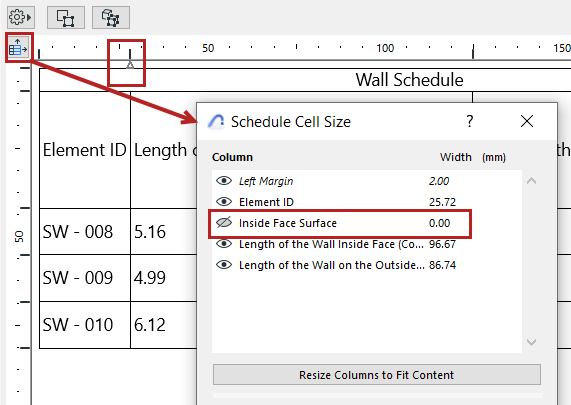
Hide rows/columns
Click the Cell Size Settings icon at the top of the schedule.
In the Schedule Cell Size dialog, do one of the following:
Use the eye icon to show or hide the Row or Column
Set Row height or Column width to zero
In the schedule, an arrow marks the hidden column or row.
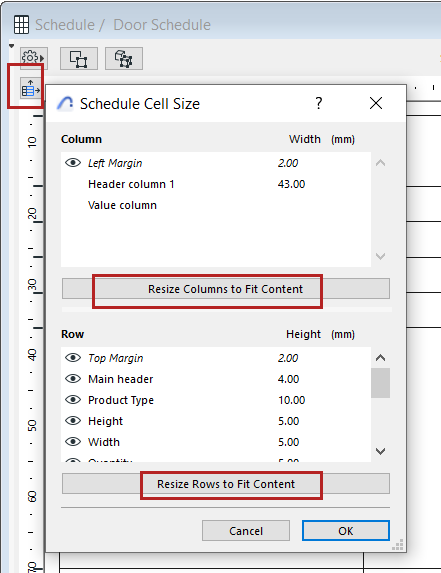
Resize rows/columns
Do one of the following:
Click the Cell Size Settings icon at the top of the schedule. Use the Resize buttons to automatically adjust rows and columns to fit the content, or enter width/height values as needed (multi-select available for the listed items).
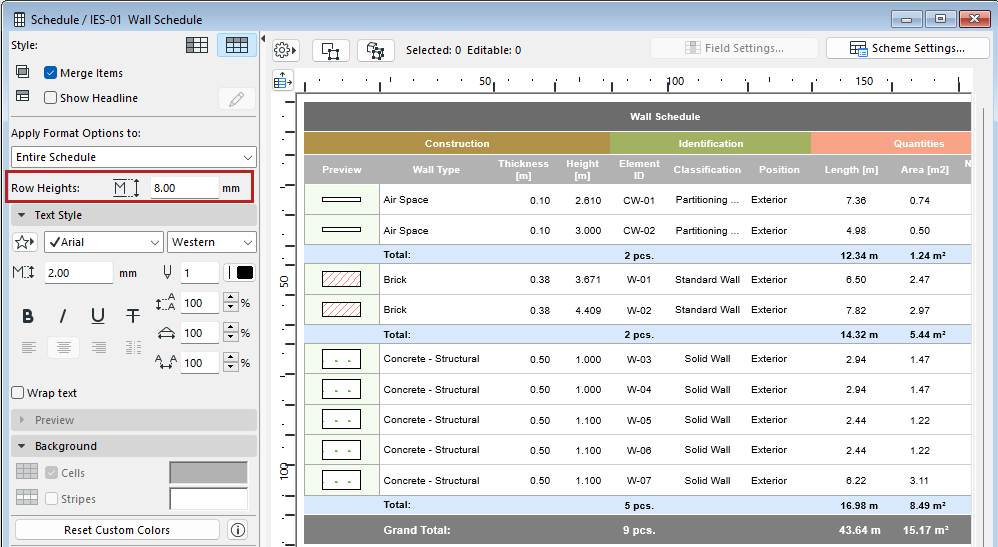
Set the Row Heights field in the formatting palette
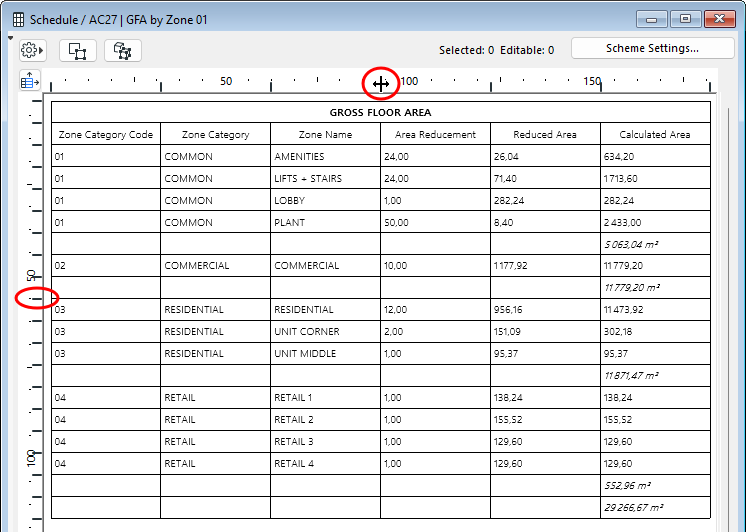
To adjust individual row or column heights, manually drag the cell boundaries on the top and left side of the schedule.
Double-click the row or column edge to fit its contents.Figure 1. Double-Click: Fit Width to Cell Contents
Adjust zoom/Fit to window
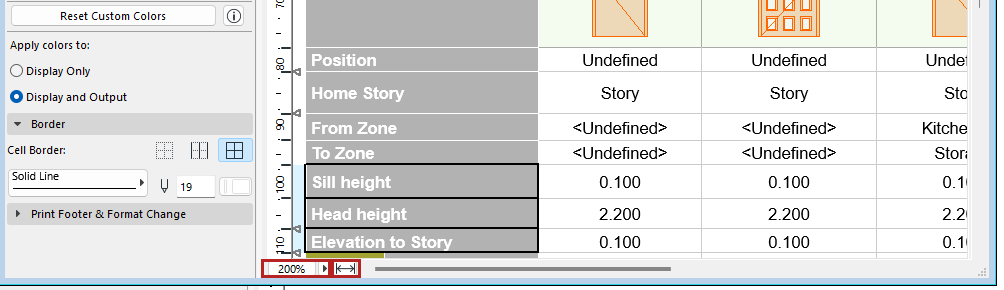
Use the controls from the bottom scrollbar:
Adjust the Zoom using the pop-up
Click the Fit to Width icon to fit the schedule to the current window