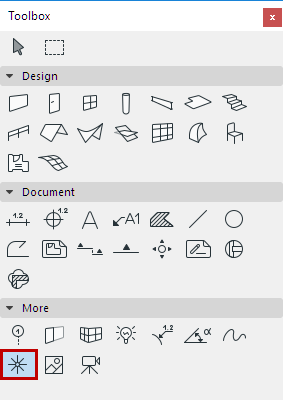
Hotspots are simple points indicated by a small cross. Their main role is
to help position elements in 2D views. Hotspots do not appear on printed and plotted outputs
and can be deleted when they are not needed anymore.
When you have made your Pen Color and Layer choice in the Hotspot
Settings dialog box, you are ready to place Hotspots. Just click at the desired location. In
some situations, you may need to continue construction starting exactly on a given point of
an element at a location where it has no hotspot or special point. The solution is to
generate hotspots that will allow you to snap to this point.
Place Hotspot at Intersection of Two Elements
Activate the Hotspot Tool.
Select an existing Wall, Slab, Roof, Fill edge or line.
Ctrl-click (Cmd-click) the edge of any other existing element.
A hotspot will be generated at the intersection of the selected edge
and the clicked edge.
Project Perpendicular Hotspot onto Selected Element
Activate the Hotspot Tool.
Select an existing Wall, Slab, Roof, Fill edge or line.
Ctrl-click (Cmd-click) any element hotspot or any empty space.
A hotspot will be generated on the selected element at the
perpendicular projection of the clicked location.
Place Hotspot at Remote Tangential Point
Activate the Hotspot Tool.
Select the arc(s) and Ctrl-click (Cmd-click) with the checkmark
cursor on the node of any other element.
A tangential hotspot will be generated on the selected arcs or curved
edges, or their extensions.
Place Hotspots Parallel to Existing Element
Activate the Hotspot Tool.
Select an existing Hotspot.
Ctrl-click (Cmd-click) with the Mercedes cursor on any Wall, line or
element edge.
A second hotspot will be generated, so that the line joining the two
hotspots is parallel to the clicked element.