Linear Dimension Geometry Methods
Geometry Methods for Linear Dimensions are set in the Info Box.
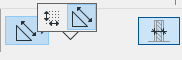
The Geometry Method you choose applies to the entire dimension chain, and cannot be set unit by unit.
See Linear Dimensions in the 3D Document Window.
Topics on this page:
Any Direction Geometry Method
The default Any Direction method enables you to create dimension chains at a variety of positions relative to the element’s position: either parallel to the first two reference points placed, or horizontal/vertical, or parallel to another edge/surface of your choice.
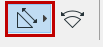
Move the cursor around to get feedback on the possibilities, which vary depending on the dimension points’ position.
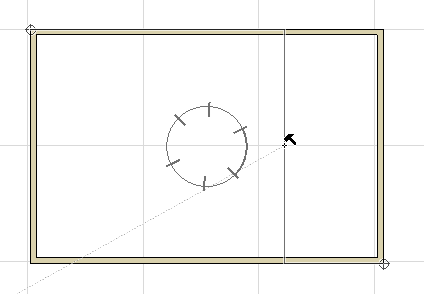
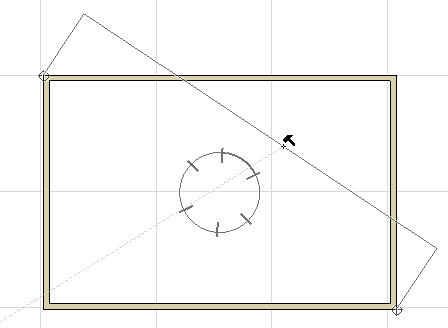
An additional dimension line vector is also available: After the black hammer cursor appears, you can move this cursor to any straight line/edge in the project.
Example
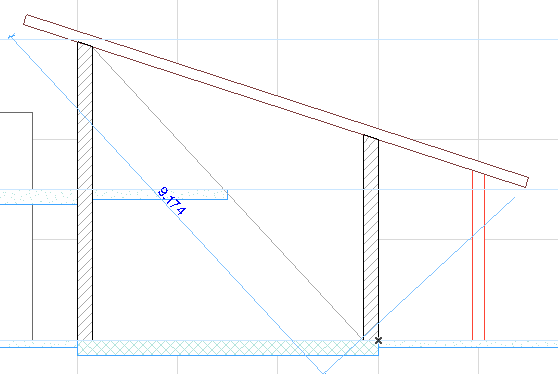
Suppose you want to dimension the roof using the vector parallel to the diagonal, instead of parallel to the roof.
- Click the two dimension nodes on either end of the roof.
- Move the cursor over the diagonal. The cursor then changes to the
“Mercedes + parallel dimension” cursor shape, to indicate that it has found an edge, to
which the dimension line can be parallel:
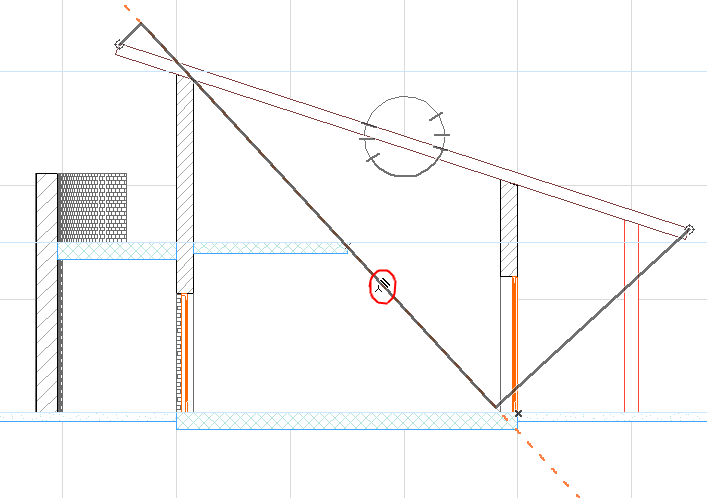
- Click to constrain the dimension line to be parallel to this line/edge.
- Drag the dimension line to its final position and click with the
black hammer to place the dimension chain.
X-Y Only Geometry Method
The X-Y Only method restricts the dimension line zones to horizontal and vertical only, relative to the screen.
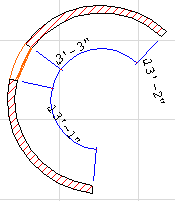
Arc Length Geometry Method
Use this method to dimension curved elements.
- With the Linear Dimension tool active, choose the Arc Length Geometry
Method from the Info Box.

- Click with the Mercedes cursor on a circular arc or a curved edge -
you don’t have to find the end points, you can click anywhere on the curve.
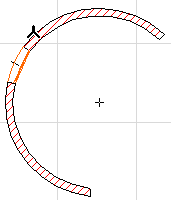
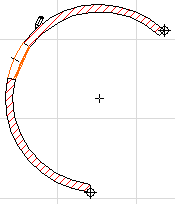
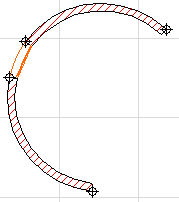
- The end points of the arc or the edge are marked. This is the edge that arc length will be measured on. Click any other points you want to add to the dimension chain.
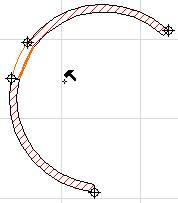
- Double-click anywhere in the workspace with the Empty Pencil cursor or click the OK button in the Control Box to finish selecting arc points for dimensioning.
- Click with the Hammer cursor to place the dimension chain.
Single-Click Thickness
Enable the Single-Click Thickness control in the Linear Dimension Tool Info Box, to dimension Wall and Slab thickness with a single click.

- With the Linear Dimension tool active, move the cursor to the Wall or
Slab contour line.
If you click any other element, the one-click option does not work, and you have to place the dimension line as usual.
- Click once to place the thickness dimension(s), depending on the
settings at Dimension Details:
- In Automatic Mode, depending on the Outer/Core/Reference Line Settings, this will result in multiple dimension points in the chain.
- In Manual Mode, this will result in a chain dimensioning all
skins of the walls and slabs.
For more information, see Dimension Wall or Slab Thickness.