Reference Levels Preferences
You can define optional Reference Levels that will help you position elements. This is done at Levels Preferences (Options > Project Preferences > Reference Levels).
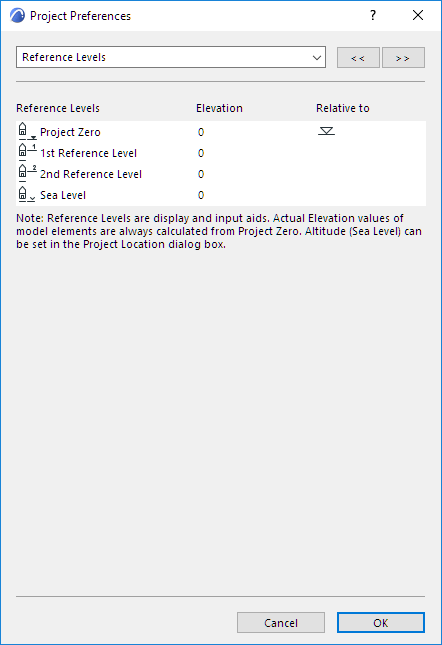
All of these settings are effective for Coordinates Palette, Info Box and all Dialog Boxes.
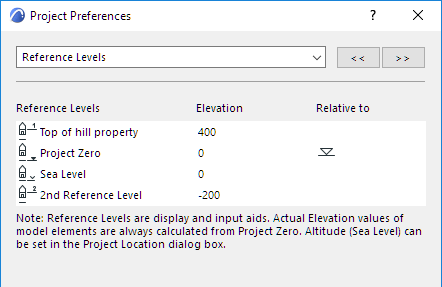
Select a level’s name and modify it as you like, then type the value you need in the Elevation field. In this example, we defined the top of the property, at 400 meters.
The Sea Level takes its value from the Altitude, which is set at Options > Project Preferences > Location Settings.
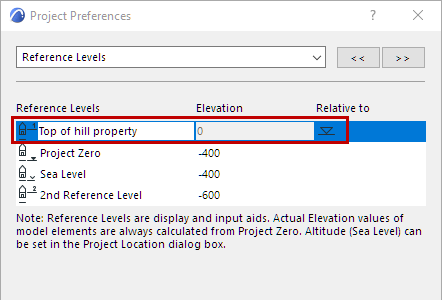
You may find it easier to calculate levels (in this dialog box) by switching the zero value to another level than Project Zero. You can do so by simply clicking in the Relative to field next to the level’s name.
The newly defined Reference Levels are now available in the Bottom Elevation [to Reference level] fields of the Geometry and Positioning Panels of construction and object-type elements.
See also Place a Construction Element.
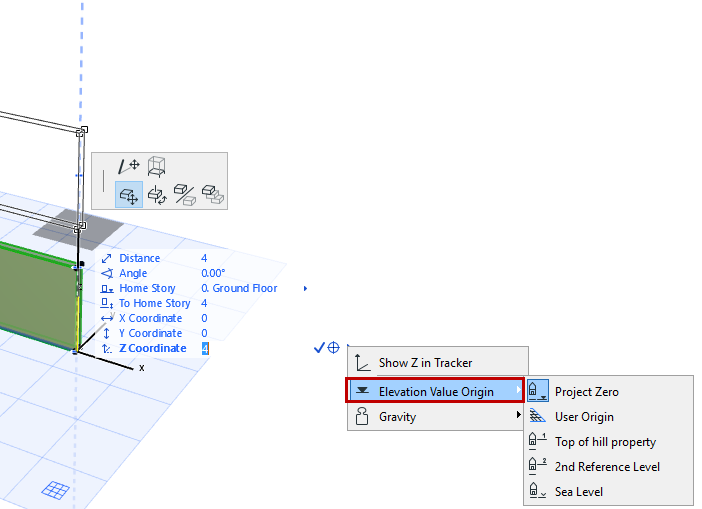
Reference levels can also be used for showing elevation (Z) values in the Tracker.
See Tracker.
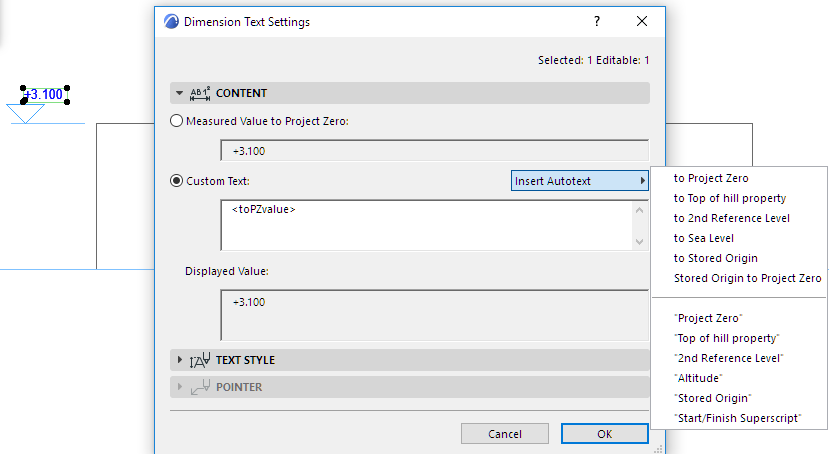
Reference Levels can also be used as Autotexts, such as Autotext used in Elevation Dimensions: