Add and update External Units in your Creator project
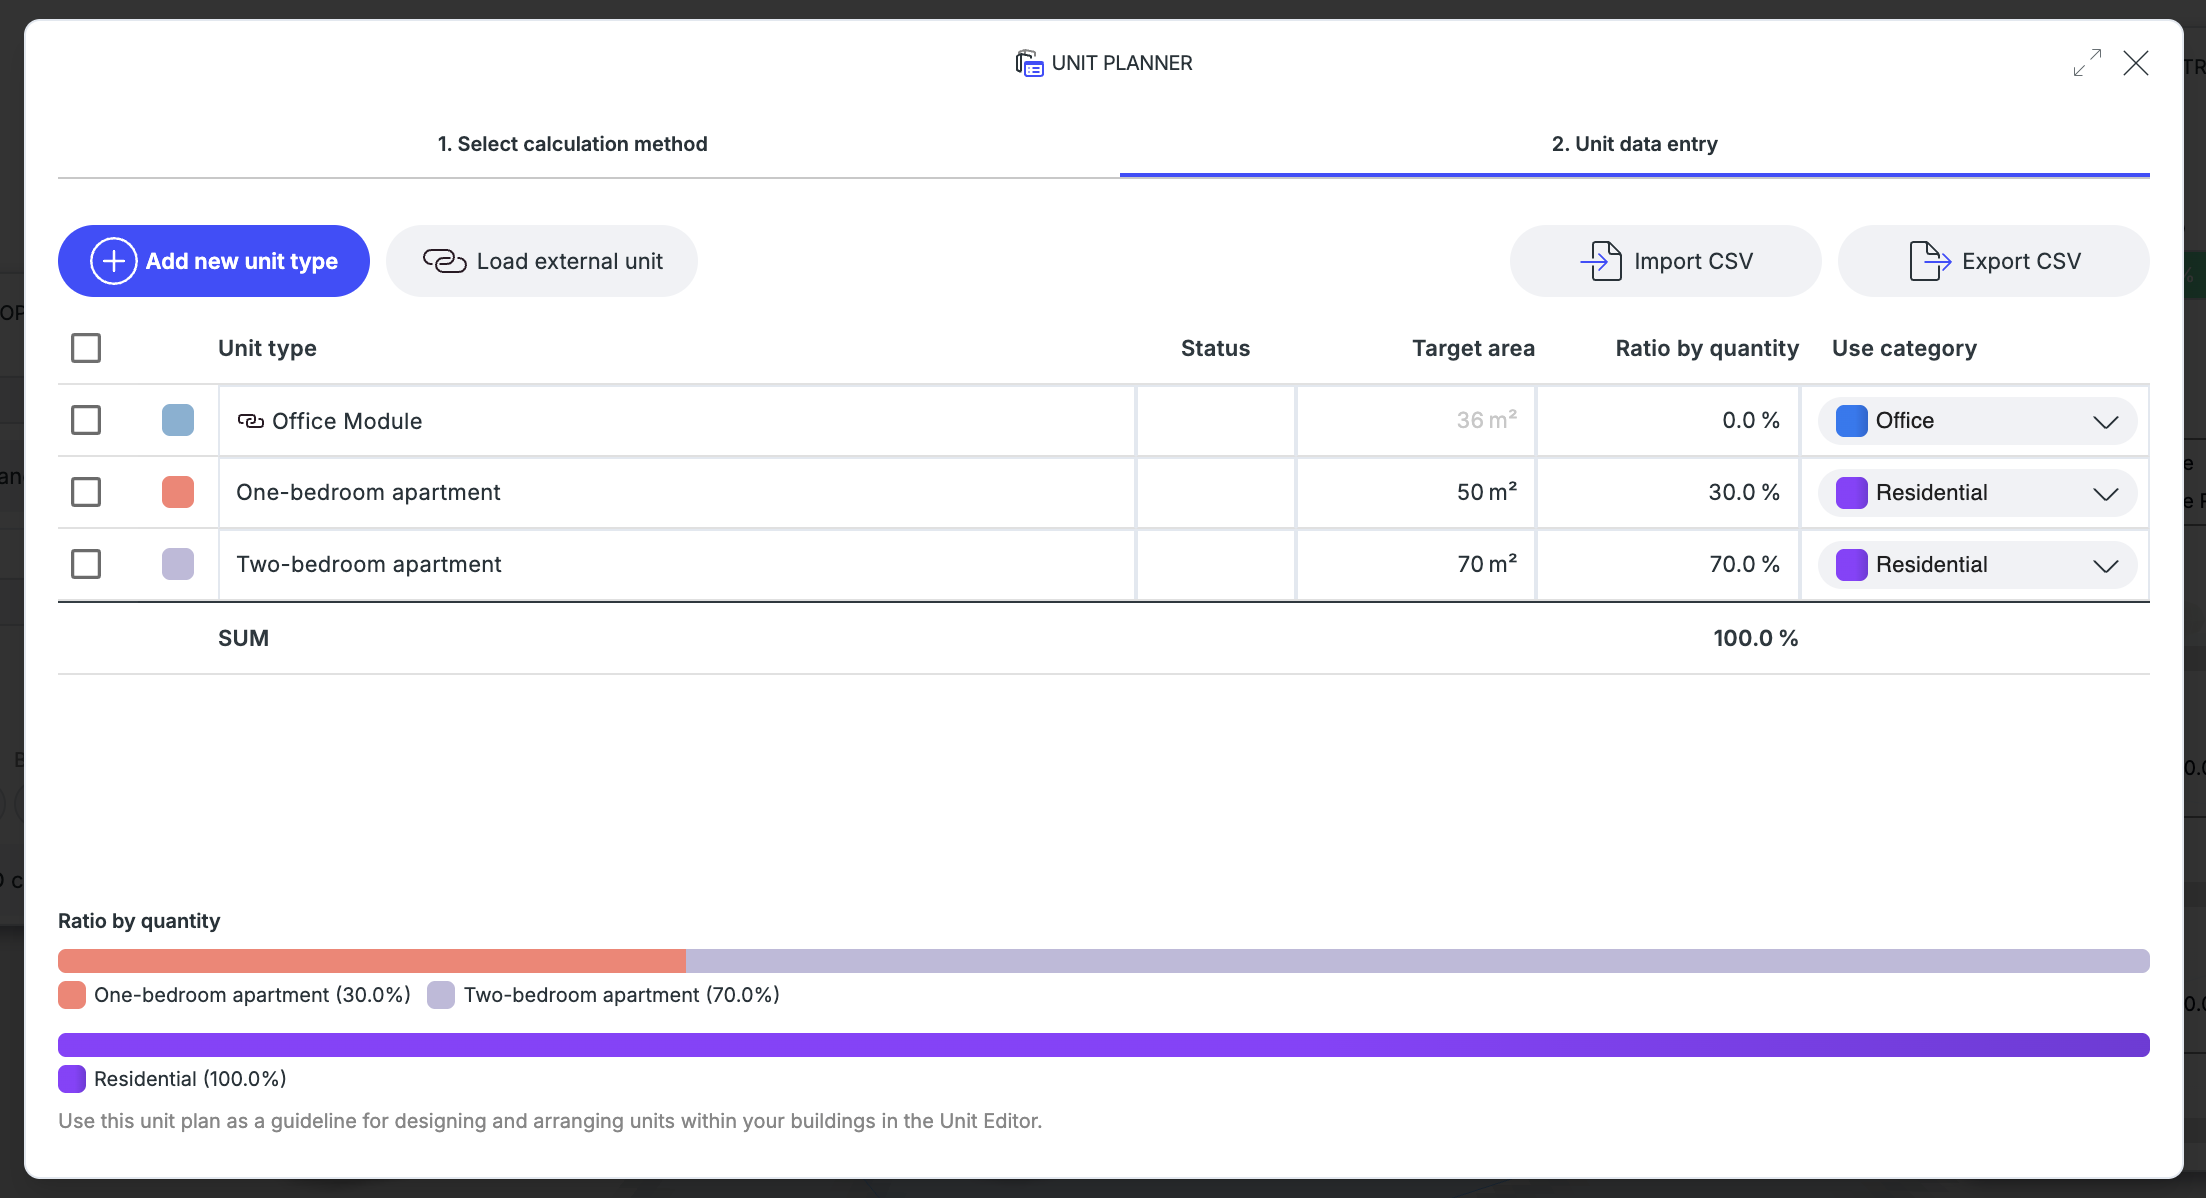
After you upload an Archicad module, load it into the Unit Planner so you can use it in your Creator project. You can also update an External Unit later if the original Archicad module changes.
Add an External Unit
- Open your Creator project.
- Open the
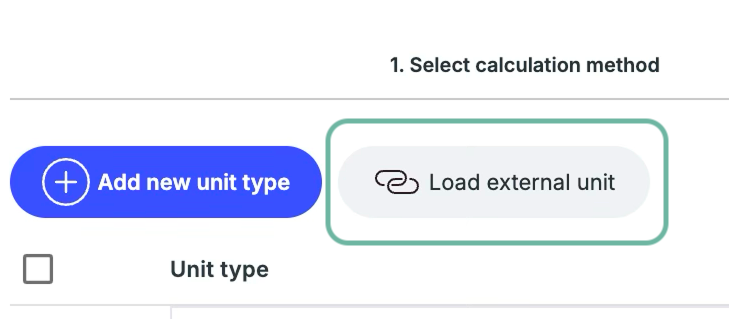
Unit PlannerUnit Planner. - Click
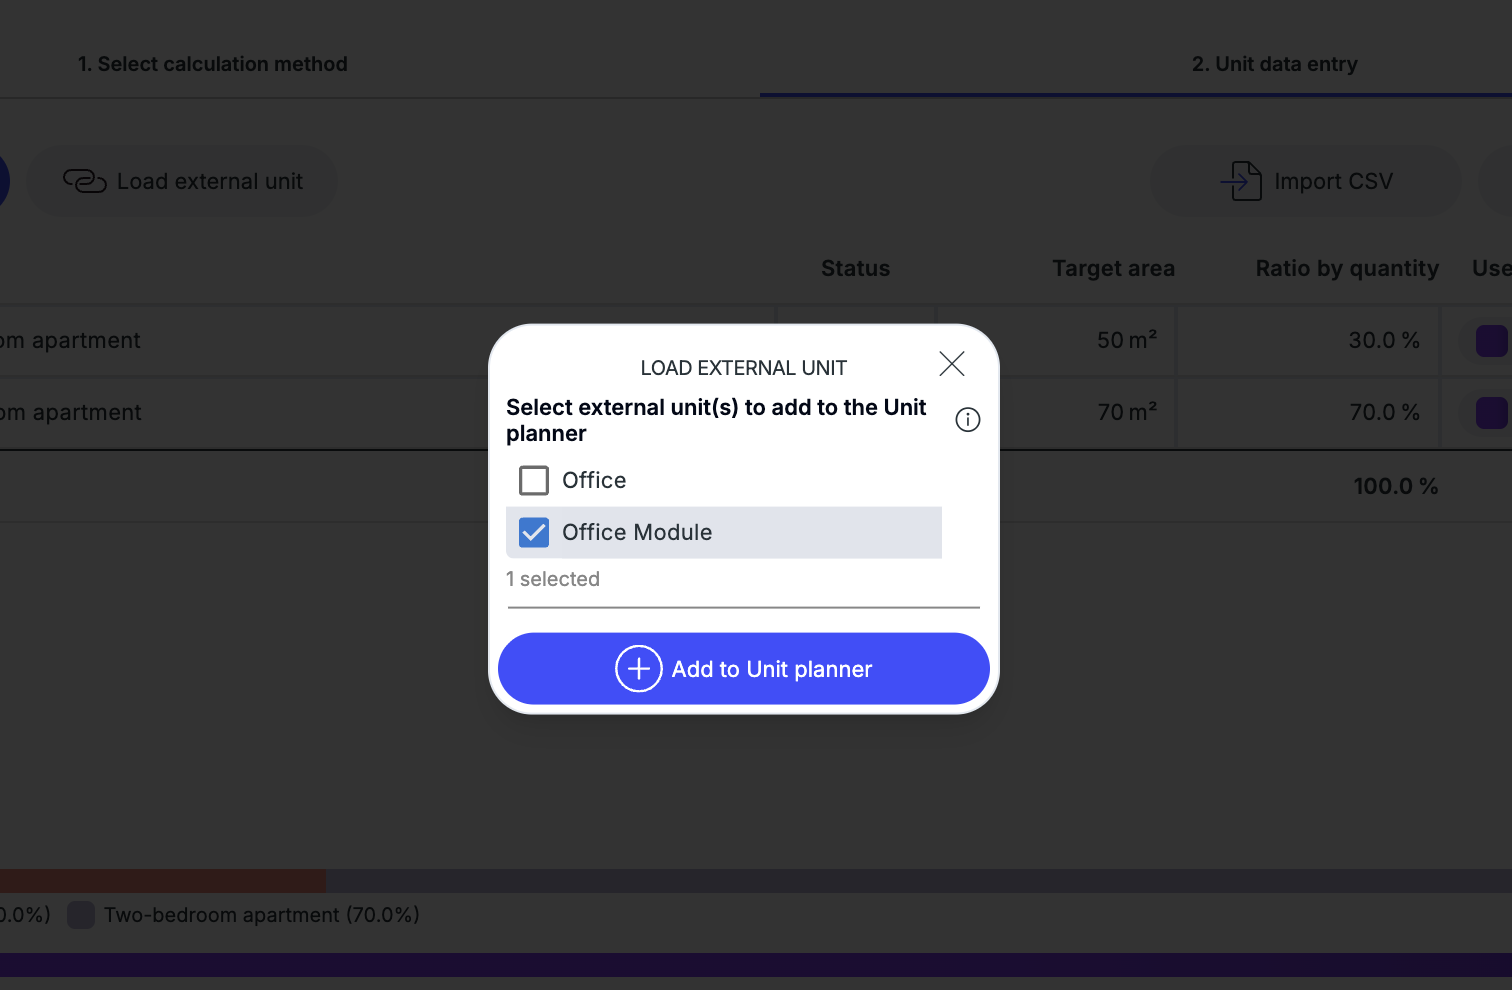
Load External UnitLoad External Unit. - Select the uploaded External Unit you want to use and click on
Add to Unit PlannerAdd to Unit Planner. - Open the
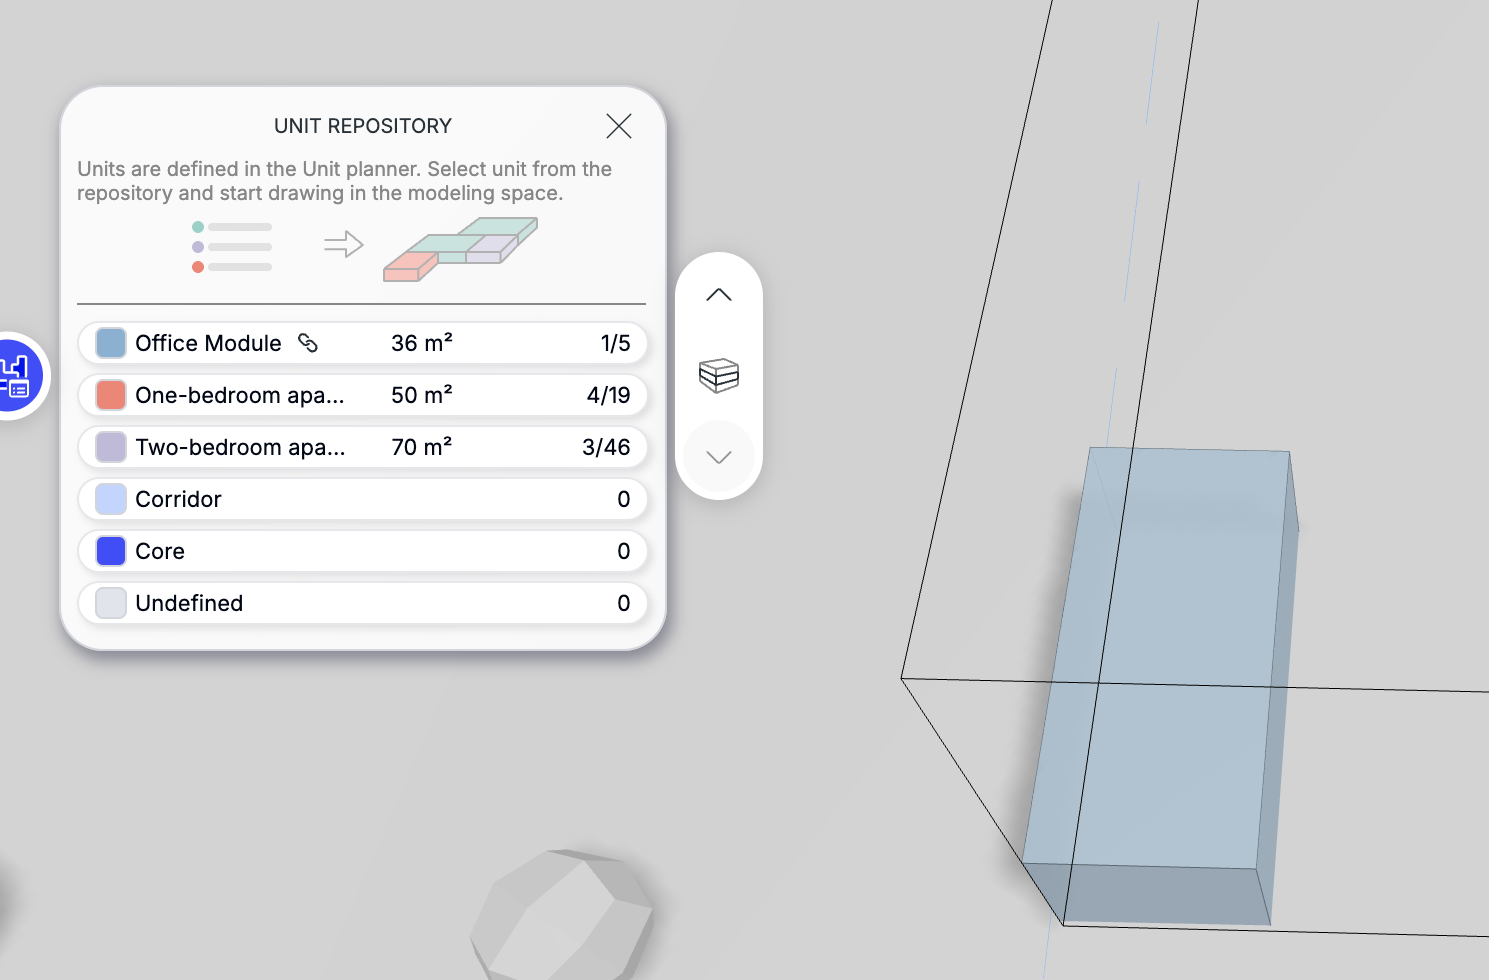
Unit EditorUnit Editorto place the External Unit in your Building.
Update an External Unit
Use this workflow when the Archicad module has changed and you want to refresh the External Unit in Creator.
- Open the updated PLN or MOD file in Archicad.
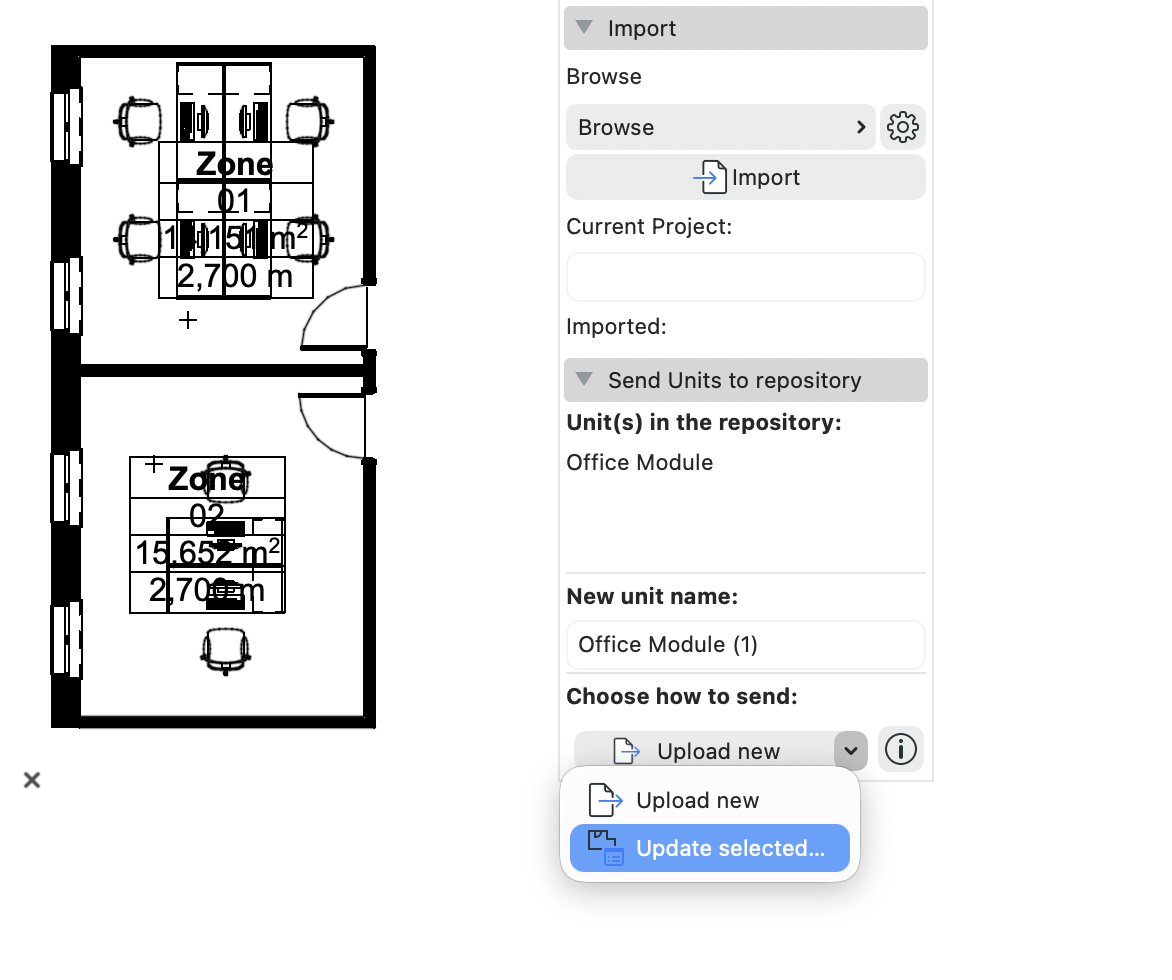
- Open File > Interoperability > Nemetschek Creator Connection.
- Click on the arrow next to
Upload NewUpload New. - Select
Update Selected…Update Selected… - Select the unit to update in the dialog. You can switch between List View and Thumbnail View.
- Return to Creator.
- If the updated module has a different shape or size, all placed instances of that External Unit will change in the project.
- External Units are loaded from locally saved module files when you transfer a Creator project to Archicad with the Connection add-on. Make sure the required module files are available on your computer.