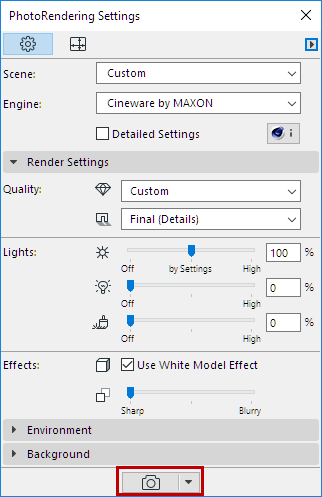
To create a rendered image of the 3D window contents, subject to render size settings:
•Click the render icon at the bottom of the PhotoRendering Settings Palette, or
•Use Document > Creative Imaging > PhotoRender Projection
•The picture window appears, with a progress bar and Stop button, feedback on elapsed rendering time, plus the familiar Zoom and Fit in Window window controls.
•In Tab Bar, Picture window tab shows feedback on background rendering progress (Cineware only). A checkmark indicates that the render is complete (but not yet opened).

Rendering in progress

Rendering complete, not yet viewed

•If needed, click Stop, or just close the window to stop the render.
Note: Rendering time varies depending on many factors, including size and complexity of the rendering parameters, and hardware capabilities.
By placing a Marquee in the 3D window, you have additional ways to limit the rendered model.
Note: You must use the 2D Marquee option. It will always assume a rectangular shape (even if you draw a custom-shaped Marquee.
Once you have placed the Marquee, two Render Region commands are available (in the Document > Creative Imaging menu and as pop-up options of the Render button of the Render palette):
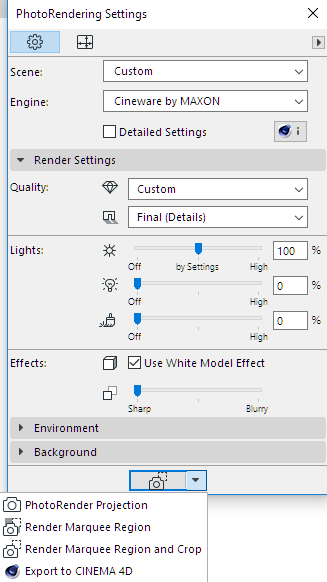
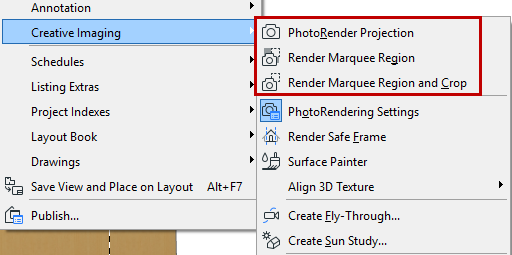
•Render Marquee Region and Crop: With a Marquee placed, this is the default rendering command. This renders and outputs only the marquee region.
•Render Marquee Region: Use this function if you only want to render a small part of the 3D window. It will render the scene as a whole, but only the marquee region is rendered in full; the rest of the scene is shown as transparent.
This is useful, for example, if you have already fully rendered the scene, but then change or correct one small part of it, and only need to re-render that part.
For either option, the Preview shows only the marqueed region.
Note: If the Render Safe Frame mode is on (see below), then your Marquee will only have an effect to the extent that it falls within the Render Safe Frame. If Render Safe Frame is off, then you will render the Marquee area regardless.
Turn on this 3D view feature at Document > Creative Imaging > Render Safe Frame.
This is an Archicad mode that affects the 3D window; it displays a frame that indicates which part of the model will be rendered.
This might not be obvious, because the output is affected by the Size setting in Render Settings. Depending on the Size settings, your model could be cut off in the render.
See Set Size.
The Render Safe Frame gives you feedback on this and a chance to adjust the Size parameters.
Note: The Render Safe Frame setting to OFF corresponds to Rendering Settings from Archicad versions 17 and older. In this situation, the full content of the 3D window - even content that is not visible on screen - will be rendered, with its size determined by Render Size.
This setting (whether Render Safe Frame is applied or not) is noted in the 3D Only panel of View Settings and on the 3D Visualization toolbar.
