Install MEP Designer
Download MEP Designer
MEP Designer is available for download at:
MEP Designer Hardware/Software Requirements
Hardware/Software requirements are modified from time to time. For up to date information on system requirements, please consult the following link:
Installation Process
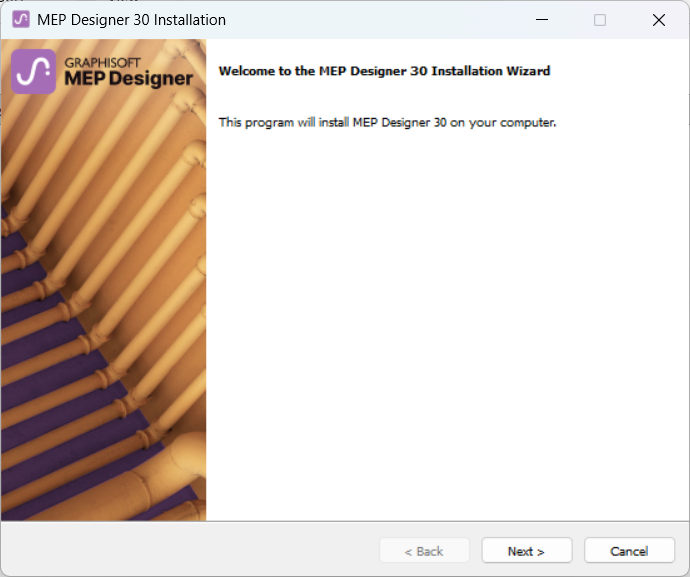
- Start the installer to open the Welcome Screen.
Click Next to continue.
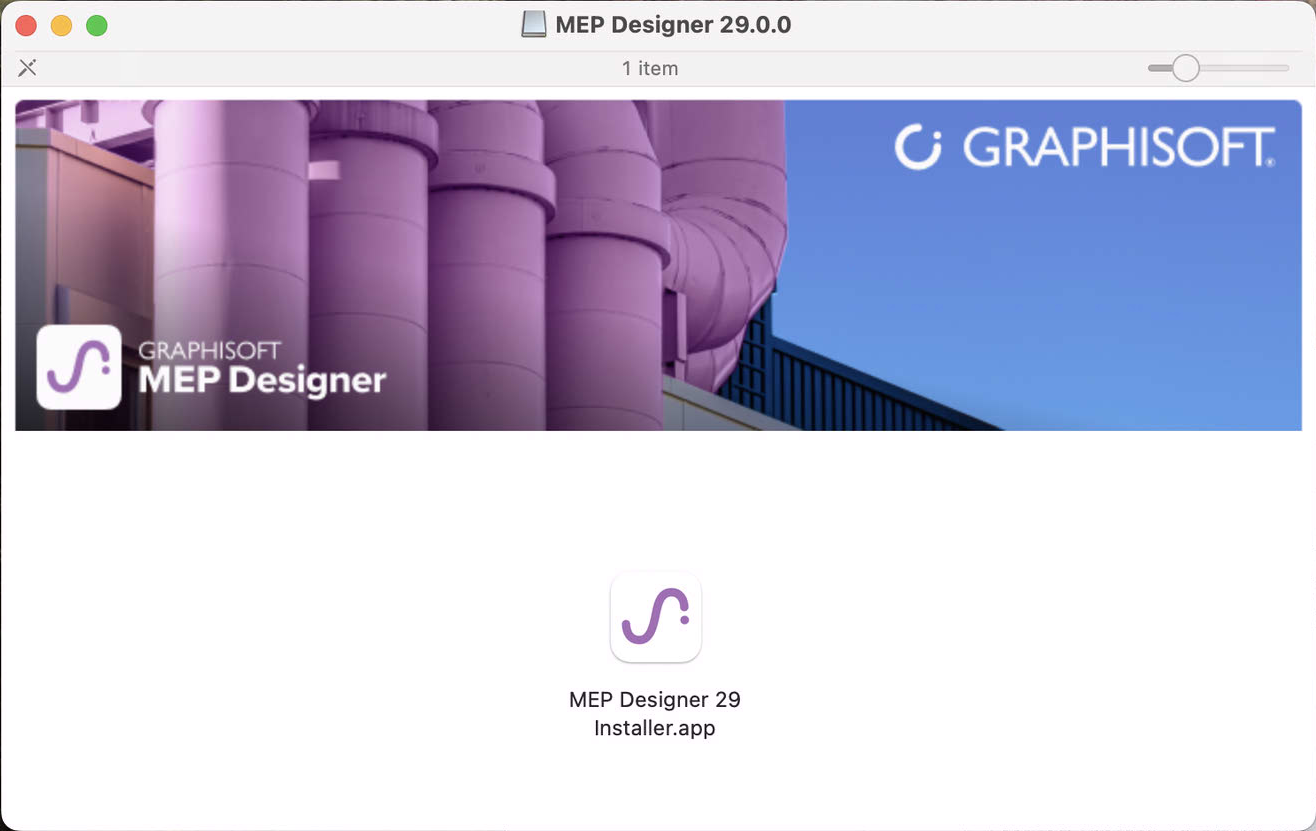
On Mac: Start the Installer and double click the MEP Designer Installer icon to open the Welcome Screen.
- License Agreement
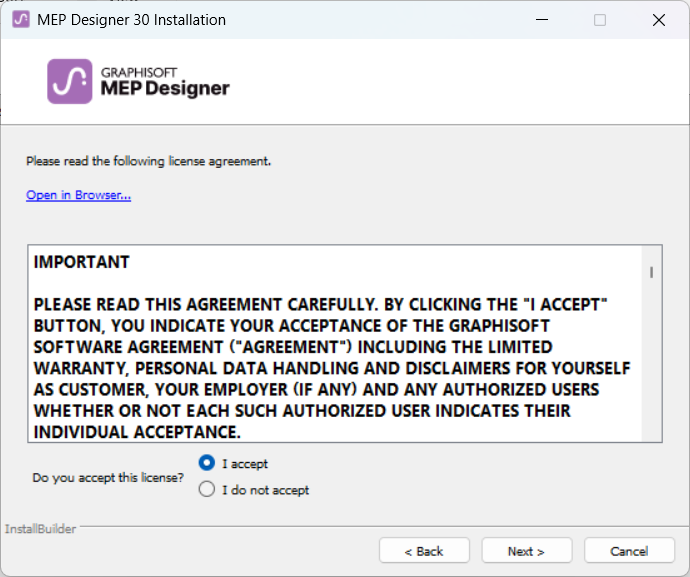
Read the license agreement carefully and accept it. (Click Open in Browser to see the agreement in a new window.)
Click Next.
- Select Installation Directory
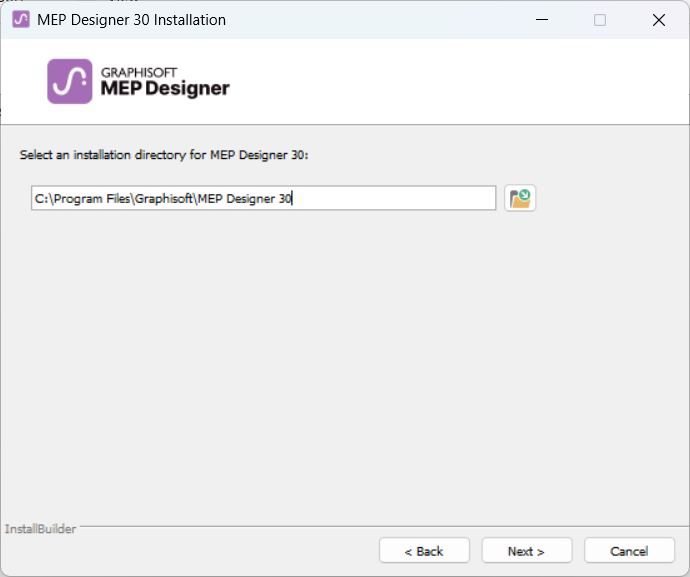
On this page, define the file path of the installation. As a rule, you should choose the path suggested by default, to simplify the installation of any future updates.
- Choose Setup Type
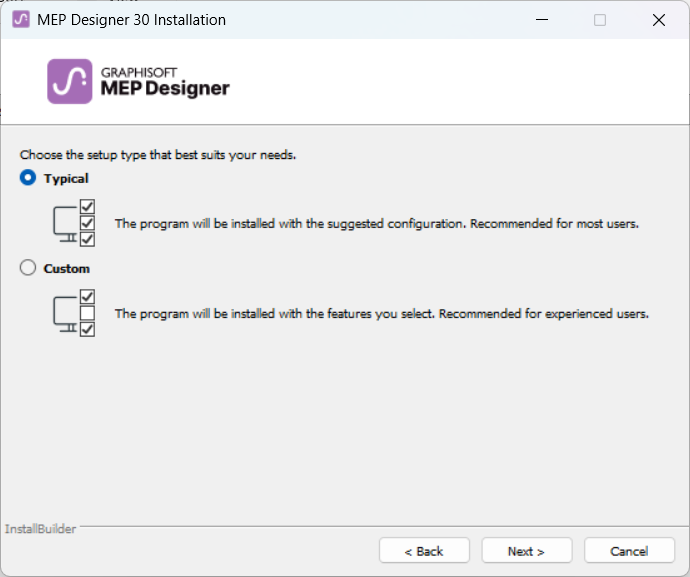
- Installation Summary
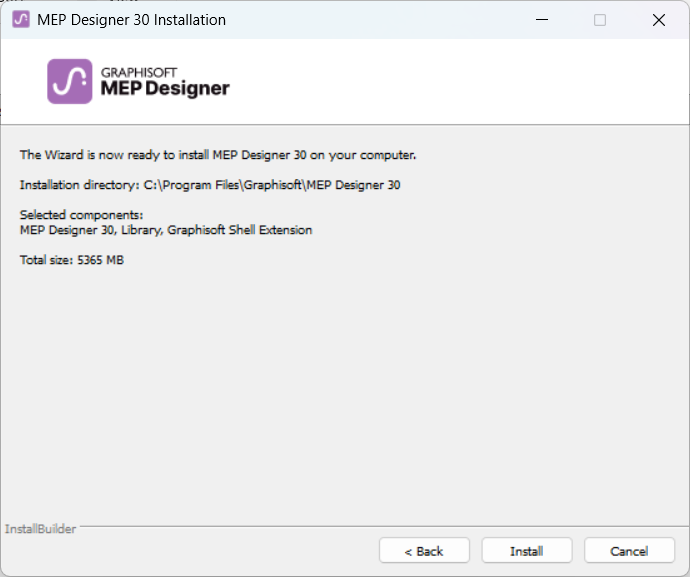
This screen summarizes your chosen configuration.
Click Install to begin installation.
- Installation Underway
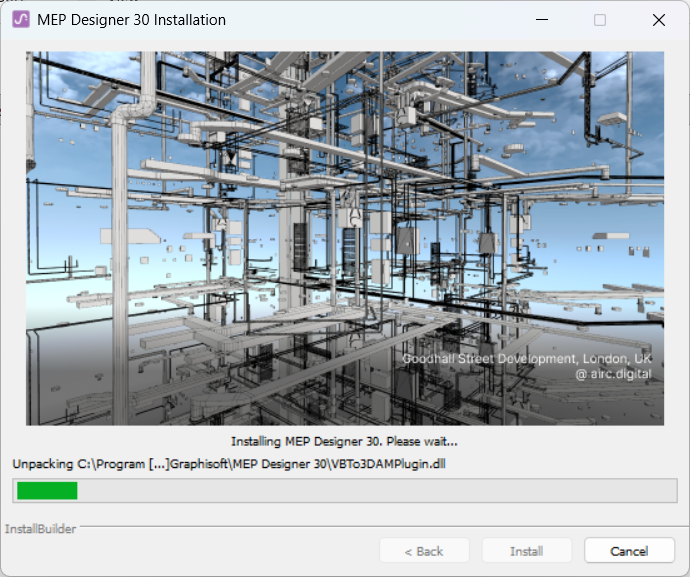
Depending on your hardware configuration, this process may take several minutes. In addition to other components, CodeMeter is installed in the background.
- For Mac users: if you are installing MEP Designer on a macOS system, you will see a warning: for MEP Designer to run properly, you must enable Full Disk Access in macOS settings. Follow the steps described in the warning dialog.
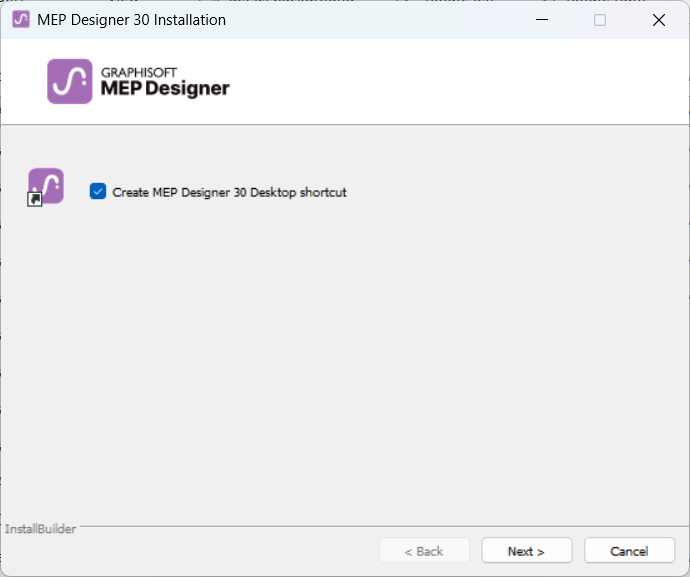
- Create Shortcut
- Optionally: Create MEP Designer 30 desktop shortcut (Win only).
-
Create MEP Designer 30 Dock Icon (Mac only)
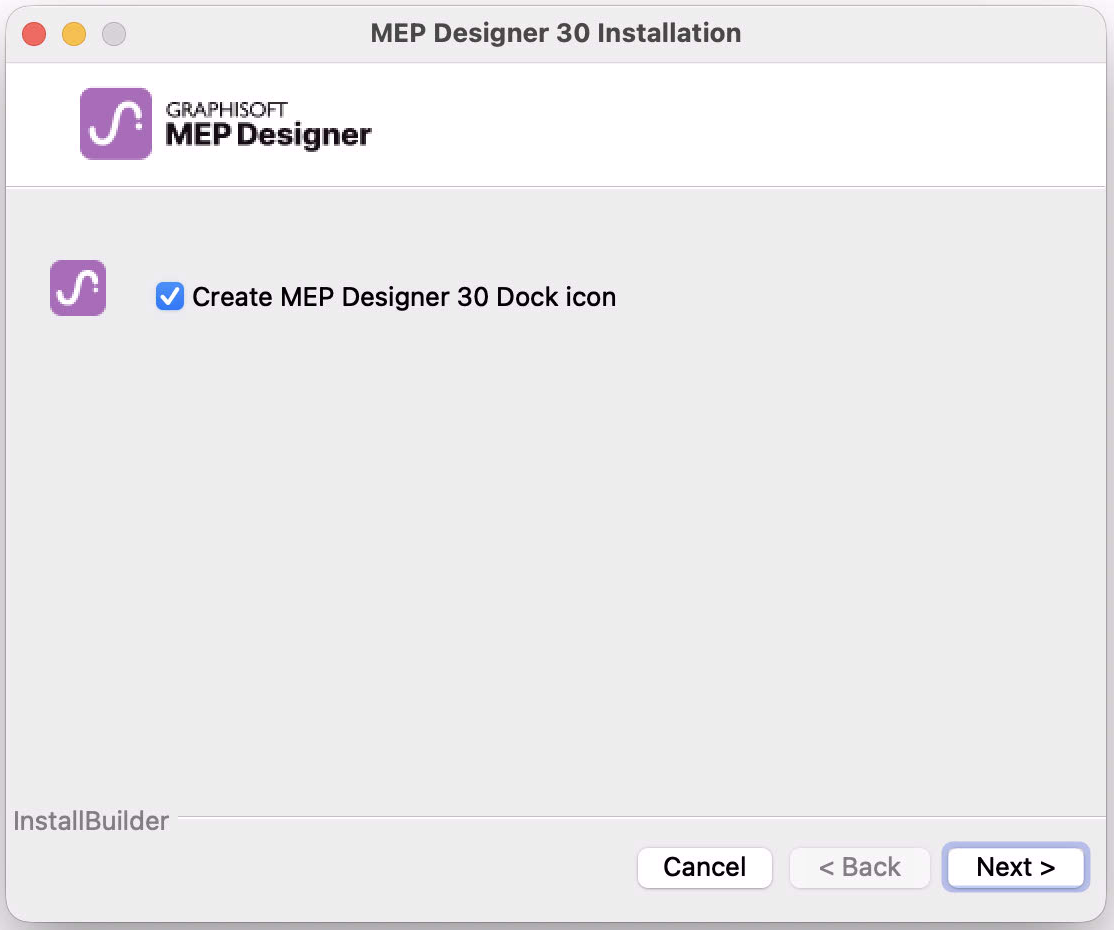
Click Next.
- Optionally: Create MEP Designer 30 desktop shortcut (Win only).
- Complete Installation
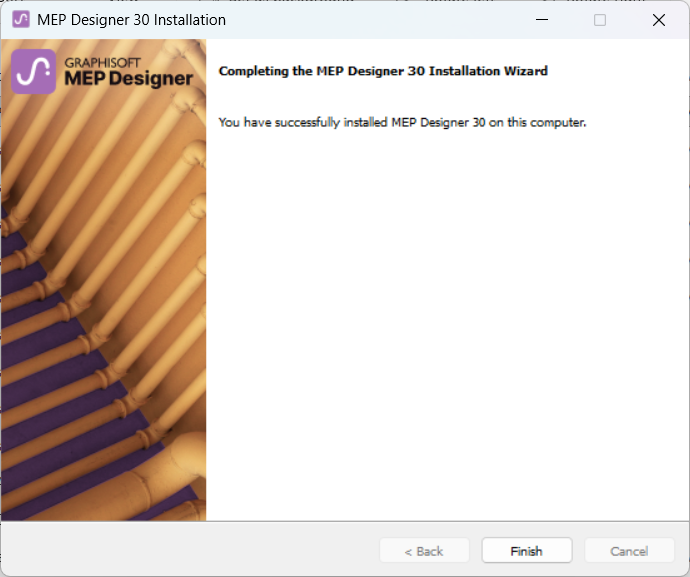
Click Finish. You may be prompted to restart your computer.
Silent Install for MEP Designer and Add-ons
It is possible to use a silent install process to install MEP Designer using a customized, company-preferred configuration.
For details, see Network Installation for BIM Managers.