Curtain Wall Frames
Note for MEP Designer users: Curtain Walls and Curtain Wall Settings are visible, but cannot be created or edited.
Frames are placed along the Scheme Grid when you create the Curtain Wall.
The Curtain Wall’s pattern of Frames and Panels can be defined in Scheme Settings.
- A Frame must be joined to another Frame at both ends (it cannot “float” independently).
- A Frame with adjoining Panels always divides two separate Panels (it cannot bisect a single Panel).
- In a multi-segment (Chained) Curtain Wall, a Frame is always placed where two adjacent Curtain Wall segments meet. Such a Frame cannot be deleted, although you can make it invisible.
- A Boundary Frame cannot be renamed or removed. The edges of a Curtain Wall always use a Boundary Frame.
Copy Cell Pattern in Curtain Wall
Curtain Wall Frame Intersections
Corner Frames: Complex Profiles
Frame Classes
By default, a Curtain Wall has four classes of Frames: Corner, Boundary, Mullion and Transom.
You can also create other Frame classes: see Curtain Wall Frame Settings.
- Boundary Frames are placed along the Curtain Wall Boundary.
- Mullion and Transom Frames are placed along either the Columns or Rows of the grid lines
- Division Frames are invisible, but they serve to divide panels (they can replace a deleted Frame). See “Division” Frame Class.
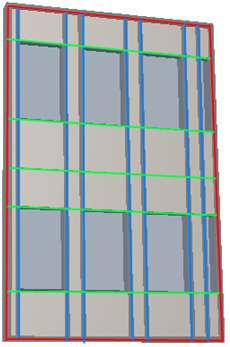
In this image, the Frames in the Boundary class are red; the Frames in the Mullion class (coinciding with the grid columns) are blue; and the Frames in the Transom class (coinciding with the grid rows) are green.
Edit Curtain Wall Frames
- Open Frame Selection Settings and change them
- Stretch, Drag, Mirror, Rotate or Multiply the Frame
- Delete the Frame
Note:
- Deleting a Frame is only possible if the two panels on either side of the Frame are both in the same plane. On a non-planar Curtain Wall surface, you must first delete the grid line which runs between them. The Frame is deleted along with the grid line.
- If you move or delete a grid line, you move or delete the Frame.
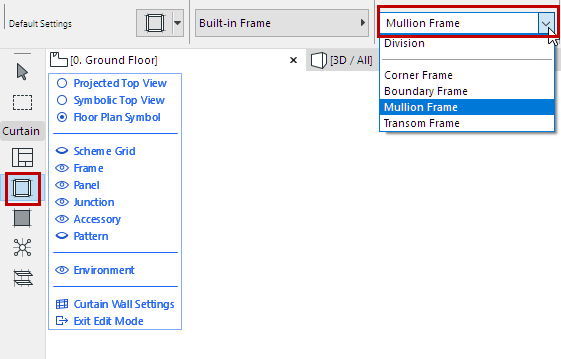
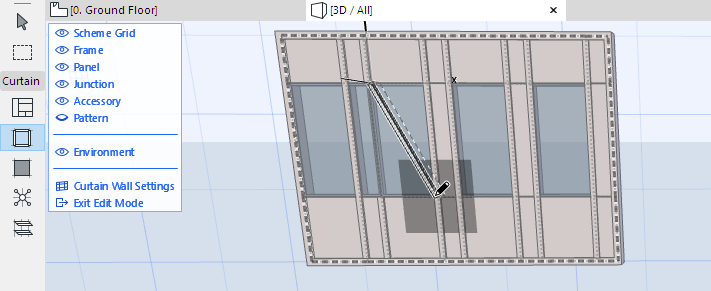
Add New Frame to Curtain Wall
Copy Cell Pattern in Curtain Wall
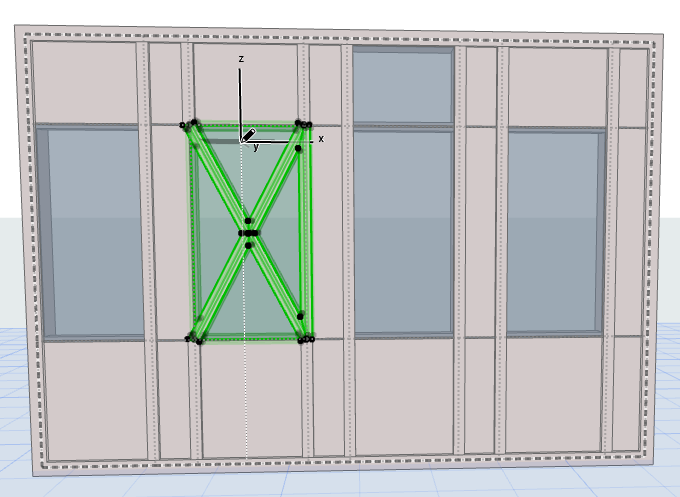
To copy the Frame pattern of any cell in the grid to another cell:
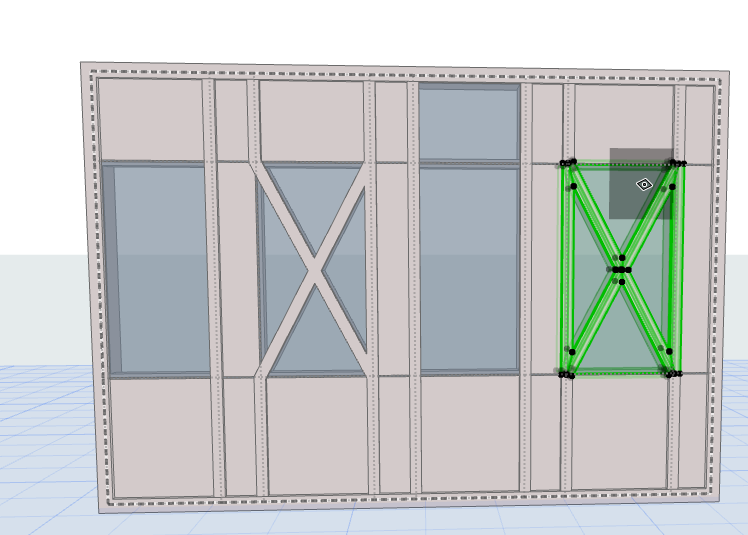
Curtain Wall Frame Intersections
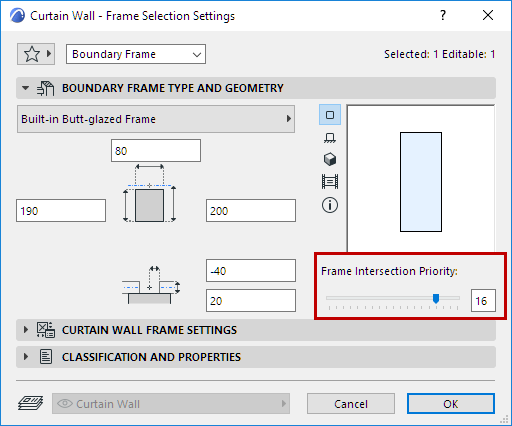
When two or more Frames meet in a Curtain Wall, the Frame with the higher intersection priority will cut the other one.
Frame Priorities are defined for each class on the Frames page.
However, you can change the intersection priority of any single selected Frame. In Curtain Wall Edit mode, select the Frame whose intersection priority you want to change. Go to Frame Selection Settings and adjust the slider to the desired level. Changing the Frame’s intersection level - as when changing any other Frame parameter - will result in a Custom Frame.
Curtain Wall Corner Frames
Corner Frames are a separate Frame Class. You cannot rename or remove the Corner Frame class.
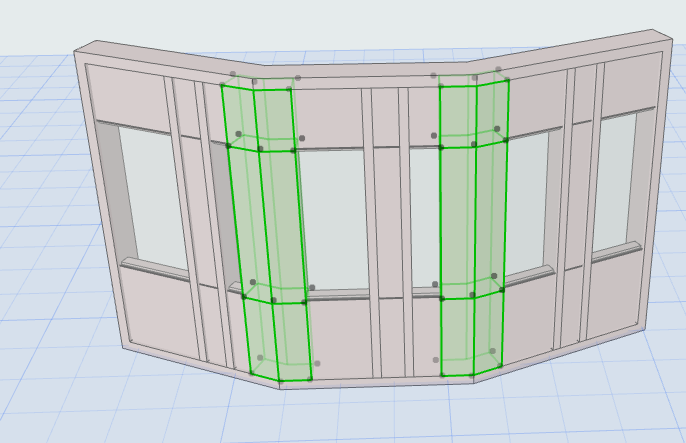
When you place a Curtain Wall with multiple segments, the Frame used by the Corner Frame class is placed at the place where each segment joins the next one. (Corner Frames are not placed at curved segments.)
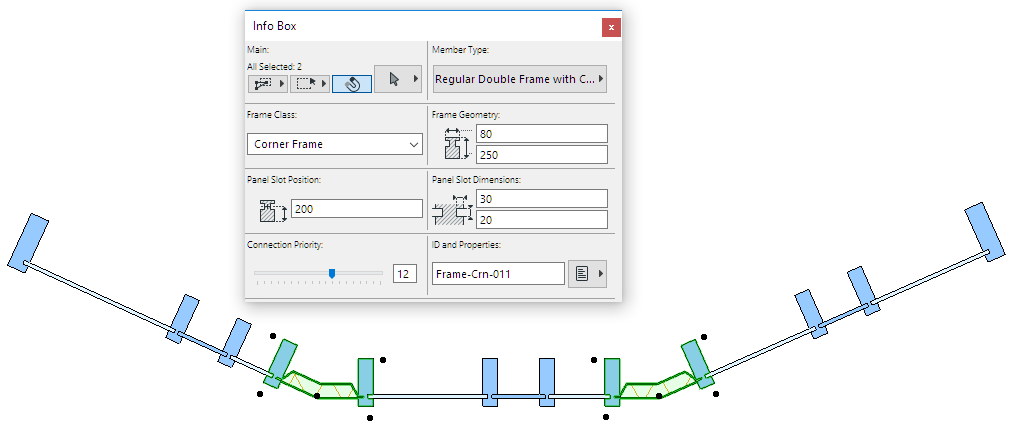
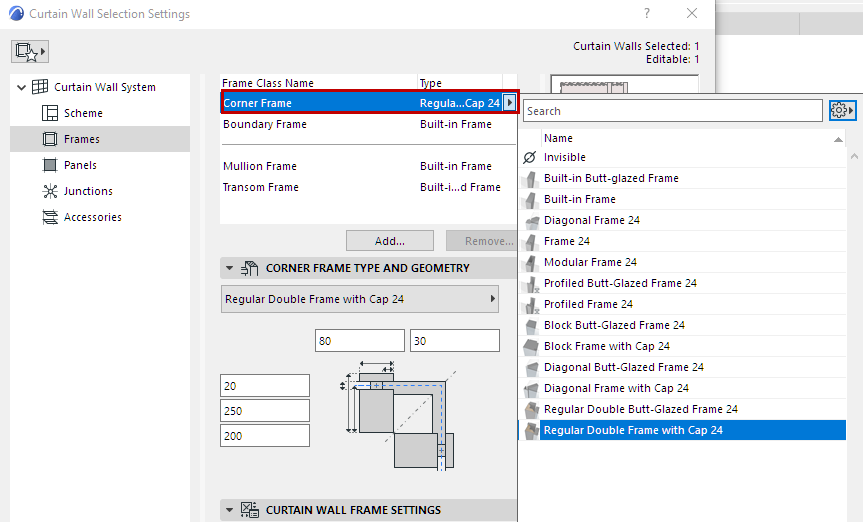
You can technically choose any Curtain Wall Frame as your default Corner Frame, but the library includes specific Corner Frame objects, such as:
- Regular Double Frame with Cap
- Regular Double Butt-Glazed Frame
- Block Frame with Cap
- Block Butt-Glazed Frame
- Diagonal Butt-Glazed Frame
- Diagonal Frame with Cap
Depending on the selected Corner Frame type, set options and variations in Curtain Frame Settings:
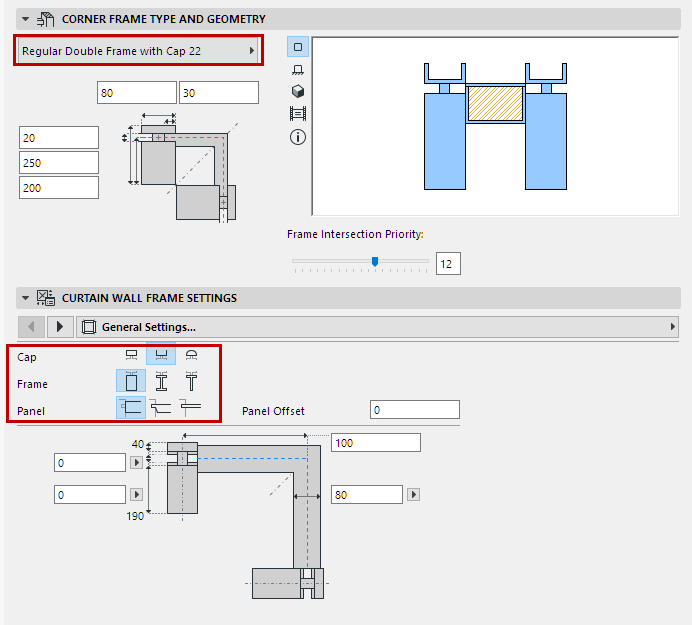
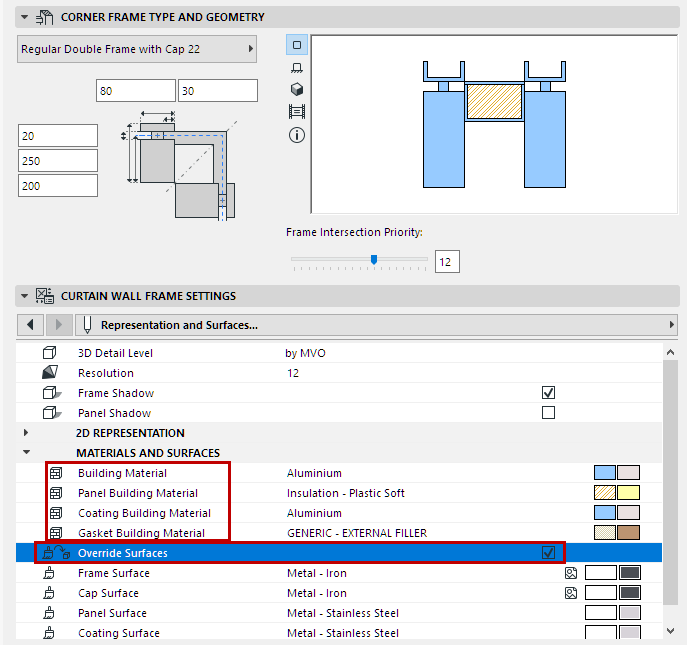
Each Corner Frame uses separate building materials for its components: Frame, gasket and panel, where applicable. You can override surfaces for each as needed.
Corner Frames: Complex Profiles
By default, MEP Designer includes Profile Corner Frames. You can create custom Profile Frames using the usual methods in Profile Editor. Note that the predefined Profiled Frames include a user origin which ensures the expected behavior for these Frames if the Curtain Wall geometry changes.