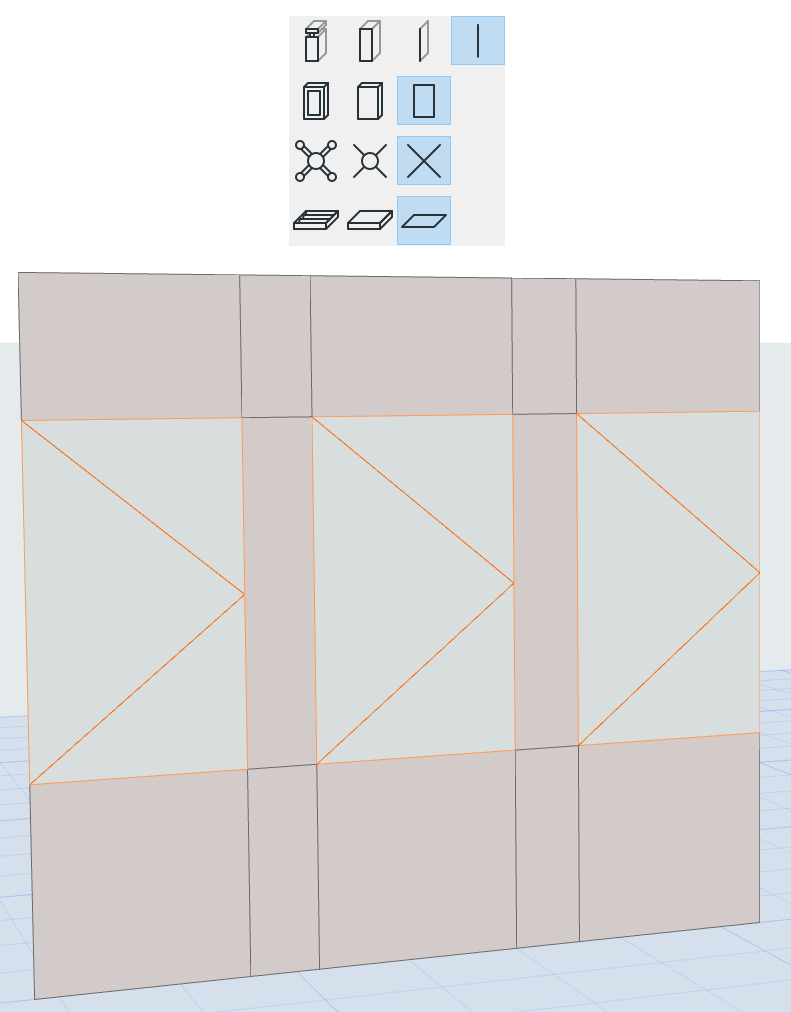
Use Model View Options to define view-based Curtain Wall display.
Using Model View Options, show/hide Curtain Wall members separately in each view, and set a separate display preference for each.
Go to Document > Model View > Model View Options.
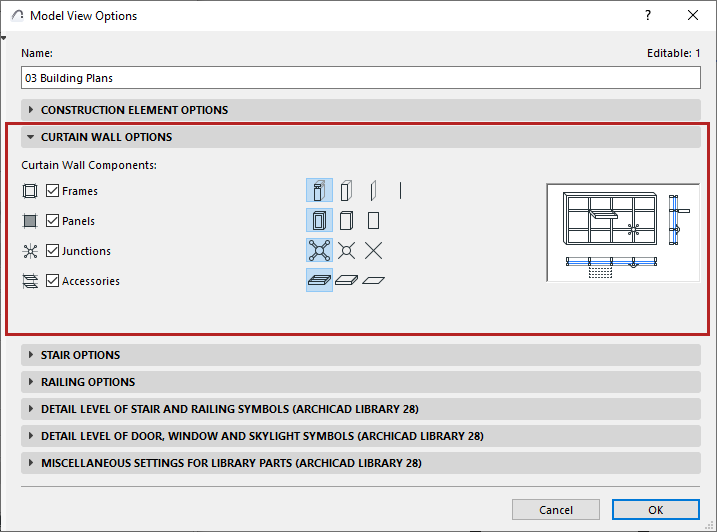
Go to the Curtain Wall Options panel:
Show/Hide Components
By default, all Curtain Wall components (Frames, Panels, Junctions, Accessories) are displayed. Uncheck any component if you do not wish to display it in this Model View Options Combination.
Detail Level Display (by Component)
For each component, click an icon to define its display: Detailed, Simplified, or Schematic.
Frames have an additional option: Display with Axis only.
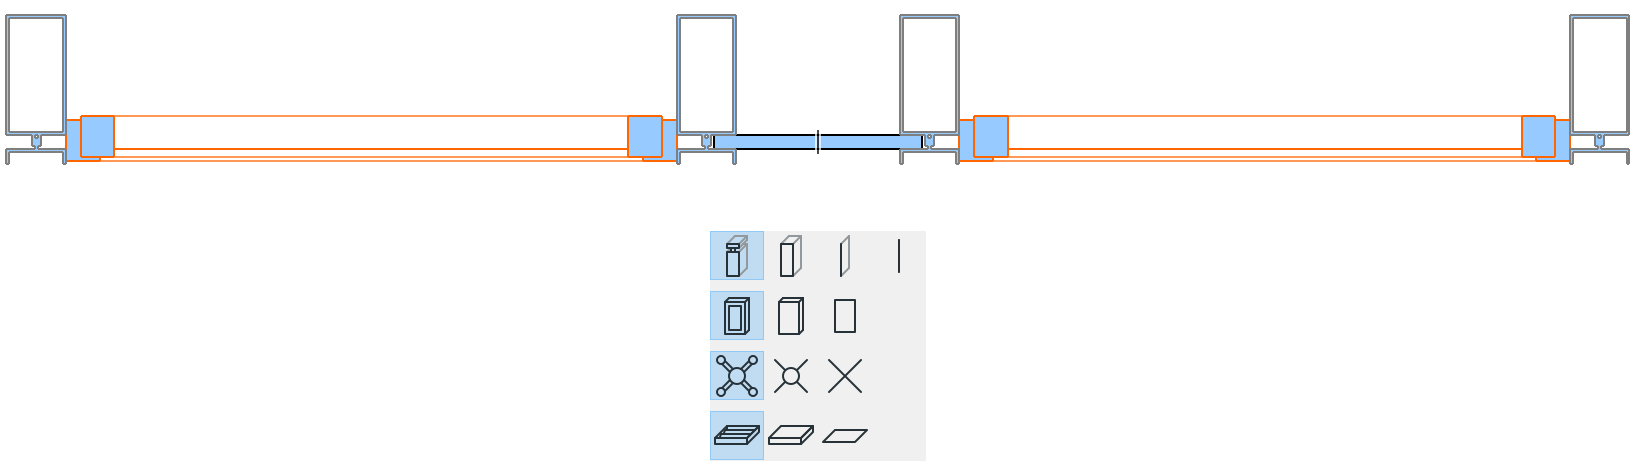
Detailed: Entire geometry (e.g. of profiled components, with intersecting Building Materials) are displayed.Figure 1. Curtain Wall in Full Detail
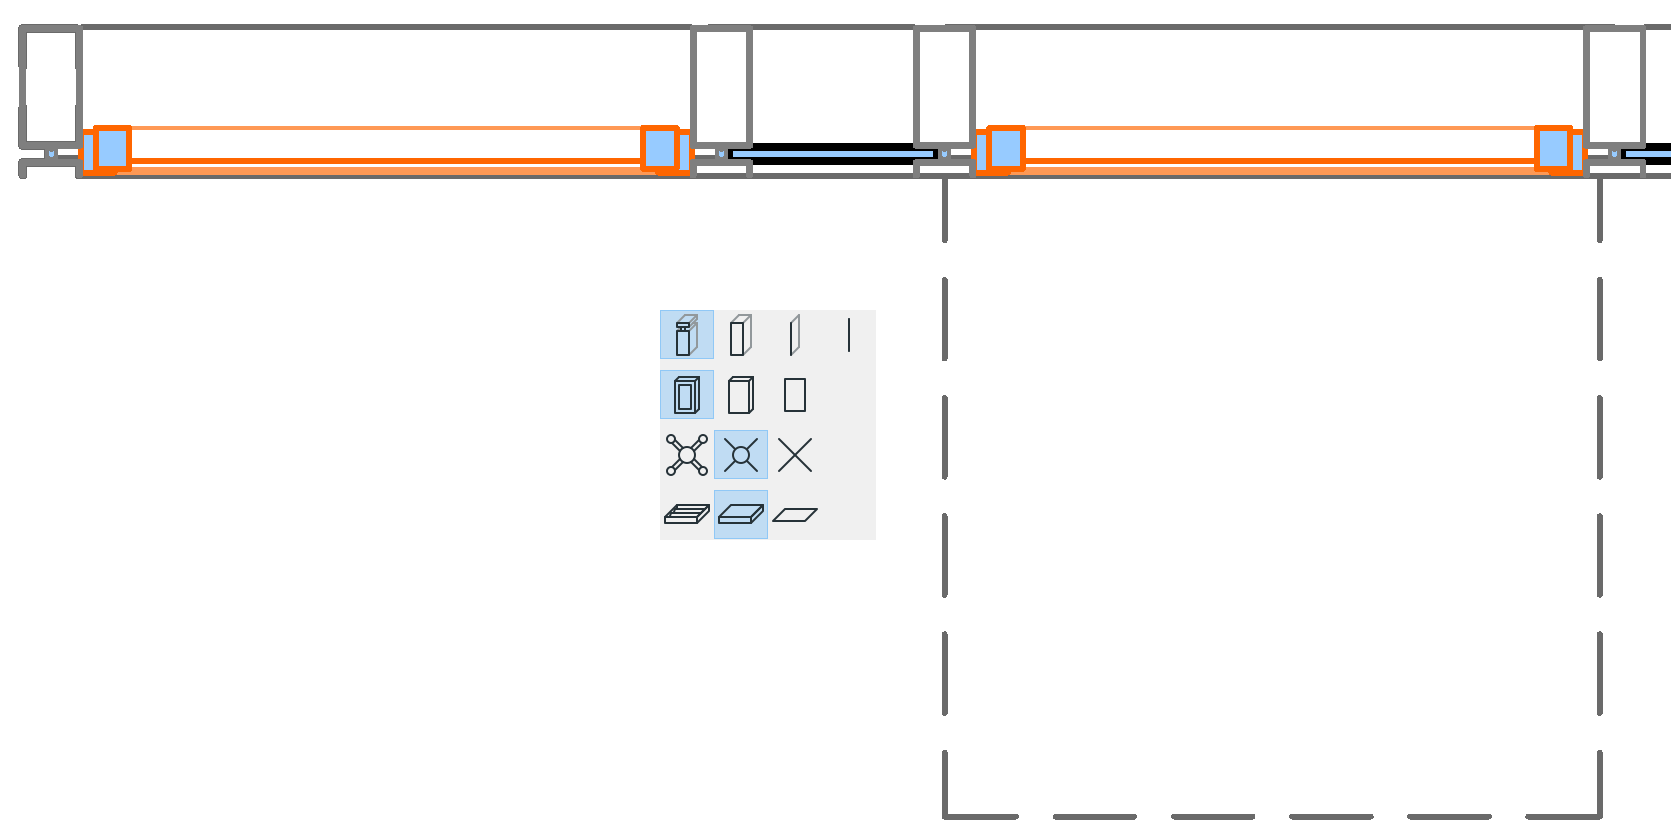
Simplified: Displayed as rectangular boxes, using a single Building Material. Figure 2. Detailed Frames/Panels, Simplified Accessories
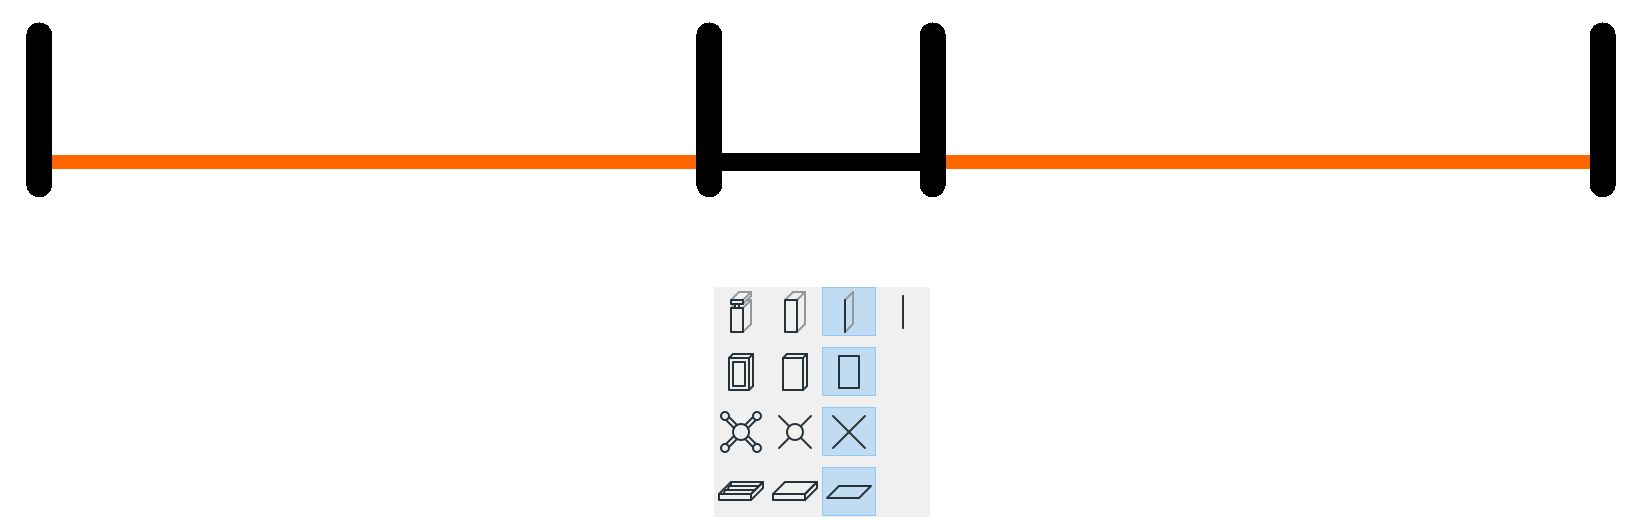
Schematic: Displays the scheme only (Gridlines and Boundary).Figure 3. Curtain Wall in Schematic View (Floor Plan) Figure 4. Curtain Wall in Schematic View (3D/Elevation)
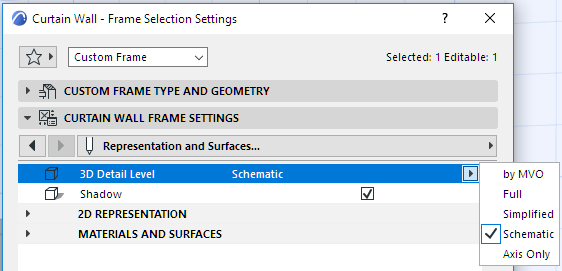
Override MVO Definition
For any individual Curtain Wall member or Member Class, you can override its MVO-defined 3D Detail Level in its component-level Settings dialog: