Handrail Settings (Railing Tool)

Note for MEP Designer users: Railings and Railing Settings are visible, but cannot be created or edited.


HandrailSettings.png

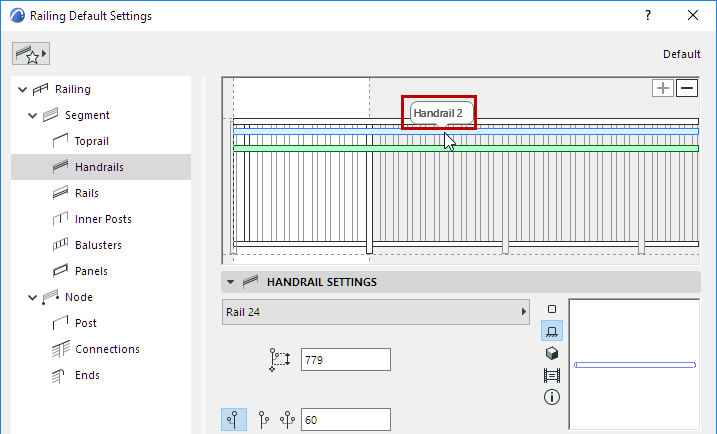
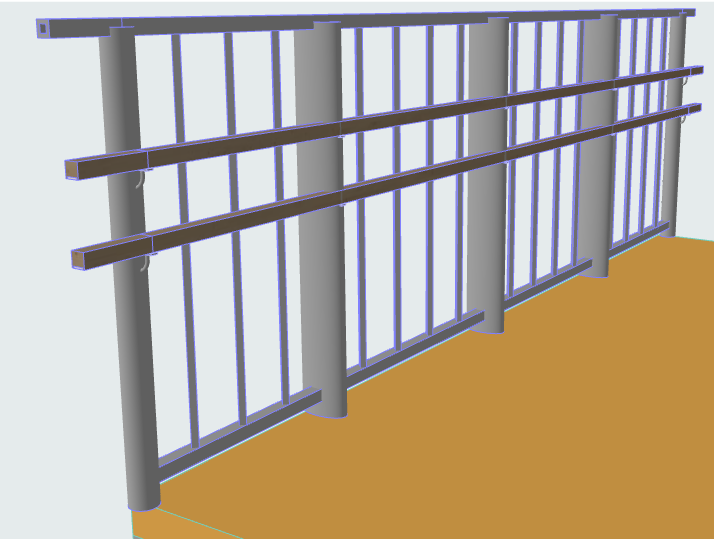
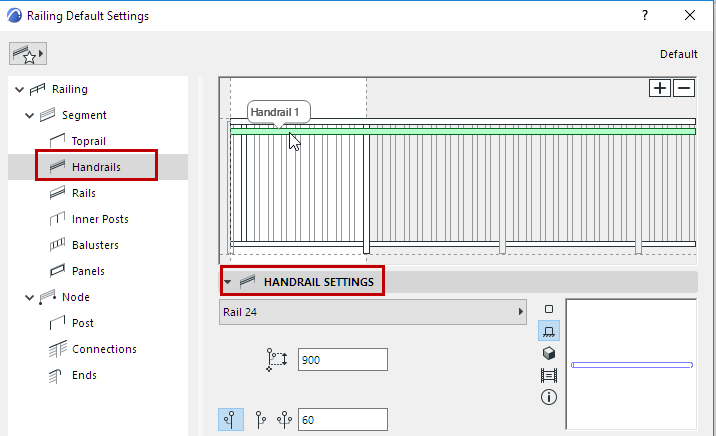
The Segment pattern can contain up to two Handrails. (Each can be doubled - see Use Double Handrails , below.)

To add or delete Handrails, use the Plus or Minus sign in the Pattern Editor.

See also Add Component in Pattern Editor.


Handrail2.png

For each Handrail selected in the Pattern Editor, define its parameters in Handrail Settings:

  • Choose a GDL component as the Handrail.

    To define settings for the GDL component, use the panel below. See Rail Component Settings (Toprail/Handrail/Rail).

  • Choose to place the Handrail on the left or right side of the Railing (“left” and “right” are based on the Railing input direction), or on both sides (see below).
  • Horizontal Offset: Define the lateral offset of the Handrail(s).
    Figure 1. Two Handrails
    TwoHandrails3D.png

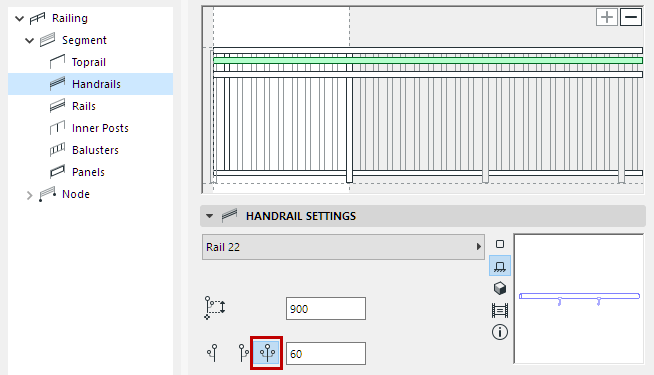
Use Double Handrails

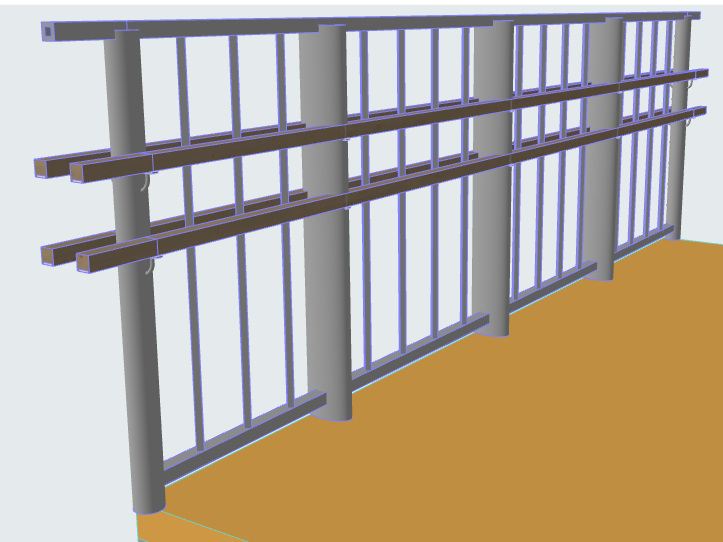
Each of the two Handrails can be doubled to the other side of the Railing, for a total of four physical Handrails: Choose the “Both Sides” option from the Handrail Settings:


DoubleHandrail.png
Figure 2. Two Handrails, Doubled
DoubleHandrail3D.png

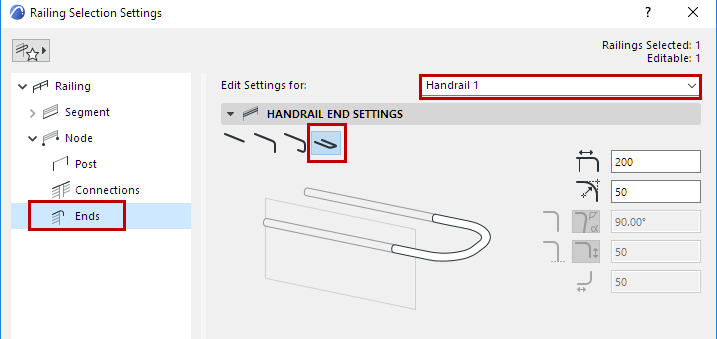
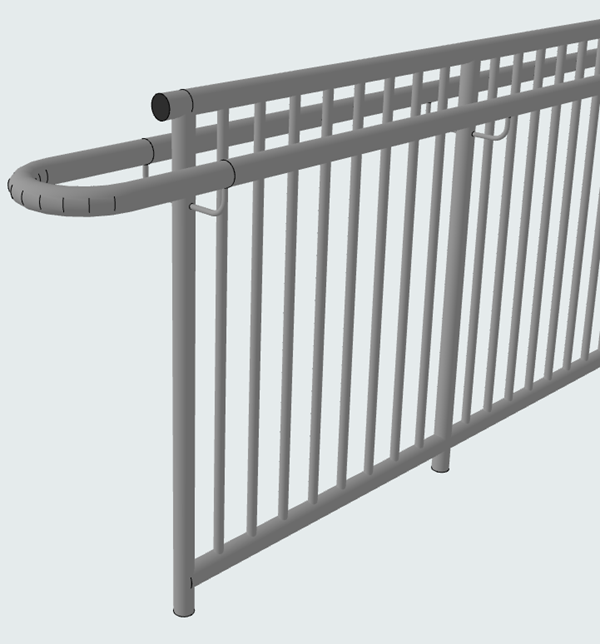
Connect Ends of Double Handrails

To connect the ends of the doubled Handrails, use the Ends page of Railing Settings:

ConnectDoubleHandrails.png

ConnectDoubleHandrails3D.png

See also Railing Ends (Toprail, Handrail, Rail).