Fix Modeling Errors: Check and Solidify Morphs
What is a Non-Solid Morph?
A Morph is non-solid if it includes any edge segment that is not adjoined by exactly two faces. A Morph with a free-standing edge, or faces that do not connect precisely, will be non-solid.
Often, you cannot see the non-solid error if you are looking at a complex model.
This may cause problems:
How To Fix a Non-Solid Morph: Use Solidify Command
To find and fix such modeling problems, do the following:
- Check the Info Box or Settings of any selected Morphs to see if they are solid.


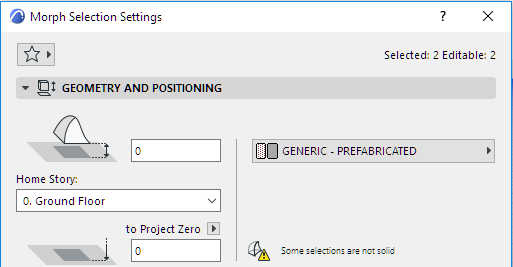
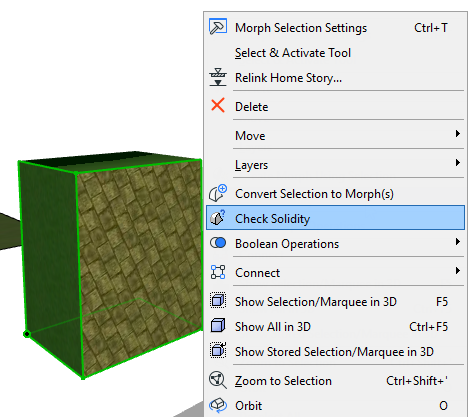
- Select any or all Morphs, then use the Check Solidity command from the context menu (or the same command from Design > Modify Morph).
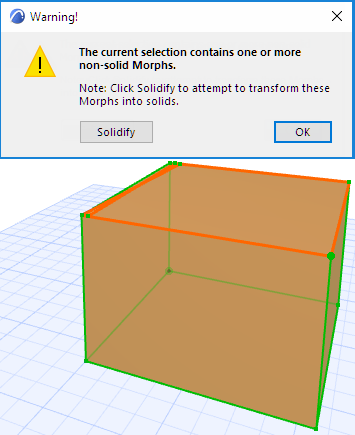
- If any of the selected Morphs is not solid, you get a warning, and the problematic Morphs and edges are highlighted in the model, as shown in the image below.
- To try to fix the error, click Solidify.
If the Solidify Command Cannot Fix The Error
If the Solidify command could not fix the non-solid Morph automatically, you get a warning.
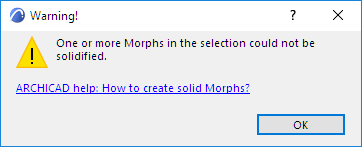
The problematic Morphs and edges are highlighted in the model.
Try to fix the problem with graphical editing, adding Morph edges to fill in the gaps:
- Use the Add to Morph command (pencil icon) from the pet palette to add one or more new Edges where the gap is. Each time you add a new Edge, the program will automatically try to create adjoining solid faces within the Morph.
- In some cases, it is useful to draw another Edge on top of an existing Edge where the gap is, to generate automatic faces.
- When you are done adding edges, select the Morph and use Check Solidify again to see if the edits worked.