Placing Doors or Windows
Windows and Doors can only be inserted into Walls; they cannot be placed independently in the project.
Follow these steps:
- In the Floor Plan or 3D Window, activate the Window or Door Tool, and choose the desired Window/Door object from the library.
- As you move the cursor over the target Wall, you will see a preview of
the opening at its current location.Note: If you hover the cursor in a place where several Walls intersect, click Tab to toggle among them until the one you want is highlighted.
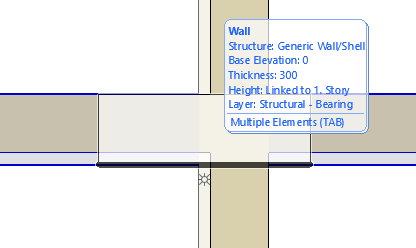
- The sun icon and thick line represent the “outside” (reveal
side) of the Wall
To switch the reveal side, just move the cursor to the opposite side of the Wall.
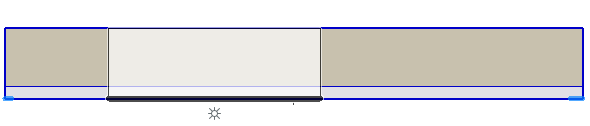

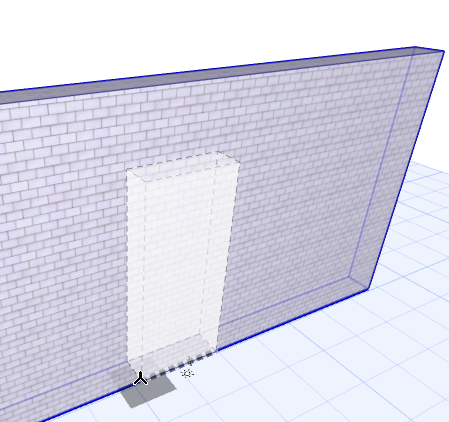
- Click to place the opening at the desired place.
The Anchor Point determines whether you will place the Window or Door by its centerpoint or either side.
As you place the opening into a Wall, you can switch Geometry Methods on the fly (use the Anchor Point control in the Info Box, or its shortcut.)



- Next, you will choose the opening direction: toward the inside or outside of the wall, either on the right or the left: each possibility is shown by an arrow on screen.
- Click to place the opening.
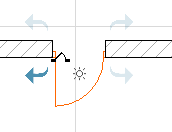
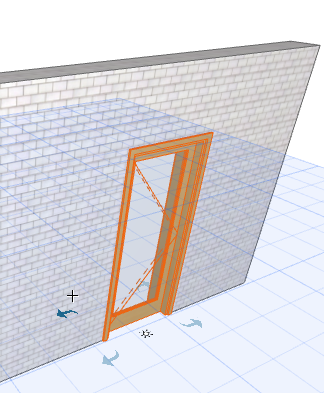
Flip Opening Direction
The Flip button (in the Info Box or Door/Window Settings) switches the opening direction of a selected door/window from one side to the other, while keeping the frame in place.
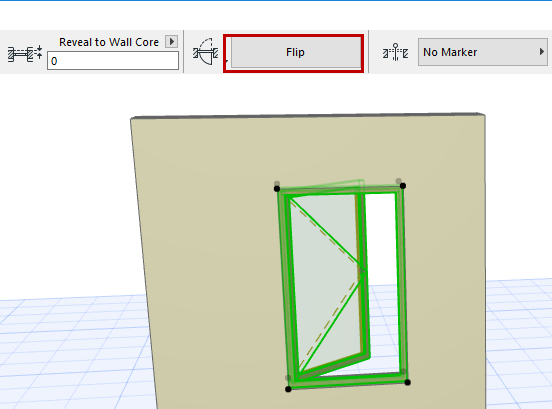
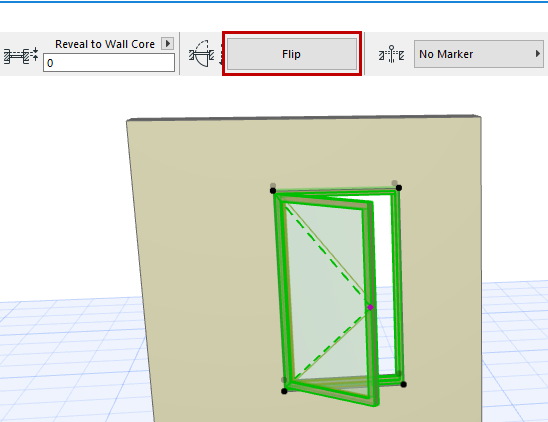
In Section/Elevation/IE Windows:
You can create new construction elements only by duplicating existing ones, using the Multiply or Drag a Copy functions.