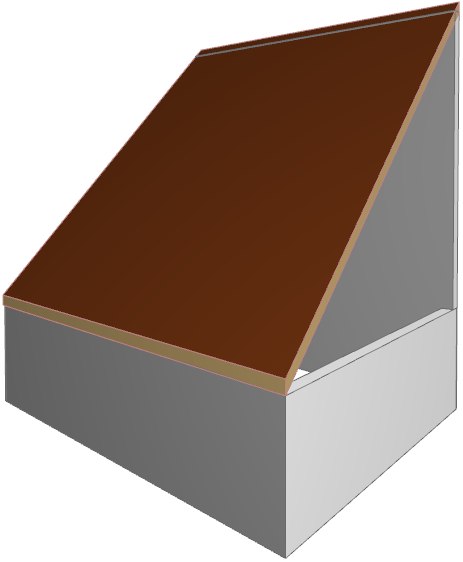
Create a Single-plane Roof in the 3D Window
Note: Apart from drawing a new Roof as described below, you can also select a Multi-plane Roof and split it into several Single-plane Roofs, using Edit > Reshape > Split into Single-plane Roofs or Design > Roof Extras > Split into Single-plane Roofs.
Use this method if you want to place a roof that snaps to existing elements in the 3D window.
- Select the Roof Tool.
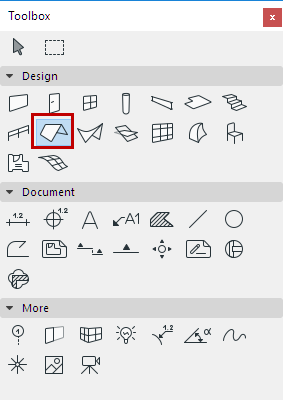
- In Roof Settings or the Info Box, adjust the main roof parameters (e.g. pitch, surfaces, eaves overhang)
- Choose the Single-plane Construction method from the Info Box.
- Choose one of the three Geometry Methods in the Info Box (Polygon, Rectangle, or Rotated Rectangle).

- In the 3D window, define the roof plane by clicking on three points. The first two points constitute the pivot line.
- Draw the contour of the roof. The Hammer cursor appears when you return to the first node. Click to close the polygon.
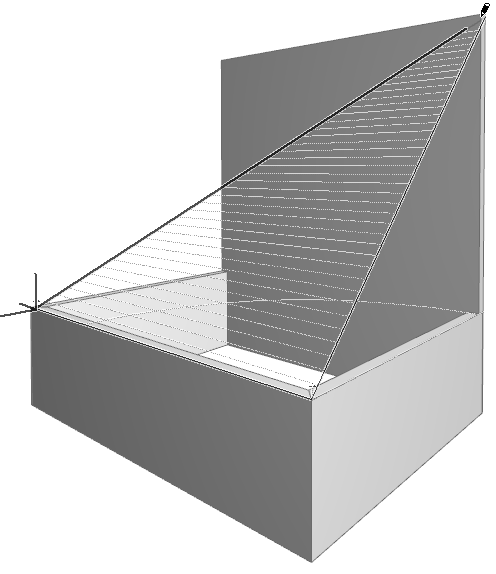
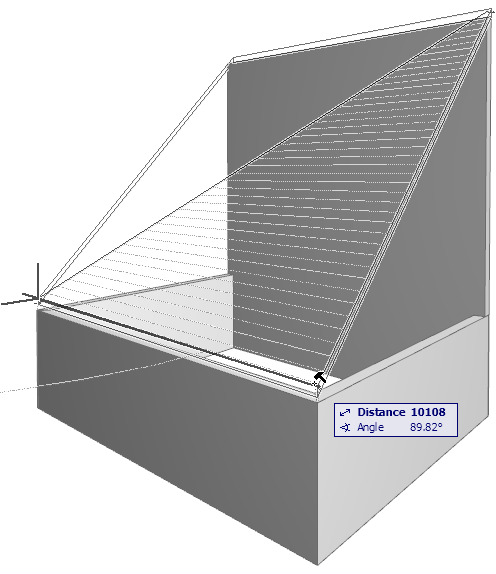
- The Roof is generated.