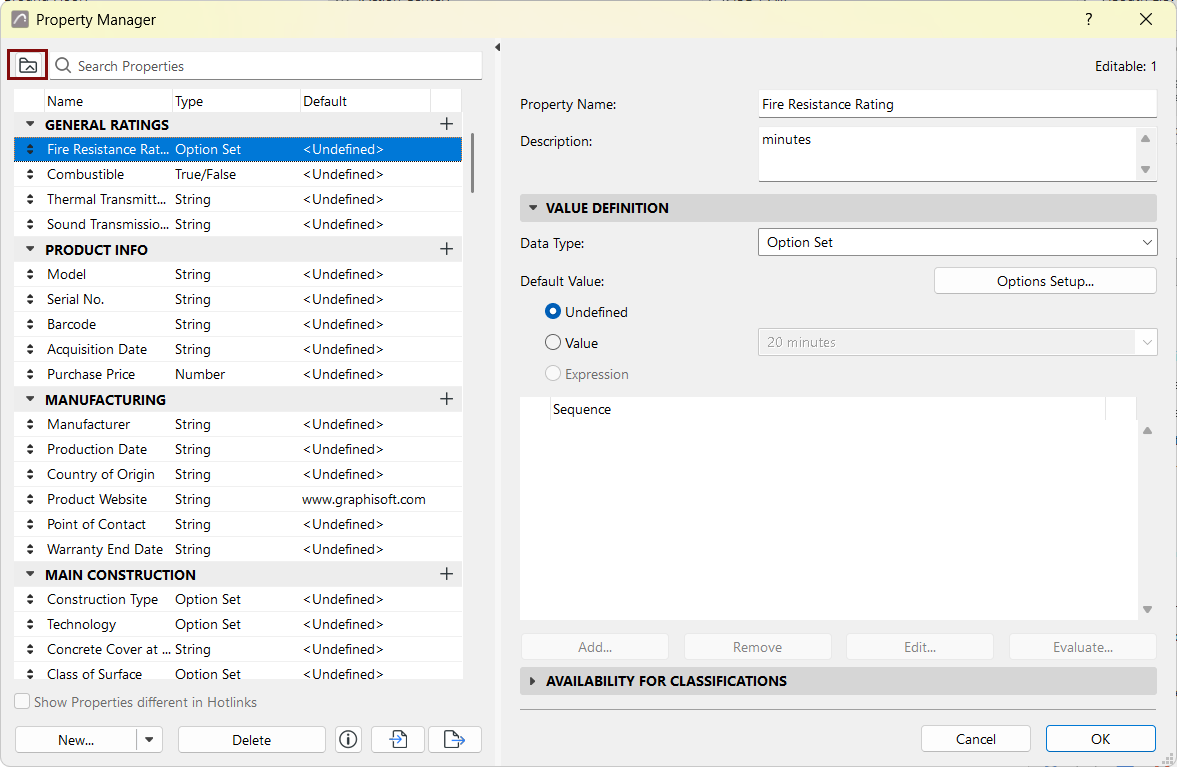
Use the Property Manager (Options > Property Manager) to create
and manage the set of properties for this project, define Property values, and customize
Property availability for the various classifications.
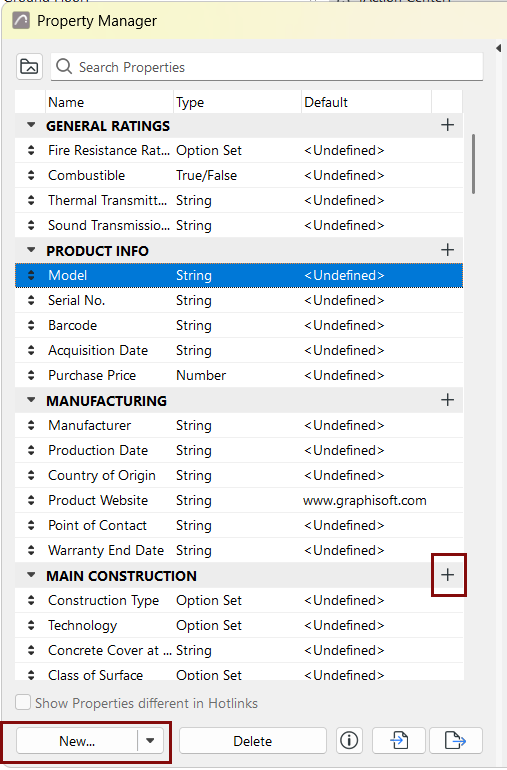
The left side of the Property Manager lists all the properties available in
the project, organized into groups.
As needed: expand or collapse all the groups, by clicking the folder icon or context menu
commands.
Property Manager can also be opened from the Classification Manager dialog
box.
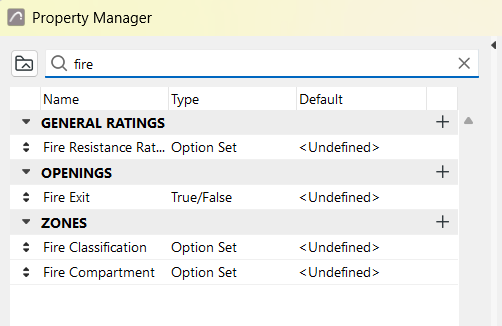
Search Property List
Click the Search icon, then start typing text into the search
field. All property and group names containing the search term are shown.
Create New Property or Group
Open the Property Manager dialog box at Options > Property
Manager, or from Classification Manager.
Do one of the following:
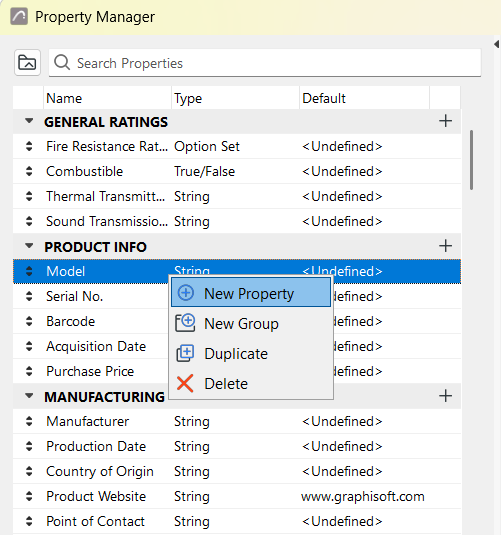
Click anywhere in the Property list and use the context menu
Click the New button at the bottom of the dialog box
Click the Plus sign to the right of any Group name
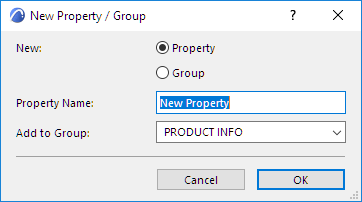
In the New Property/Group dialog box: Choose a radio button for
either a new Property or Group, then enter its name.
The
Property Name must be unique within its Group.
Add to Group: For a new property, choose the group into which
it should be placed.
Click OK.
Duplicate Property
Select a Property.
From the context menu or drop-down list under the New button, click
Duplicate to add a duplicate of that Property to the list.
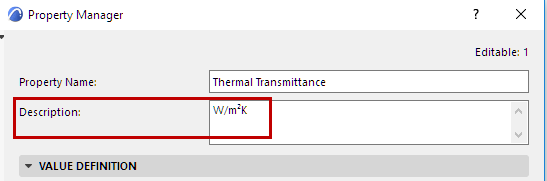
Property Description
Optionally, enter any further information here to guide the user in
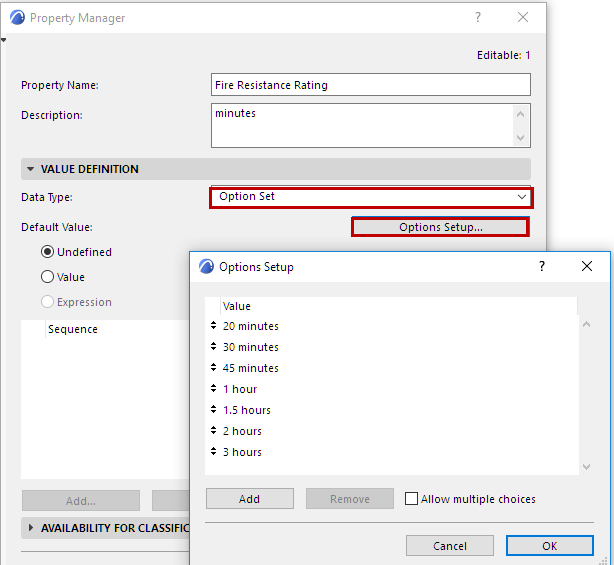
assigning a value to this property. For example, its format or measurement unit: “minutes”
for the Fire Resistance Rating Property, or “W/m2K” for Thermal Transmittance.
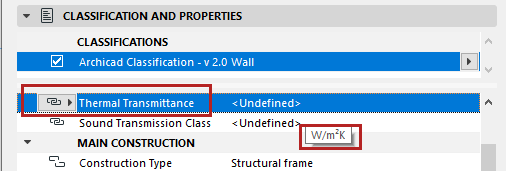
In the item’s Classification and Properties panel, this description is
visible when hovering over the property name:
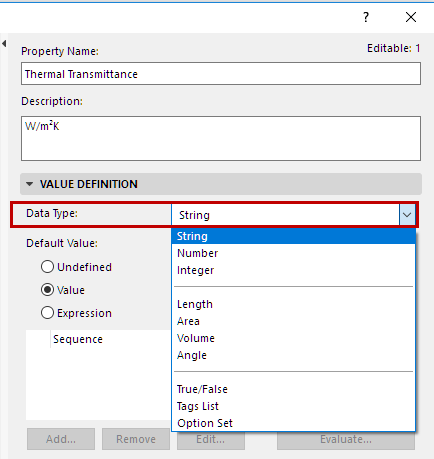
Data Type
The property’s Data Type determines the format of the value(s) that can
be assigned to it.
Select a property from the left side of the Property Manager (e.g.
Thermal Transmittance).
Choose a Data Type from the right side of Property Manager:
A property’s Data Type is relevant for the syntax of Expressions, when
you define an Expression-based Property.
String: Can use any text or non-unit number (e.g. for the
“Manufacturer” property)
Number: Can use any non-unit number expressed in decimals (e.g.
for the “Purchase Price” property). The displayed number of decimals depends on the
Numbers without Units setting in Options > Working Units.
Integer: A whole number (e.g. for the “Sound Transmission
Class” property)
Data with Unit Values
The next four data types are Unit values:
Area
Length
Angle
Volume
Tags List: Can be a tag or series of tags (e.g. Building A,
Floor 2, Common Use, Kitchenette)
This data type cannot be used for an Expression-based property.
Option Set: Provides a fixed set of options (e.g. for the “Fire
Resistance Rating” property)
This data type cannot be used for an Expression-based property.
However, Option Set-type properties (without Multi-Choice) can be used within an
Expression.
This button is active only if the Data Type is “Option Set”.
Not available for Expression-defined Properties. However, Option
Set-type properties (without Multi-Choice) can be used within an Expression
Click to open the Options Setup dialog box.
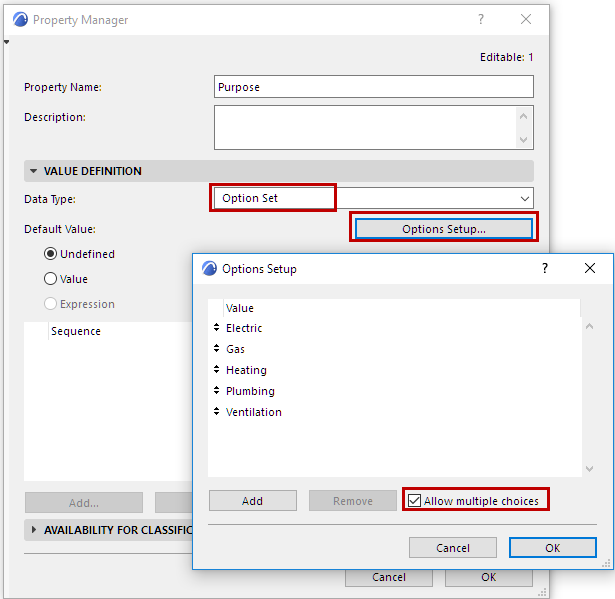
Use Options Setup to list a set of specific values that the user
can choose from when defining this property for a particular element or material.
Click Add to add a new option (type a value into the New
Option line).
To delete an option, select it and click Remove.
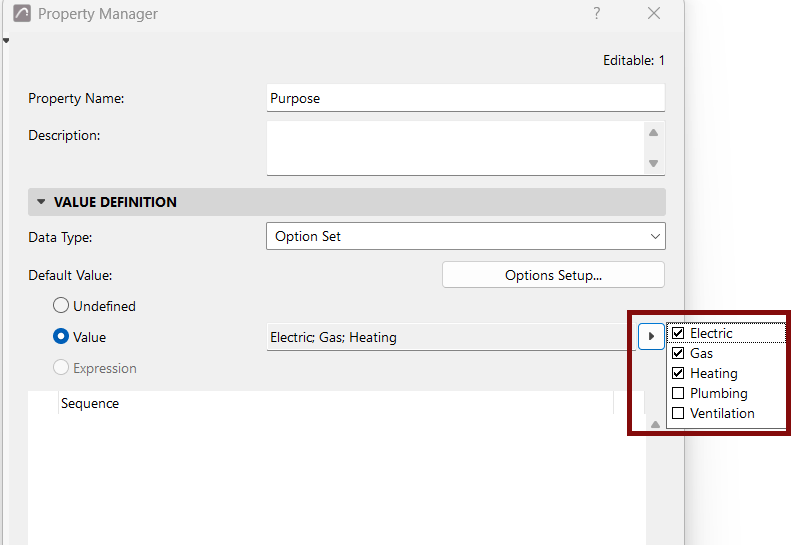
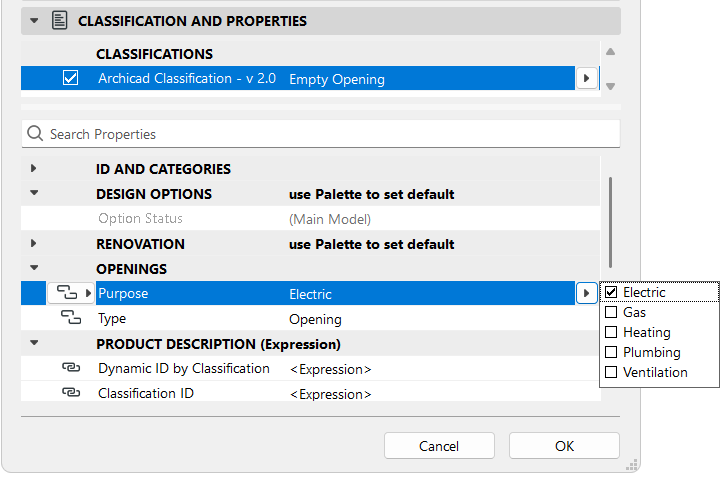
Check Allow multiple choices to enable the user to choose more
than one value for this property (in Property Manager, the Settings dialog, or the Info
Box).
Figure 1. Multi-Choice Property Values in Element Settings