Define Name & Design Area
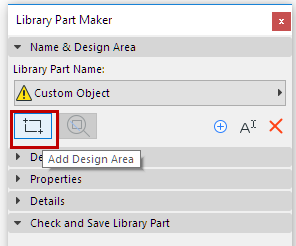
The first step is to create a Library Part Name and draw its Design Area on the Floor Plan.
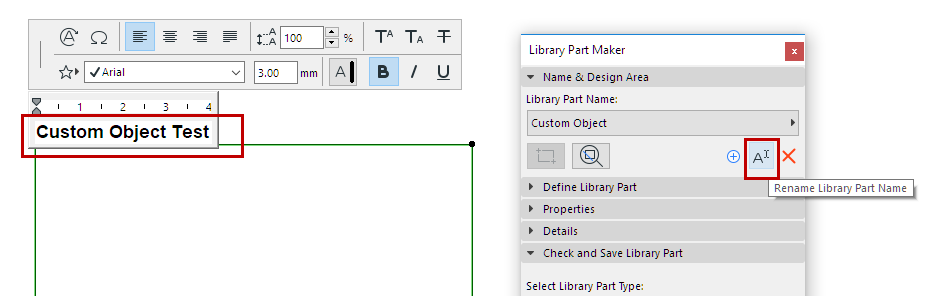
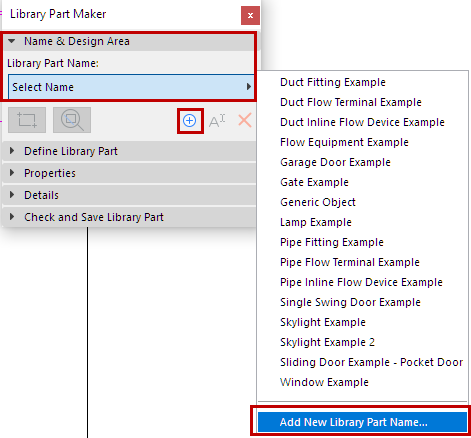
- In the Library Part Maker palette, do one of the following:
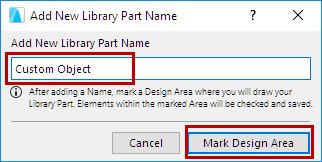
- In the appearing dialog, assign a name.
- Click Mark Design Area.
- Click on the Floor Plan to draw a Design Area frame. The name is
displayed next to the frame automatically.
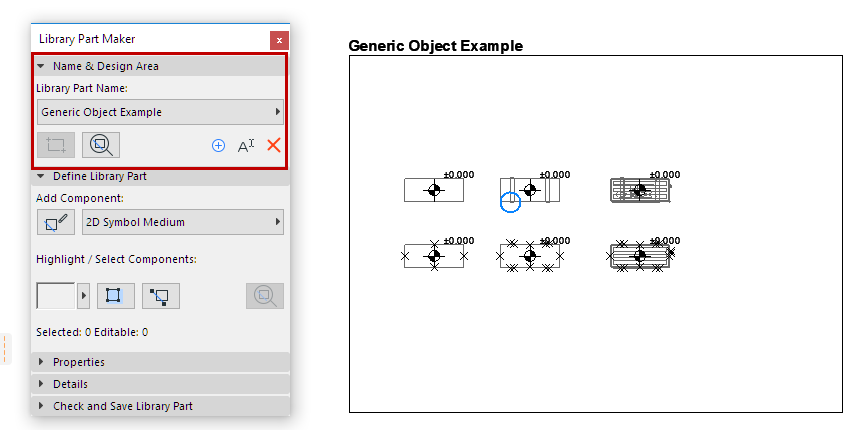
You can also create new Design Areas by copy-pasting an existing Design Area (e.g. in a matrix). Each copy is automatically given a new name and listed separately in the Palette’s pop-up.
What is a Design Area?
- The Design Area contains the 2D and 3D elements (components) which constitute the Library Part. The Design Area groups these components and their attributes, and preserves any modifications you make along the way.
- The Design Area can be added before or after creating the current Library Part.
- The Check and Save function considers the current Design Area content when checking the validity of the library part.
- Deselecting the Design Area or any of its parts will not result in
lost changes.
See also Zoom to a Design Area.
Add New Design Area
If the Design Area frame is deleted, the Library Part Name is still available in the palette, but you will not be able to save it: When you run a check, you will get a warning.
To draw a new Design Area, click the Add Design Area icon and draw it again.
Rename Library Part Name
Do one of the following: