Element ID Manager
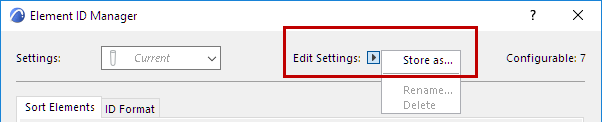
Use this dialog box at Document > Listing Extras > Element ID Manager to set the ID numbers of the project’s elements based on their criteria. You can also use it to modify automatically generated ID numbers. Settings can be saved and stored for future use.
The configurations you create and save with the Element ID Manager help you prepare Project elements for clearer reading of quantity takeoffs.
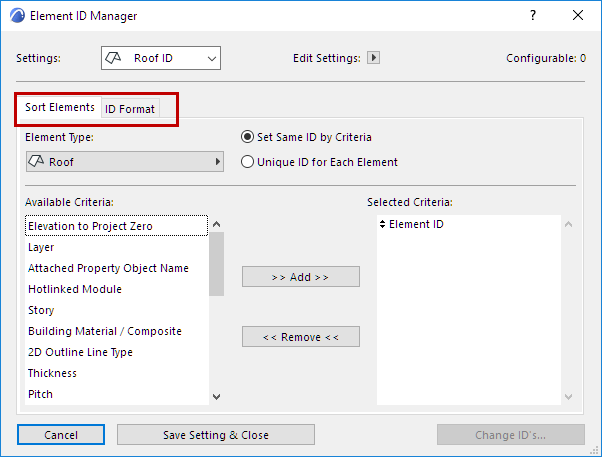
The dialog box includes two tab pages: Sort Elements for defining attribute choices and ID Format for defining custom ID sets.
Sort Elements
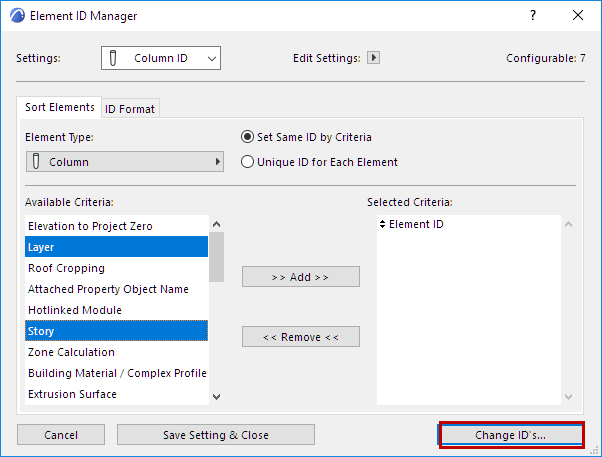
When the Sort Elements tab is active: Choose an Element Type.
- If any elements are selected on the Floor Plan, Element ID Manager works on the selected elements only.
- If you select elements for assigning ID’s, and have no Selected Criteria, the ID numbers will be assigned in the order the elements were selected.
- If nothing is selected on the Floor Plan, the command works on all placed and visible (not on hidden layers) elements.
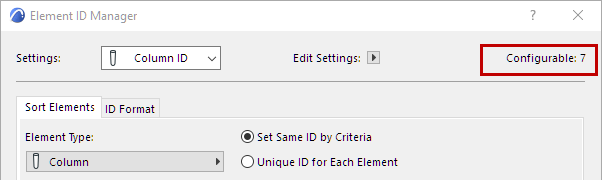
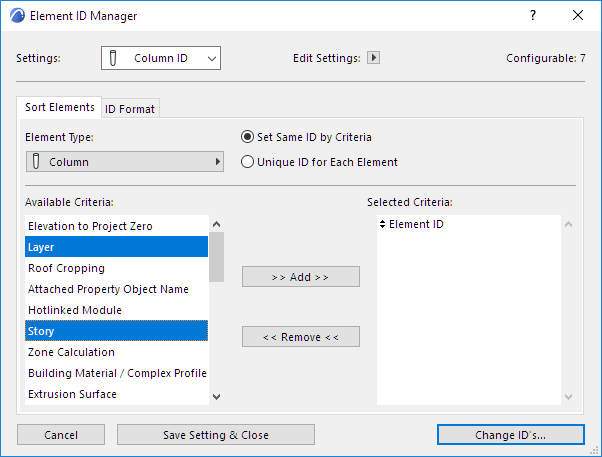
Select and add criteria to the list on the right.
ID Format
Click the ID Format tab page. This allows you to define custom ID Formats:
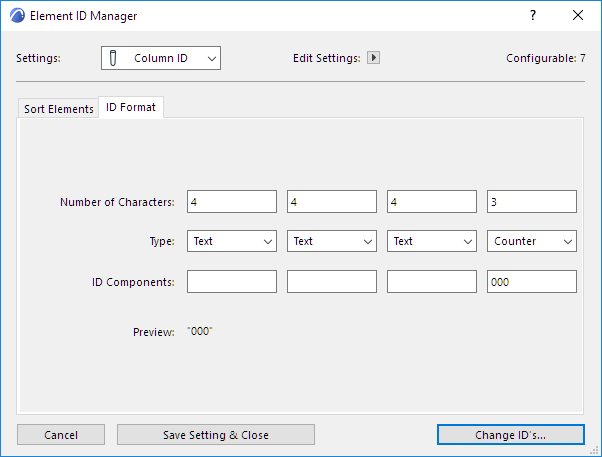
Element ID Manager allows you to subdivide the ID into four parts.
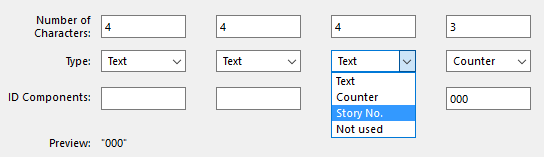
For any of the parts, you can type plain text, a counter or a story number into the ID Components field.
Generate Element IDs
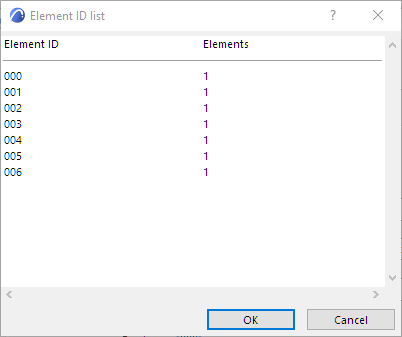
Click Change ID’s to generate the Element ID List dialog.
You can save your settings using the Edit Settings pop-up menu on top of the dialog box.