Draw a 2D Fill
Use the Fill tool to draw freehand fills in the project - for example, to create patches in a Section or Elevation view.
- In Fill tool settings, choose a Fill Category.
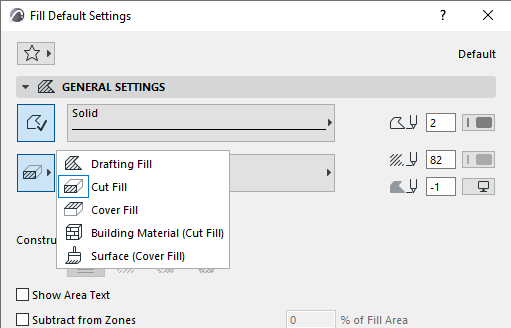
- The first three (Drafting/Cut/Cover) are the same categories defined in the Fill dialog box. See Fill Categories
- Use the category that corresponds to the Fill function: If you are patching a section element, then choose Cut Fill; if you are working on an uncut element in elevation, choose Cover Fill.
- The two other categories (Building Material and Surface) make it easier to match cut fills based on Building Materials, and cover fills based on Surfaces. See descriptions below.
- The Fill pop-up now contains Fills of that Category. Choose a Fill type (or Surface or Building Material).
- Draw a freehand fill.
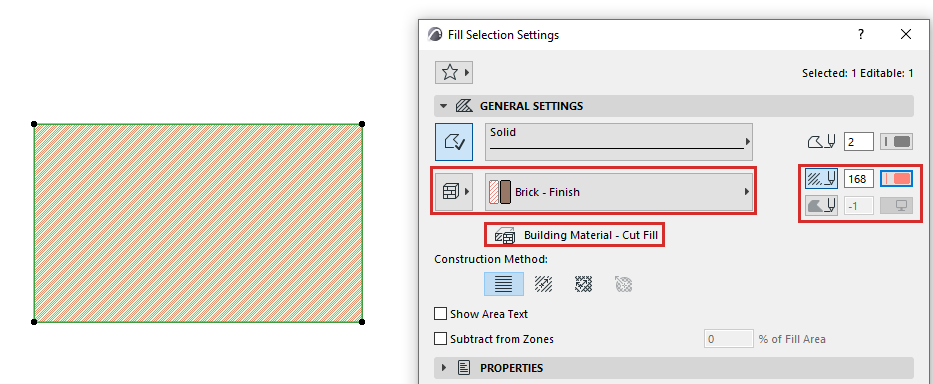
Building Material (Cut Fill)
Uses the cut fill and colors of the chosen Building Material.
If needed, you can override these background/foreground colors for the Fill element.
Note:
Surface (Cover Fill)
- Choose a Surface from the pop-up.
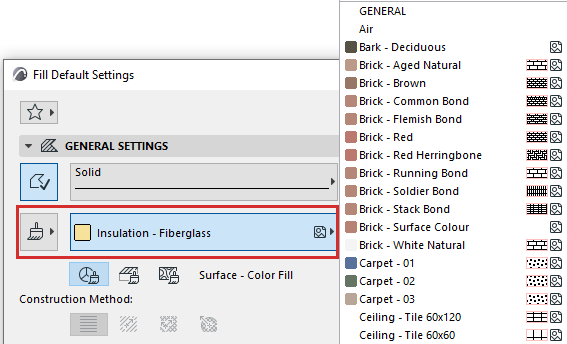
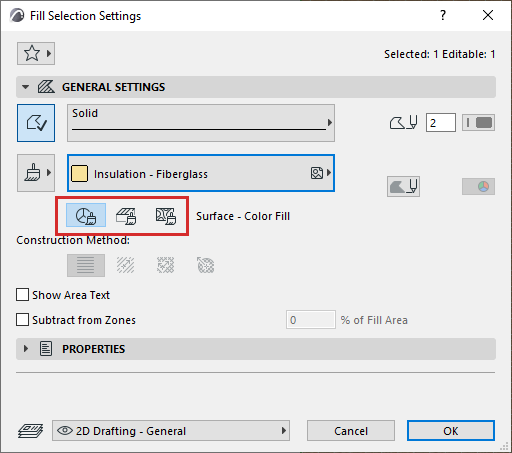
- Choose to use either the Color, Cover, or Texture of the chosen Surface.
Note:
Surface - Color Fill
Uses the Surface color’s Background Pen.
If needed, you can override this color for the Fill element.
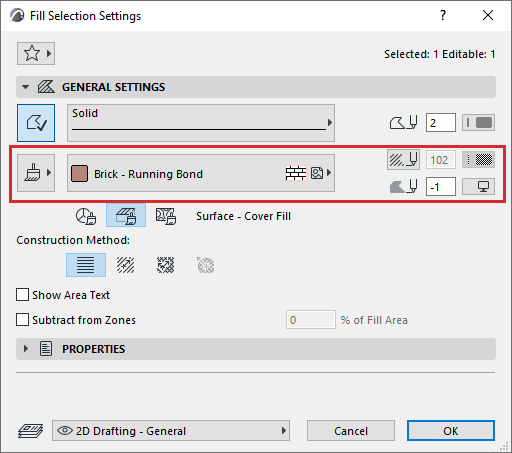
Surface - Cover Fill
Uses the Surface Cover Fill's Foreground Pen.
Override the Foreground and Background pens of the Fill element if needed.
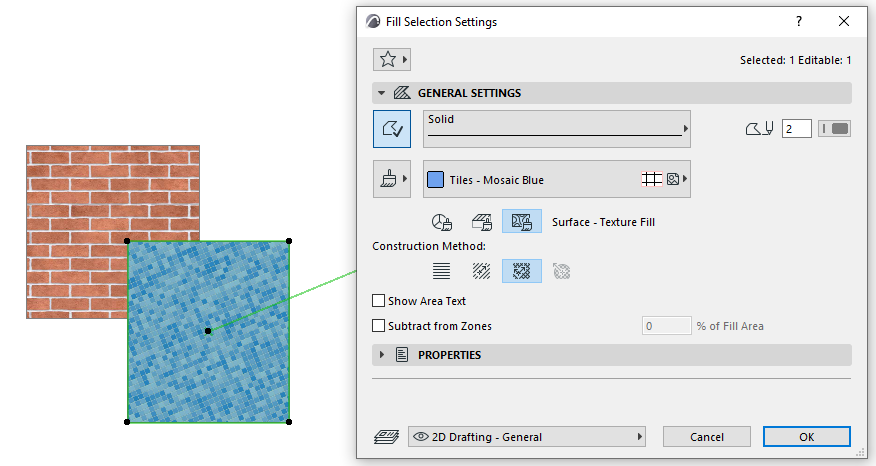
Surface - Texture Fill
This Fill is based on the Surface Texture. It does not use pens.