Merge DXF-DWG
- Use File > Interoperability > Merge, then choose where to browse the file: either from File or from BIMcloud
- In the Merge file dialog, browse for the desired DXF or DWG file.
- Click Open.
- The Merge DXF-DWG dialog box appears. You have two choices:
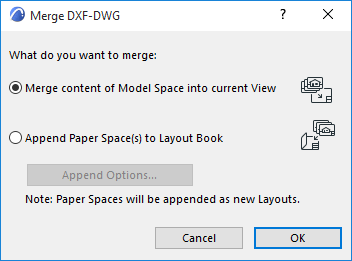
- Merge content of Model space into current View: Choose this to
merge the Model Space portion of the DXF-DWG file into the project. The Top View of AutoCAD
elements in the DXF-DWG Model Space will be generated and placed into as 2D elements.
Set further options in the appearing dialog: Merge DXF-DWG Model Space Dialog Box.
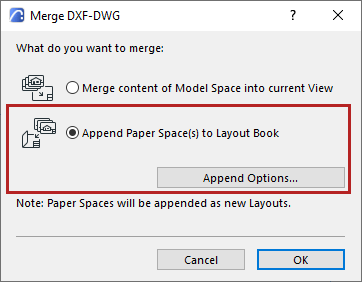
- Append Paper Space(s) to Layout Book: Choose this to append the Paper Space(s) of the DXF-DWG file to the Layout Book.
- Paper Space definitions will be converted to Layouts.
- A new Master Layout will be created if the DXF-DWG drawing contains Paper Space size definitions not yet available in MEP Designer.
- DXF-DWG Viewport content will be converted into Drawings and placed onto Layouts. These Drawings are not editable; they will appear in the Drawing Manager with “embedded” status.
- Elements drawn in Paper Space will be converted to
MEP Designer elements and placed directly onto
Layouts.
Click Append Options to set further options:.
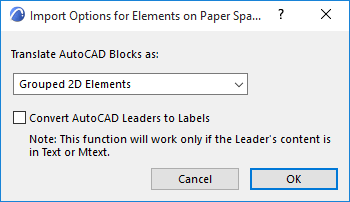
Translate AutoCAD Blocks as:
Choose an option:
Convert AutoCAD Leaders to Labels: Check to perform this conversion during the Merge process.
If you leave this box unchecked, AutoCAD Leaders will be converted to simple 2D elements.
Note: This checkbox is also available in the Translation Setup
Dialog, at Custom Functions > Open Extras. See Custom Functions (DXF/DWG Translation Setup).