Use this menu (Edit > Align) to align selected elements with each other, or to a custom-drawn target line, using a variety of criteria:
•Align elements right or left;
•Align elements to the top or bottom;
•Center elements vertically or horizontally;
•“Special”-align elements to any point on an existing element, or to a temporary line/arc drawn by you.
The Align commands are only active if you have selected at least two elements.
When using the Align commands, the expression “right” refers to the rightmost element on the x-axis in the window you are looking at (e.g. Floor Plan, Section, 3D). The expression “left” refers to the left-hand direction on the x-axis.
Similarly, “top” means the element with the highest y-coordinate in the current window, and “bottom” is the element with the lowest y-coordinate.
Archicad identifies an element’s right/left/top/bottom/center point according to an (invisible) bounding box around the element.
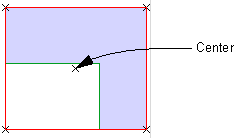
For example, suppose you want to align the following Corner Table object with other furniture:

Archicad will use the centerpoint of the table’s bounding box (here, illustrated in red):
Note: If you want to use a different anchor point of the elements you are aligning, use the Special Align options (Edit > Align > Special Align).
1.Select the elements you wish to align.
2.Go to Edit > Align and choose one of the following operations:

Left: If you choose Edit > Align > Left, all selected elements will be aligned to the leftmost bounding-box point of the element that is located farthest to the left.
In this example, we want to align the three windows shown in Section view.

Select all three windows and use Edit > Align Left.

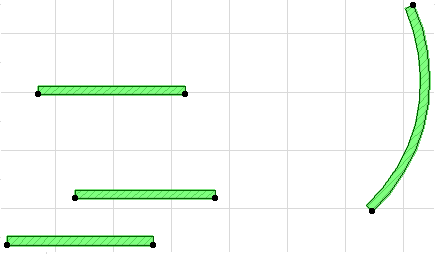
Right: If you choose Edit > Align > Right, all selected elements will be aligned to the rightmost bounding-box point of the element located farthest to the right.
•In the illustration below, the arc wall is the rightmost element; the rest of the walls (their rightmost points) are aligned to the rightmost point on the arc wall’s bounding box.

Top/Bottom: If you choose Edit > Align > Top or Bottom, all selected elements will be aligned to the topmost (or bottommost) point on the element that is the top (or bottom) element of the selected group.
•In the example below, we want to move up the window on the left, so that it lines up with other two windows.

•To achieve this, we select all the windows, then use Edit > Align > Top to obtain the desired result.

Center Horizontally: If you choose Edit > Align > Center Horizontally, Archicad will determine the selected elements’ top and bottom y-coordinates, and then align all the elements horizontally (using each element’s centerpoint), along a horizontal line halfway between the top and bottom elements.
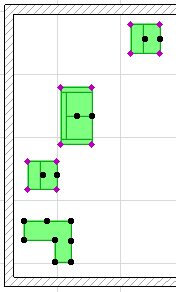
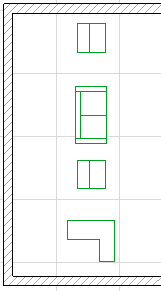
Center Vertically: If you choose Edit > Align > Center Vertically, Archicad will determine the selected elements’ leftmost and rightmost x-coordinates, and then align all the elements vertically, along a vertical line halfway between them.
•For example, in the following Floor Plan, we will center the selected furniture vertically.
The options in Edit > Align > Special Align give you great flexibility in lining up selected elements. You can choose which point to align, and you can choose what to align the elements to: a temporary line/arc drawn by you, or any existing line/edge.

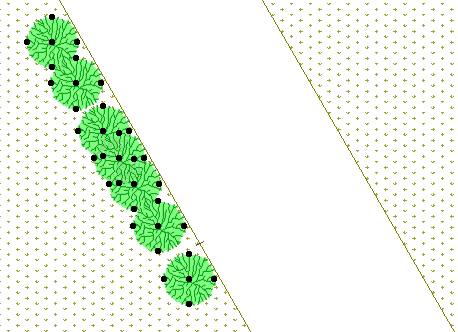
In this example, we wish to align the selected tree objects to the edge of the garden path.
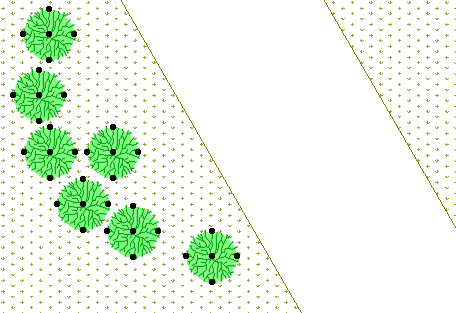
Go to Edit > Align > Special Align and choose the Nearest Point option: each tree will line up along the path using each tree’s bounding box point that falls closest to the path.
Choose the Click an existing line or element edge option.
Click OK to close the dialog box, then click the edge of the path (here, the edge of the mesh). The trees line up along the path.
