Not available in Archicad Start Edition 2023
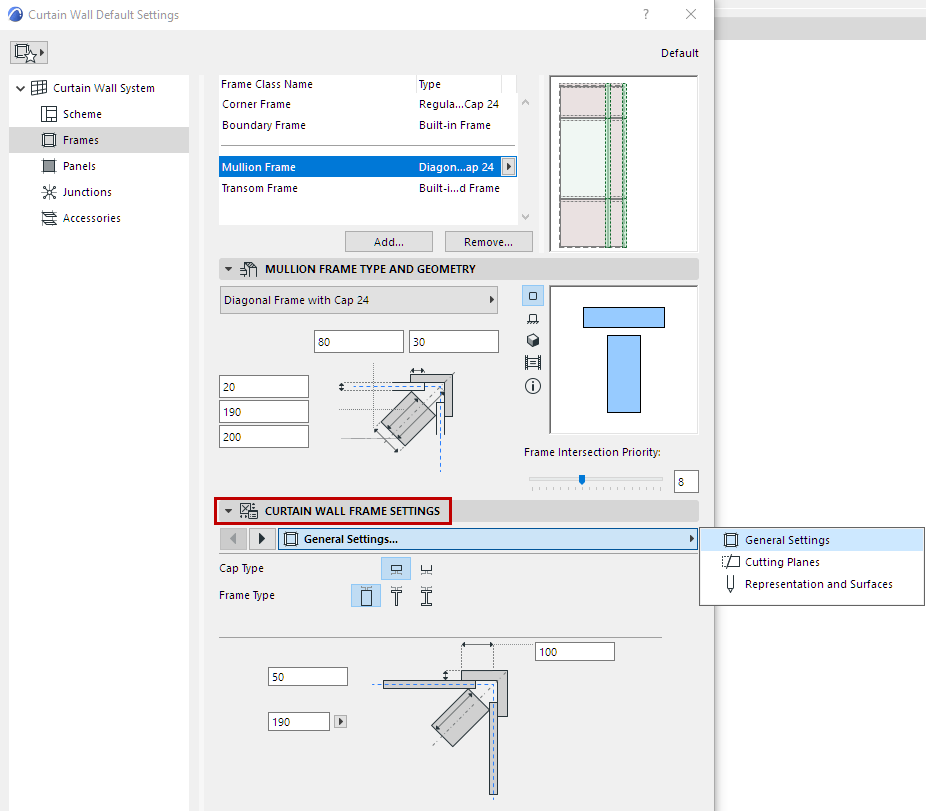
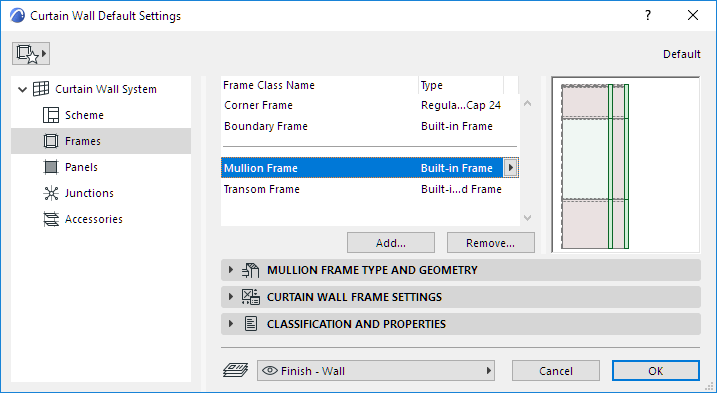
The Frames page of Curtain Wall Settings contain the settings for each Frame Class.
Frame Tool Settings (in Edit mode) contains nearly identical controls.
The top of the dialog lists the available Frame classes, by name and type. By default, Frame classes include: Corner, Boundary, Mullion and Transom.
The selected class is highlighted in the preview window. The preview window also displays the Frame’s surface color.

1.Click the Add button.
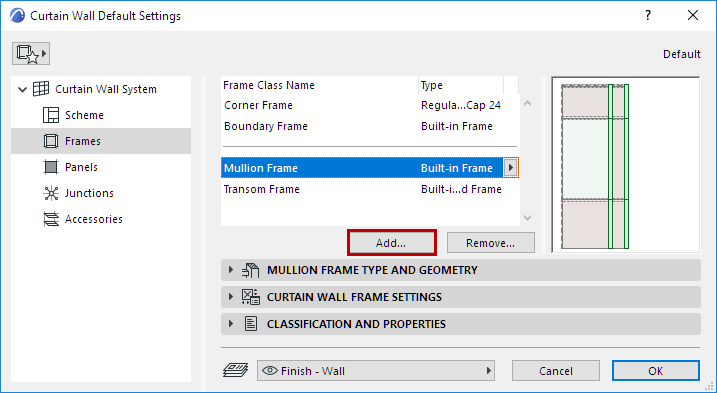
2.In the appearing dialog:
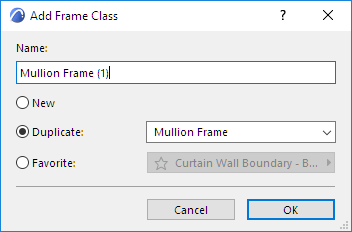
•New: Creates a new Frame class based on the default Frame (e.g. Built-in)
•Duplicate: Duplicates the currently selected Frame class under a new name
•Favorite: Click the pop-up to choose a Frame Favorite: the new Frame class will use these Favorite definitions.
Add Frame Class Based on Customized Frame (Edit Mode)
Another way to create a new Frame Class is to customize a single Frame in Edit Mode, then save its settings as a new Frame class.
1.Select the Curtain Wall and enter Curtain Wall Edit mode.
2.Select a Frame to customize it. Its class is now “Custom.”
3.From the Frame Class pop-up in the Info Box, click Add Frame Class from Custom...

4.Use the upcoming dialog to create a new Frame class.
Rename Frame Class
Double-click the Class in the list, and rename as needed.
Copy-Paste Frame Settings Between Classes
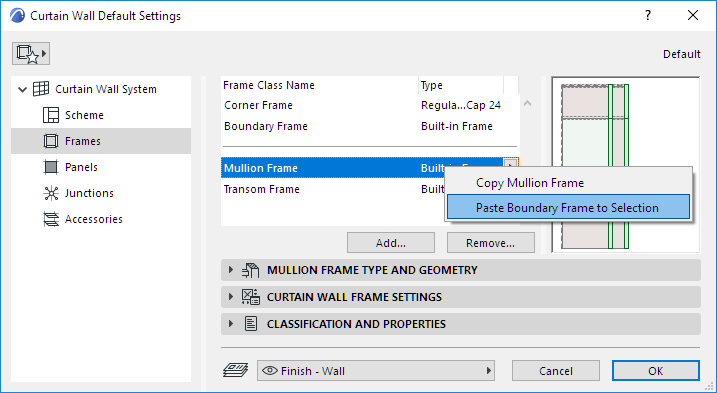
In Frame Settings, right-click the name of any Frame to copy its settings.
Right-click any other Frame to insert the copied settings for that Frame.
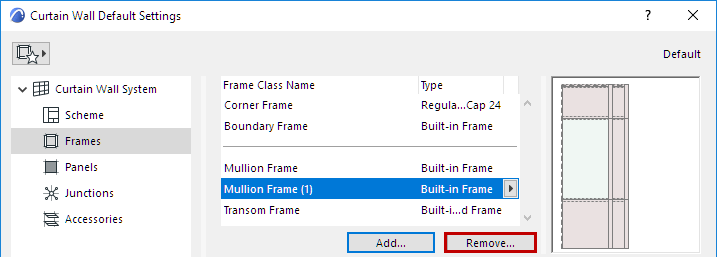
1.Select one or more Frame Classes to remove.
2.Click Remove.
Note: The Boundary and Corner Frame classes cannot be removed.
3.In the appearing dialog:

•Choose how to convert the Frames in the class that is being removed:
–None: Merge Panels: Frames will be deleted, and the adjoining panels merged together.
–Division: Frames will be deleted, but the adjoining panels will remain divided.
–Convert to Another Frame Class: Choose another, existing Frame Class.
Division Frames are a predefined class, with fixed settings. They function as an invisible Frame; the adjoining Panels remain divided. You cannot edit Division Frames on this page; this class cannot be deleted.
Division Frames are available
• as an optional replacement whenever you delete a Frame Class (replace the deleted Frames with a Division), and
•in Scheme Settings, as a Frame class option for a selected Frame in the Grid Pattern
Select Frame Type and Geometry
For the Class selected in the list at the top of the dialog: choose a Frame Type from the pop-up list, in the Frame Type and Geometry panel.
Then set its geometric parameters as applicable.

•Invisible Frame: This Frame exists as an object, but it is not visible.
–Use this Frame if you want two neighboring panels to remain separate, but without displaying a Frame between them.
–Set an optional gap between the two adjoining Frames.
–Invisible Frames are also appropriate when you don’t want to burden the model with the Frame details, or when other structures (e.g. junctions) are used to support the panel connections. A seamless panel surface can be achieved if Frames are deleted from grid lines.
•Built-in Frame: This is the most common type of Frame, with a rectangular profile. From the outside of the wall, a “cap” is visible. Assign its Building Material in Frame Settings (the panel below).
•Butt-Glazed: A rectangular profile, used for inner support of a butt-glazed Curtain Wall surface. The panels will connect to each other in the front of a butt-glazed Frame, so the Frame will not be visible on that side (unless the panels are transparent or a gap is specified.) Assign its Building Material in Frame Component Settings (the panel below).
•Modular Frame: Add an additional module to this Frame: a custom-created frame or cap profile object that you draw and save as a specialized component.
See Example: Create Custom Frame or Cap Profile for Curtain Walls.
See also Curtain Wall Corner Frames.
Frame Intersection Priority
See Curtain Wall Frame Intersections.
For the chosen Frame type, you can set various parameters, as usual for GDL-type components.
Note that you can override the Model View Options settings for its 2D and 3D Detail Levels, as applicable.
