
Specific Element Intersections and Junctions
See the following sections for specifics on element intersections:
Wall-Beam; Wall-Column; Column-Slab; Column-Beam, Wall-Slab
Wall-Slab Intersection: Slab Finishes and Opening Thresholds
Intersections involving Shell, Roof, or Morph
Intersecting Elements with Identical Priorities
Line Elimination Between Model Elements
Curtain Wall Frame Intersections
Requires Reference Line intersection
For Wall-Wall junctions, it is not enough that they collide: their reference lines must also intersect. The element (or skin) with the higher-priority Building Material will cut the one of a lower priority.
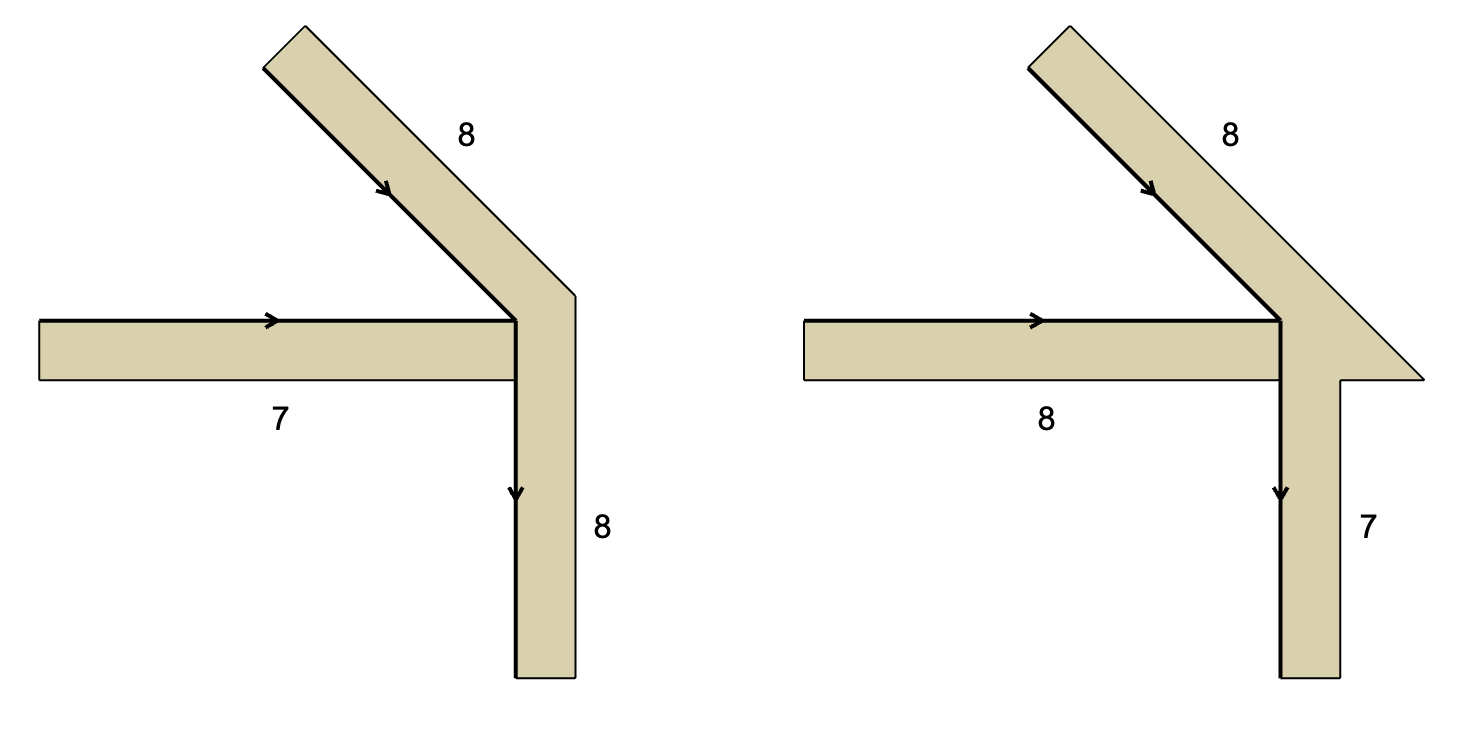
For Equal-Priority Walls: Set Junction Order
If two or more Walls meet (their reference lines intersect), use Junction Order to control the element level junction. Changing Junction Order determines which two Walls meet first, before others join the intersection.
Set Junction Order in the Model Panel or Info Box of Wall Settings.

Requires Geometry Collision or Reference Line intersection.
For maximum flexibility in Beam-Beam intersections, make sure their reference lines intersect. In this case, the Beams do not actually have to collide. The Beams will auto-stretch into each other along their reference lines.
You can also intersect beams by simply colliding them, even if the reference lines do not intersect. In this case, however, the Beams will stop each other; the Beams will not auto-stretch further along their reference lines. The element (or skin) with the higher-priority Building Material will cut the one of a lower priority.
If two or more Beams meet (their reference lines intersect), then use Junction Order to control the junction.
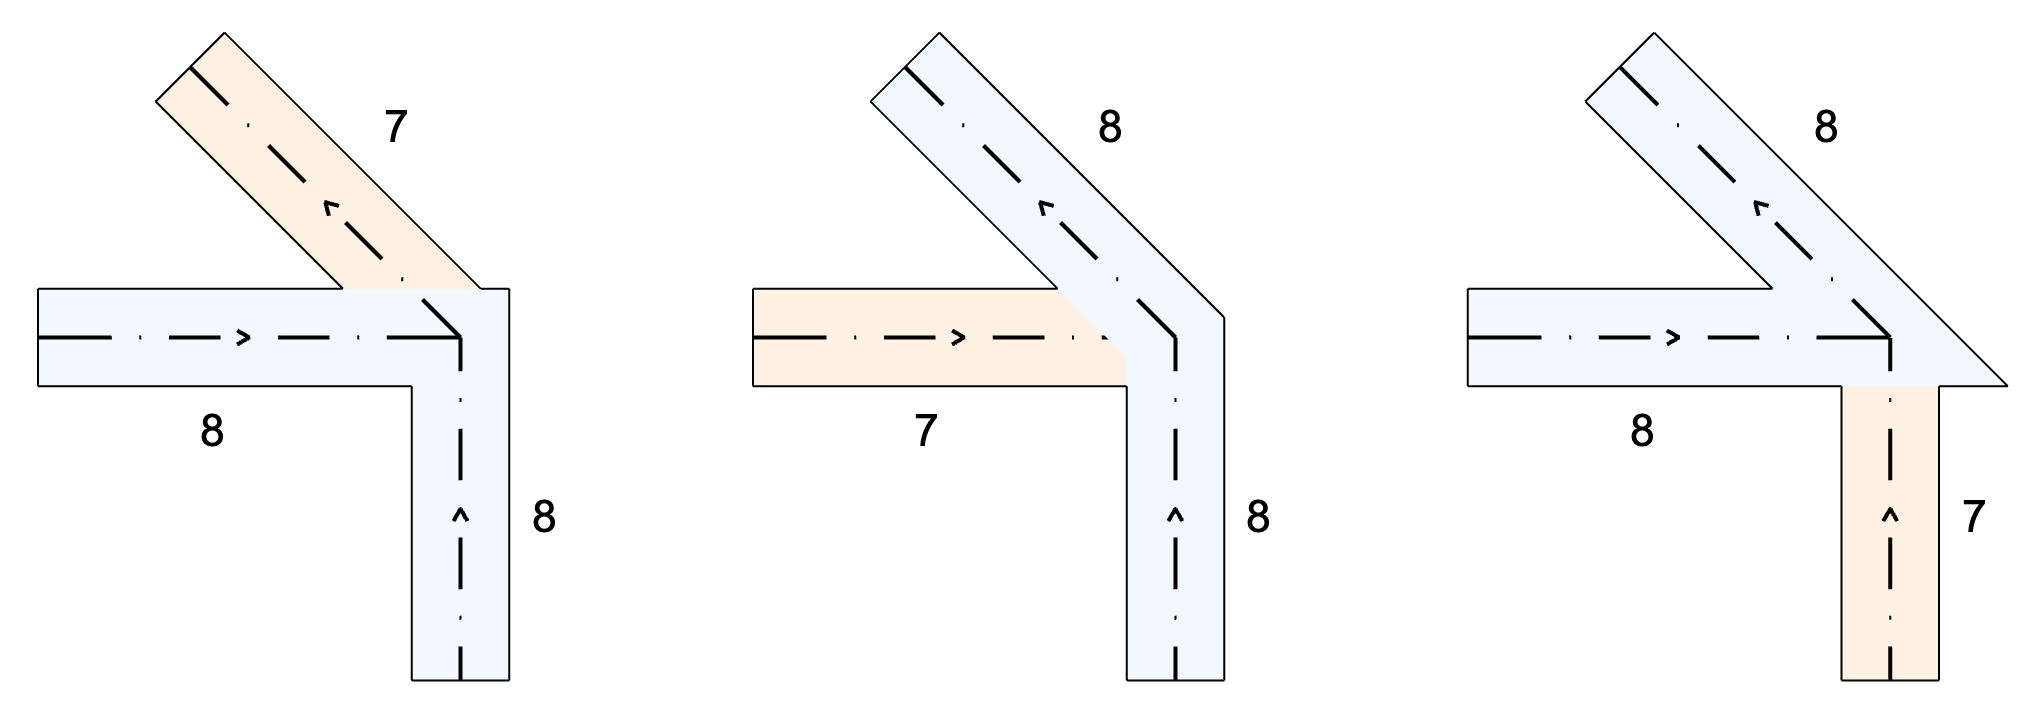
Here, the Beams use Junction Orders as follows:
•Transparent Beam = 8
•Weaker green Beam = 7
•Stronger blue Beam = 9
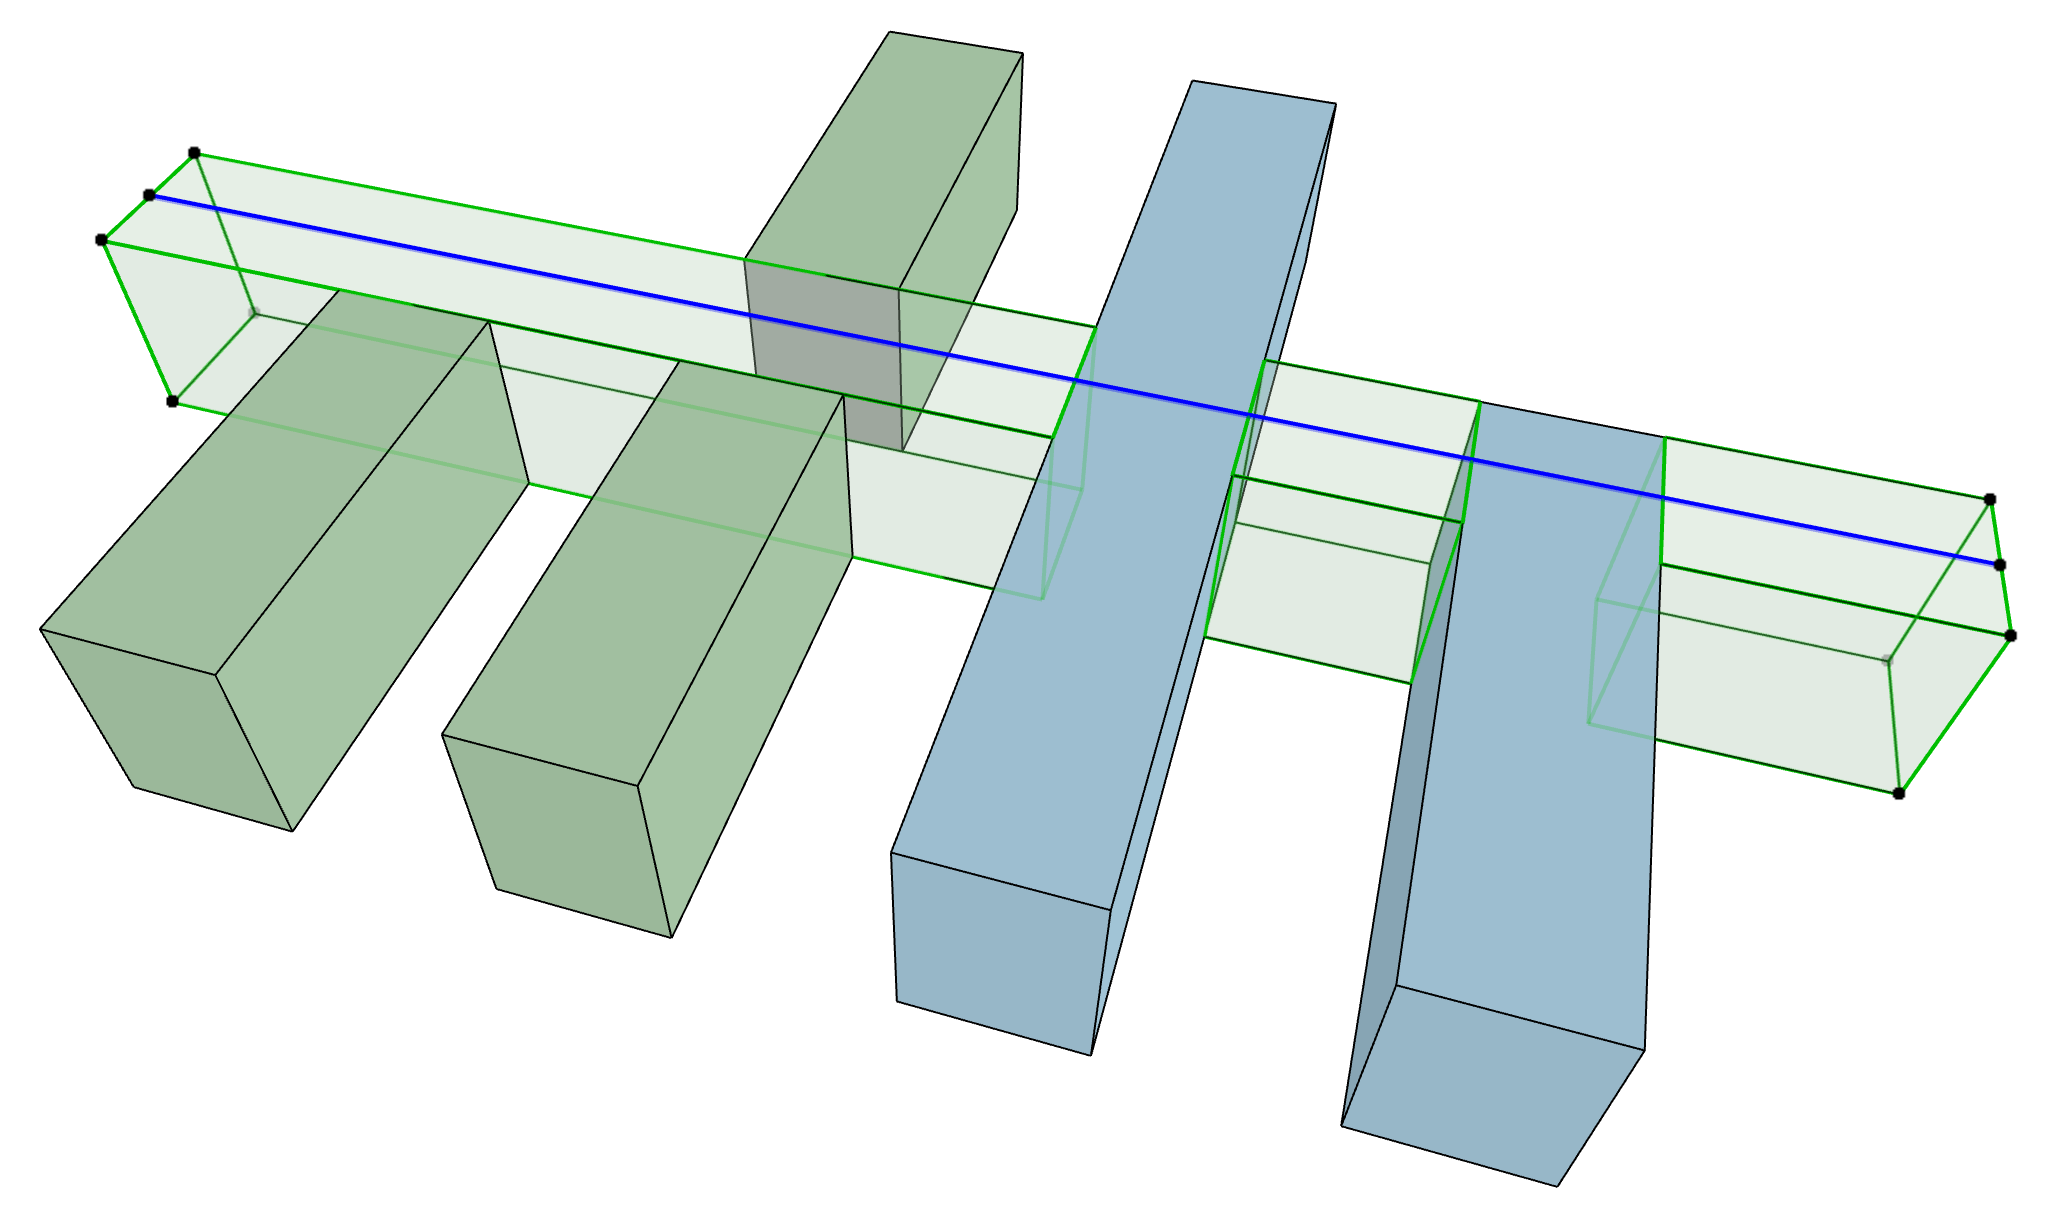
Wall-Beam; Wall-Column; Column-Slab; Column-Beam, Wall-Slab
Requires Geometry Collision.
The element (or skin) with the higher-priority Building Material will cut the one of a lower priority.
Exception for Wrapped Column intersections with Composite Walls:
When placing a “Wrapped” Column that intersects a composite Wall, the Column will break through the core skins of the composite Wall regardless of skin priorities.
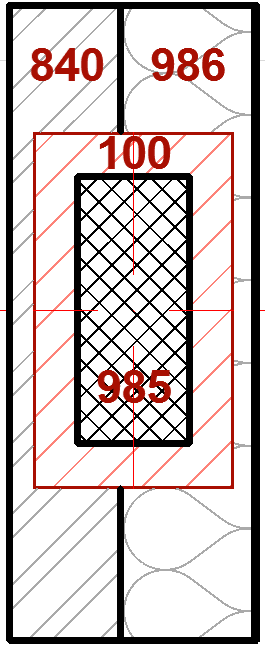
Wrapping Wall skins will be added to the column veneer in 3D. However, they will not be calculated in listings.
Wall-Slab Intersection: Slab Finishes and Opening Thresholds
A special case pertains, to allow continuous finishes between rooms within an interior openings threshold.
When an Opening (Door or Window) in a Wall is flush with the top of a Slab, then the Slab's finish skins will continue through the Wall regardless of skin intersection priorities (down to the Slab’s core skin). If the Opening is not flush with the Slab, then the regular priority-based connections are in effect.

In the image:
Left: Window and Door are flush with the Slab’s top. Therefore, the Slab's finish skins do not form priority-based junctions with the Wall's skins. Instead, the Slab’s finish skins remain continuous.
Right: Window and Door are not flush (they are elevated above the Slab), so the usual rules for priority-based connections are in effect between the Slab and Wall skins.
Intersections involving Shell, Roof, or Morph
Requires Geometry Collision, and Trim or Merge command.
If your intersection includes a Shell, Roof or Morph, you must use Design > Connect > Merge Elements to ensure correct intersections.
If a Shell or Roof acts as a trimming element (Design > Connect > Trim Elements to Roof/Shell) it will be merged with the trimmed element; you do not need to use the Merge Elements command again to achieve correct intersections.
Once merged, the element (or skin) with the higher-priority Building Material will cut the one of a lower priority.
Trim Elements to Roof or Shell
Merge Elements: Roofs, Shells, Morphs
Intersecting Elements with Identical Priorities
When various, colliding construction elements have the same intersection priority (for example, elements that have the same building material), the following intersection order will prevail:
Morph > Column > Beam > Slab > Wall > Shell > Roof > Mesh

Line Elimination Between Model Elements
If two elements (same or different construction element types) meet in a model view, such as Section, Elevation and 3D Document, the following line elimination rules apply.
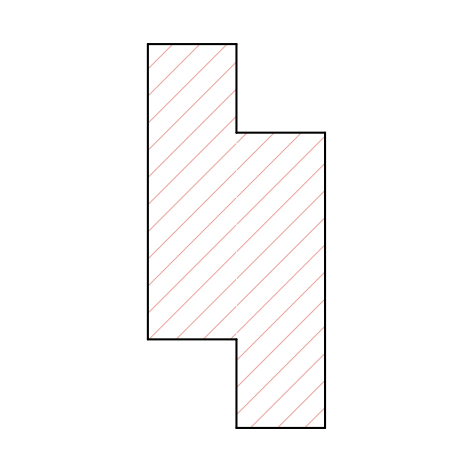
•Same Building Material: Both lines are eliminated, hatches are visually merged
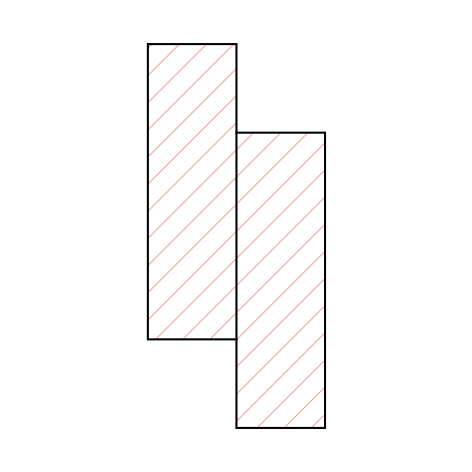
•Different Building Materials
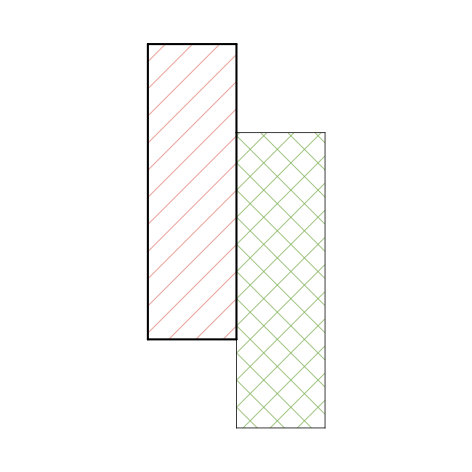
–Different Line Weight: The line with the thicker pen will remain, regardless of Line Type
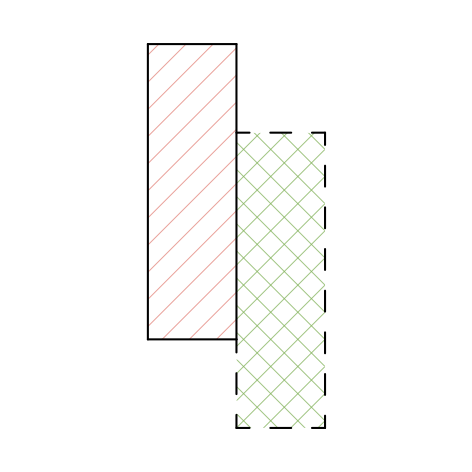
–Same Line Weight, different Lines: The solid line will be kept, and the other lines are eliminated.
|
Walls in Section: Which Lines Are Eliminated? |
|
|
Same Building Material Both lines are eliminated |
|
|
Different Building Materials Same Cut Fill |
|
|
Different Building Materials Same Line weights Solid line is kept, other lines eliminated |
|
|
Different Building Materials Different Line weights Thicker line is kept (regardless of Line Type) |
|
Notes:
–These rules don’t apply on the Floor Plan, where all lines are drawn. To determine which line is visible, you can use Display Order. See Display Order.
–For Composite and Complex Profile elements, line control is customizable by the user in the attribute settings dialogs.
If one or both elements do not use a Building Material (e.g. two objects), the above logic is applied to the Cut Fills. Thus, identical Cut Fills between two objects will eliminate both lines.
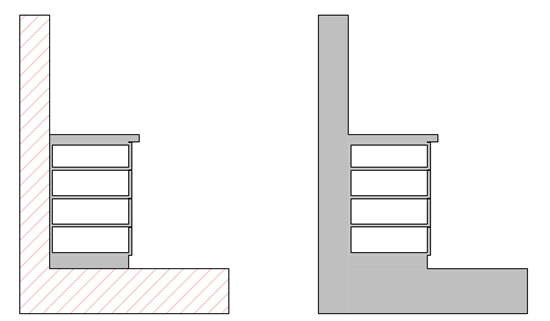
Wall/Slab and Kitchen Cabinet in Section - from left:
Cabinet has different Cut Fill; Cabinet has the same Cut Fill.
•If you want to retain the dividing line, change the Layer Intersection Group number of one of the elements.
See Use layers to prevent intersections.
In Elevations and 3D views, dividing lines will always be eliminated between two elements when:
•they have the same surface, and
•the surfaces are co-planar.
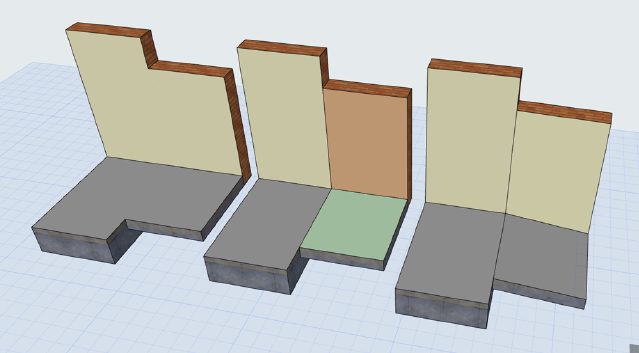
Walls/Slab/Roof in 3D - from left: Same Surface, co-planar; Different Surfaces, co-planar; Same Surfaces, in different planes