Available for Text Label and Dimension Texts.
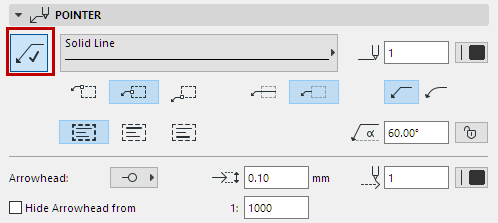
Click the Pointer button to assign a pointer line and activate the rest of the settings on this panel.
Define a Line type and Pencolor for the pointer line.
Connect Pointer to Text Box
Use these controls to connect the Pointer Line to the Text Box (top, middle, or bottom).
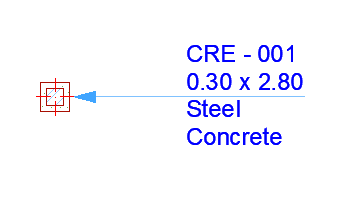
If needed: Extend the pointer line to run underneath the text row.
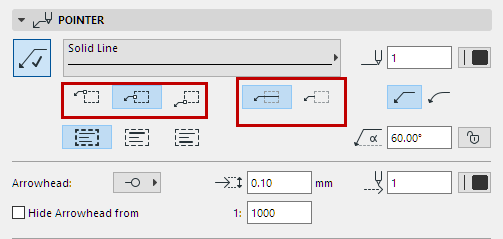
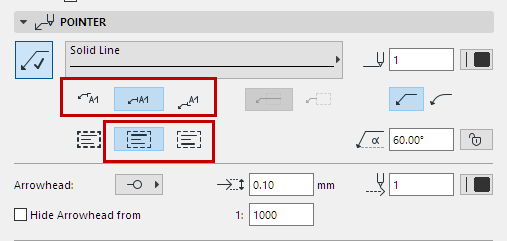
Connect Pointer to First/Last Text Row
Use these controls to connect the Pointer Line to the First or last row of text (aligned with the top, middle or bottom of the row):
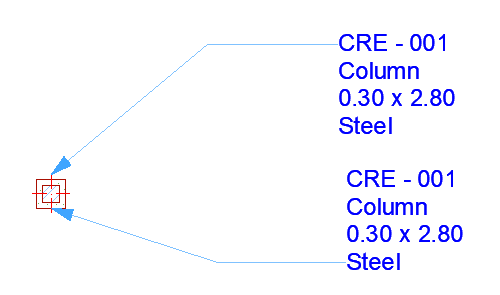
Choose whether the pointer should have a straight, curved or inverted pointer line.
Enter the Pointer Starting Angle using a value from 0 to 90 (the default is 90 degrees). The angle is measured from the dimension line. Click the lock icon to prevent the angle from being modified graphically (e.g. by accident).
Note: The Lock Angle control affects the range of graphical editing. If it is ON, the Pointer Line’s starting angle remains fixed, limiting the edit possibilities.
Choose a style and pencolor, and enter the size of the Arrowhead.
Hide Arrowhead from: Check this box if you want to hide the pointer line arrowheads on views which exceed a certain scale (enter the desired scale in the field to the right).
See also Edit Text Box.
Automatically Appearing Pointer Line (Dimension Text Only)
Even if you have not turned on a Pointer Line for a Dimension text, a Pointer Line will automatically appear if you drag the Dimension text box beyond a certain range.
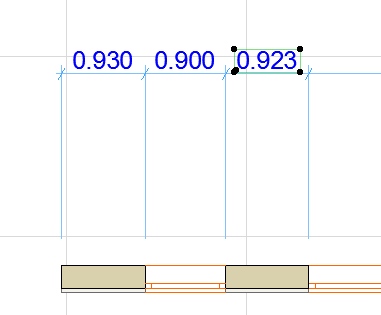

This automatically added Pointer line will disappear if you do any of the following:
•Turn the Pointer Line off in Dimension Text Settings
•Drag the dimension text back within range
•Check Revert to Automatic Position in Dimension Text Settings