Reserve Elements by Criteria (Teamwork)
Not available in Archicad Start Edition 2023
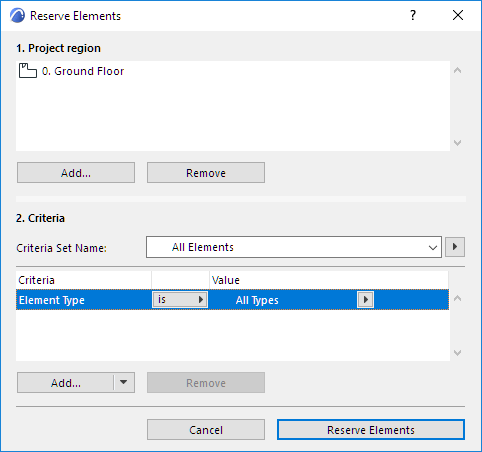
Use the Reserve Elements dialog box to reserve all the elements which are located in a given region of the project, and which fit the criteria you define.
For example: reserve every element on particular stories.

To bring up this dialog box, click the Reserve Elements or Reserve command from one of these locations:
•the Teamwork Palette
•the Teamwork menu
•the context menu of the active window
•the context menu of a Navigator item
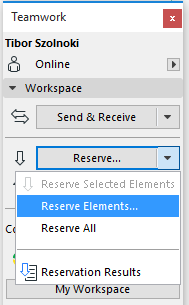
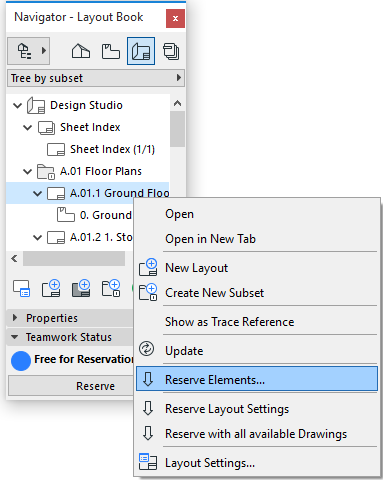
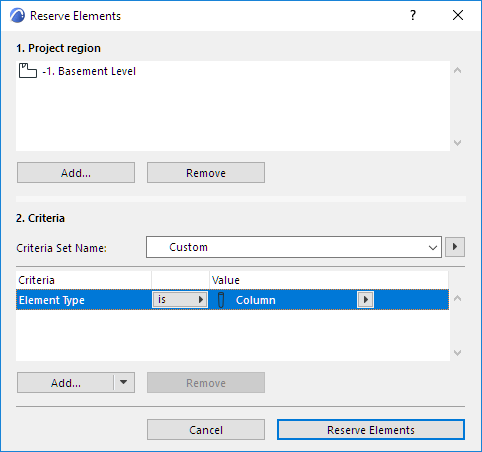
In the Reserve Elements dialog box, you define
1.the Project Region; and
2.Criteria for which elements to reserve, within the Project Region
Reserving Elements by Criteria will NOT select the elements; the criteria act as a filter for reserving elements in Teamwork.
In the active window:
If you clicked “Reserve Elements” from the context menu of the active window, the current window is listed as the Project region.
In the Navigator:
If you clicked “Reserve Elements” by right-clicking a Navigator item, that item will be listed in the Project region.
•If you right-clicked the Layout Book, all Layouts and Master Layouts will be listed in the Project Region.
•If you right-clicked the View Map, all views of the Public View Map will be listed in the Project Region.
•If you right-clicked any Navigator Publisher Set, all views and/or layouts linked to this Publisher Set will be listed in the Project Region.
•If you right-clicked any Navigator Group (e.g. Subsets; Stories; Elevations), all elements of that group (e.g. all Layouts in a Subset, as in the image below) are listed in the Project Region.
Add/Remove Items from Project Region
The Project Region can contain the following:
•Any viewpoint
•Any view
•Any Layout or Master Layout
To remove any listed item from the project region of the Reserve Elements dialog box, select the item and click Remove.
To expand the project region to include other viewpoints, views or layouts, click Add. This brings up the Choose Project Region dialog box, listing eligible Navigator items to add as the Project Region.
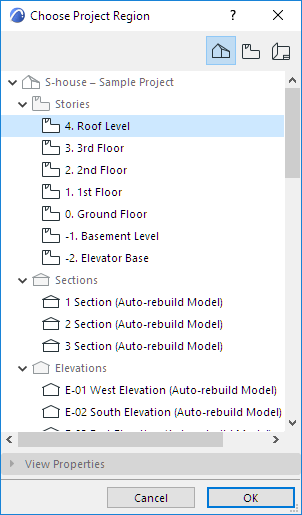
Click one or more of the Navigator items, then click OK to add them to the Project Region.
Define Reservation Criteria (Teamwork)
In the Criteria part of the Reserve Elements dialog box, choose the criteria with which to filter the elements that fall within the Project Region defined at the top of the dialog box.
Reserve Elements
Once you have defined the Project Region and the Criteria, click Reserve Elements.
The program now attempts to reserve all elements that (1) are located in the Project region you defined; and (2) fit the criteria you defined.
If this reservation attempt was unsuccessful, or only partially successful, the Last Reservation Results dialog box appears.
See Reservation Results (Teamwork) for details.
Which Elements Will Be Reserved?
•If you reserve elements on a viewpoint (without specifying any Layer-related criteria), the reservation will not take the current Layer Settings into account (this means, for example, that you may reserve elements that are currently hidden).
•If you reserve elements in a view (without specifying any Layer-related criteria), the program will take the current Layer Settings into account: only the elements on visible layers will be reserved.
•Defining a “Layer” or “Layer Combination” as a criterion means that the program will find and select the elements which are visible according to the given Layer Combination.
•If you reserve elements on a story, the program will reserve only those elements whose Home Story is located on that story. For example, if your Project region is Story 4, and there are roofs visible on that story - yet their Home Story is one story below - those roofs will not be reserved.
•Reserving elements from a drawing-type viewpoint, such as a Worksheet or Detail, will only reserve 2D Drawing elements - no model elements.
•If you reserve elements from a Layout or Master Layout, the program will reserve 2D elements only: Drawings and other 2D drawing elements that have been placed on the Layouts/Master Layouts.