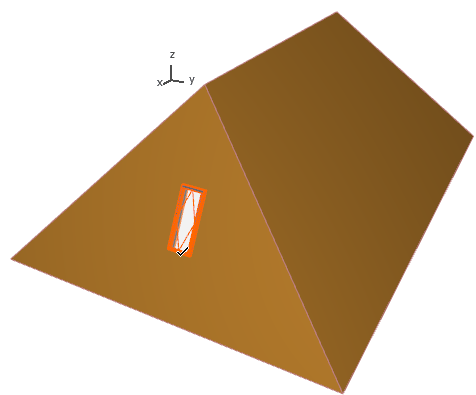
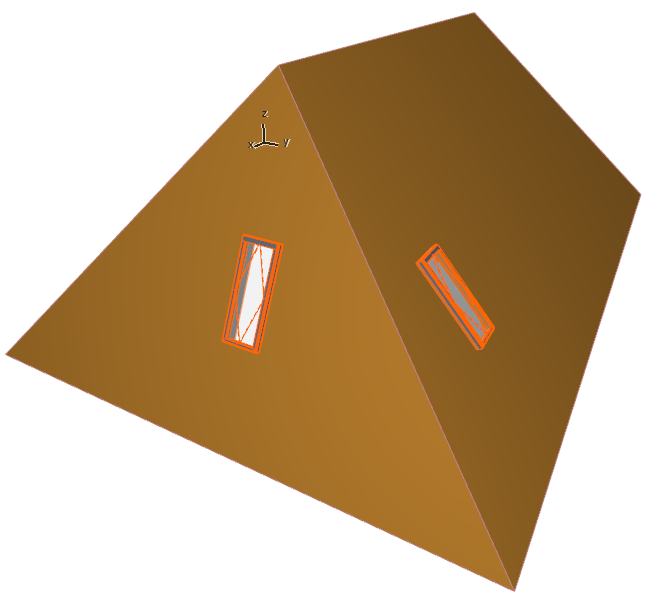
Skylights can be inserted into Roofs or Shells in the Floor Plan or in 3D view.
Select the Skylight tool and click to place it on either a Roof or a Shell. It will be placed by its anchor point as defined in the Skylight Info Box.
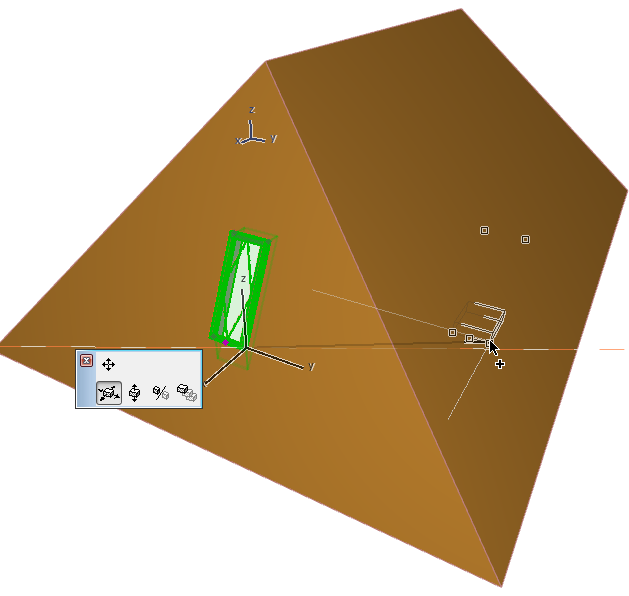
When you drag (or drag a copy of) a Skylight within a Shell, or from one Roof plane to another, the Skylight will automatically adjust itself to the new location.
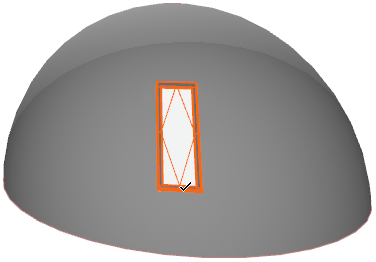
Position Skylight to Curved Roof Plane
When you place or move a Skylight within a curved Roof segment (having a curved pivot line), ARCHICAD can adjust the Skylight placement using one of two logical approaches:
•Assume that the Roof plane you modeled really represents a curved Roof plane
•Assume that the Roof plane you modeled really represents one of several adjacent flat segments
Depending on the assumption, the Skylight may be placed in a slightly different way.
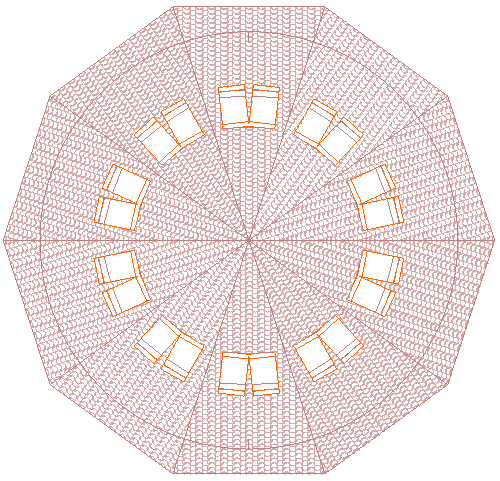
The option, in Roof Settings (or the Info Box), is Skylights treat segments as curves. By default, it is checked. This means that ARCHICAD assumes that a Roof plane with a curved pivot line represents a curved Roof plane.
•When you place or move a Skylight in a curved segment of a Roof, the Skylight geometry will be adjusted to reflect a curved surface.
•If you uncheck this option, the Skylight position will reflect that of a Skylight on a flat plane.
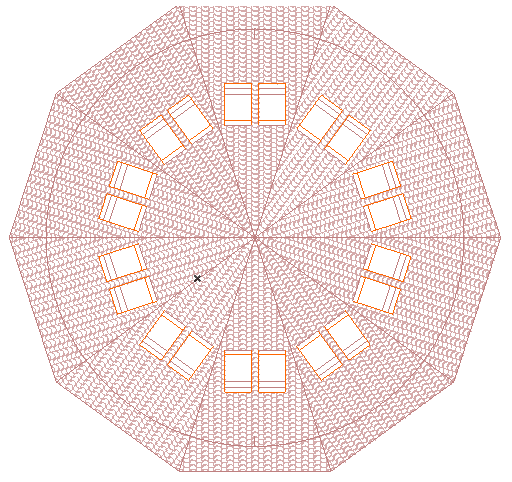
In many cases, this option is not relevant. If your curved Roof segment consists of just a few large flat Roof planes, or else many small planes, the Skylight placement will be as expected.