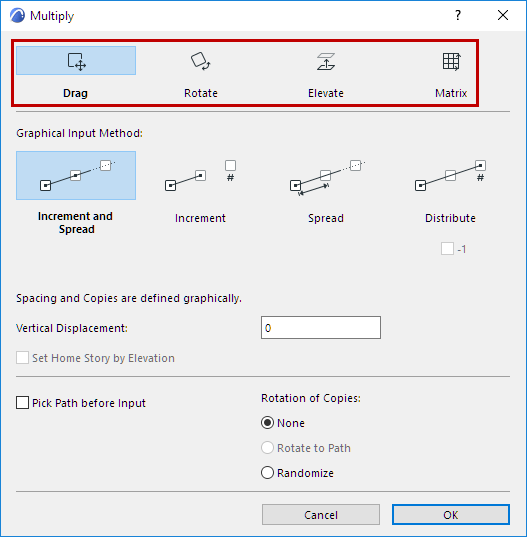
Multiply creates any number of exact copies of selected elements, according to the pattern and method defined by you. Set up the options in the Multiply dialog box.
To open the Multiply dialog box, select the element(s), then do one of the following:
•Move > Multiply command from the pet palette
•Edit > Move > Multiply
Choose An Action (Drag, Rotate, Elevate, Matrix)
Choose An Action (Drag, Rotate, Elevate, Matrix)
At the top of the Multiply dialog box, choose a multiplying action:

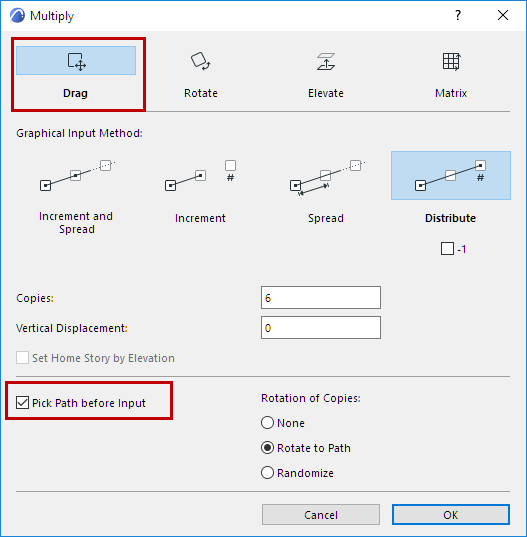
•Drag multiplies the copies along a drawn straight path or clicked polyline
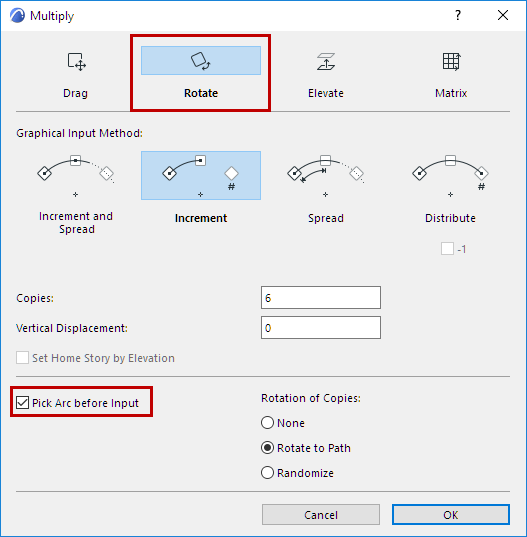
•Rotate multiplies the copies along an arced path
•Elevate stacks the copies with a vertical displacement. (Available only in Floor Plan and 3D Window.)
•Matrix places the copies in a rectangular matrix defined by two perpendicular reference lines.
Below, define an optional Vertical Displacement between the multiplied copies.
With Drag and Rotate, you also have the option to pick a path/arc along which to place the multiplied copies. See Pick Path/Arc before Input.
Choose one of the four input methods for placing your multiples. The input method determines the number of copies and the space between them (increment).

Increment and Spread
With this method, both spacing and copies are defined graphically.
Note: Not available for Elevate in the Floor Plan.
1.Click Increment and Spread, then OK to close the dialog box.
2.The first click defines the start point.
3.The next click defines the increment (distance between each multiplied copy).
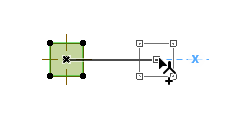
4.Next, drag the cursor for any distance. Each copy will be placed at the defined increment.

5.Click to complete the operation.
Increment
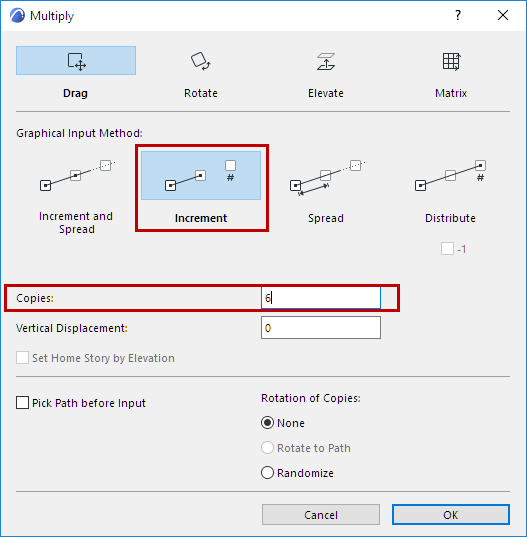
With this method, you predefine the number of copies, but you define their spacing graphically.
1.Click Increment, then enter the number of copies you want to make, then OK to close the dialog box.
2.The first click defines the start point.

3.Drag to define the spread and direction - the distance for Drag, the angle for Rotate - of the set number of copies.

4.Click to place the multiplied copies.
Spread
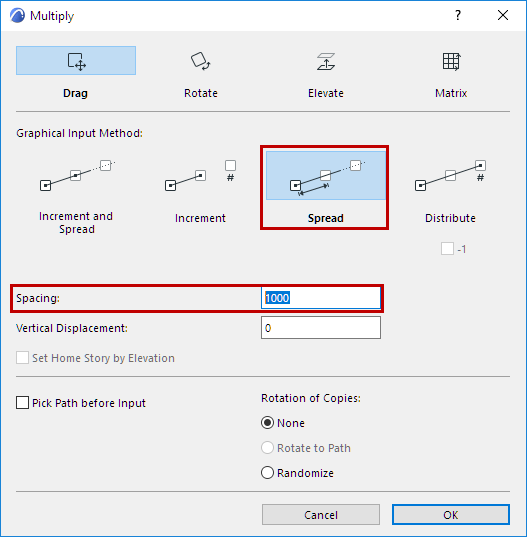
With this method, you predefine the spacing, but you define the number of copies graphically.
1.Click Spread, then enter the fixed spacing between each multiplied copy, then OK to close the dialog box.
2.The first click defines the start point.
3.Drag to begin placing any number of copies, at the specified distance (for Drag) or angle (for Rotate).

4.Click to place the multiplied copies.
Distribute
With this method, the number of copies is predefined, and they are spaced evenly up to the endpoint you define graphically.
1.Click Distribute, then enter the number of copies to place between two points. Optionally, activate the -1 checkbox to add an additional space within the same distribution distance (no copy will be placed at the end).
Click OK to close the dialog box.

2.The first click defines the start point.
3.Drag to evenly distribute the set number of copies to the desired point in the project, then click to place.

This option is available in the Multiply dialog box with the Drag or Rotate methods.
1.From the Multiply dialog box, activate the Pick Path or Pick Arc checkbox, then OK to close the dialog box.
2.Hover with the cursor over any edge to auto-detect and highlight the path.
Press spacebar inside a closed area to auto-detect the boundaries.
3.Then click, defining the path or arc along which to place the multiplied copies.
(If no path is found, the input will proceed without a predefined path - as if the checkbox were off.)
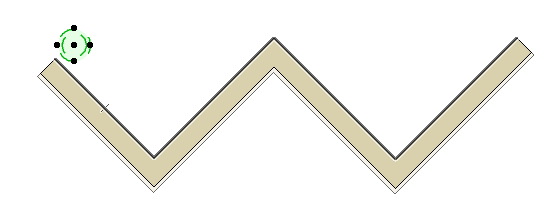
4.Click on or near the selected element to multiply: this defines the rotation and reference point of the elements, and the start point of the multiply from this point.
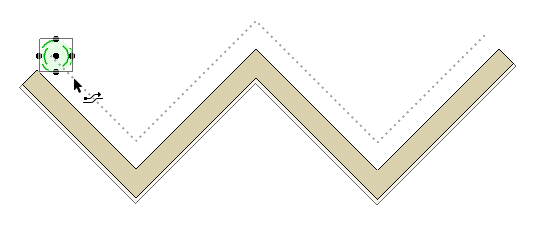
5.Drag along the path/arc to input the copies as usual (defining increments and/or copies according to the Graphical Input Method you chose in the Multiply dialog box).
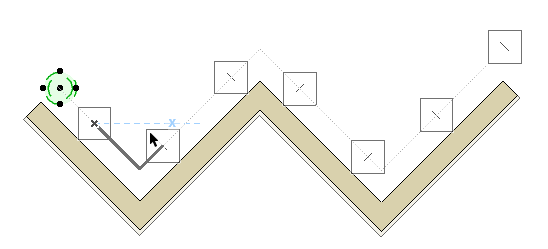
6.You can still modify the final Distance, Spacing or number of copies in the Tracker before you click to complete.
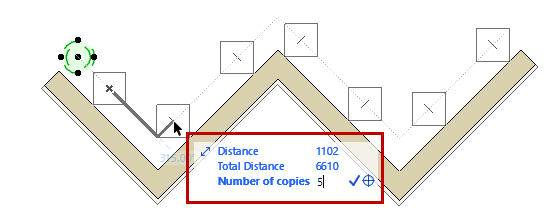
Note: For a closed polygon path, the start point can be used as the finish point if the cursor has moved around the entire path.
Rotation of Copies
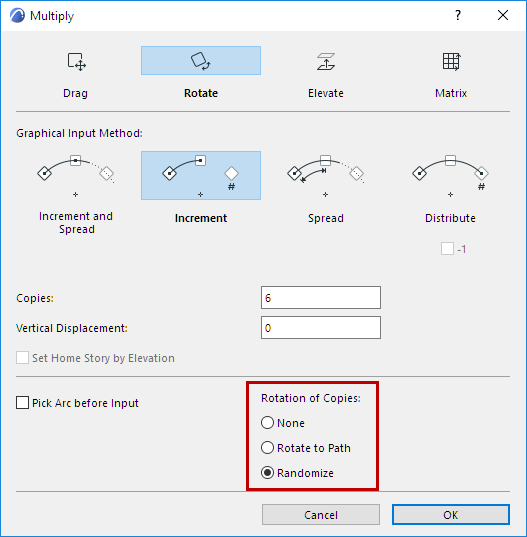
With the Drag or Rotate actions, set a preferred option for rotating each copy:
None
No rotation will be applied to the copies, every copy will have the same orientation and rotation as the original element(s).
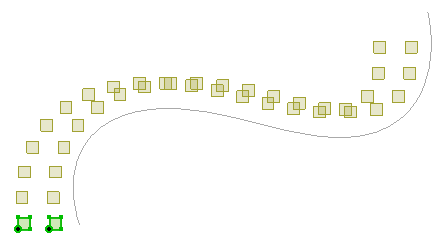
Rotate to Path
For the Picked Path or Rotate input methods, each copy will rotate the original selected element(s) to be perpendicular along the path/arc in relation to the start point of the input.
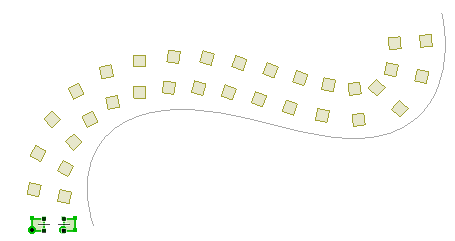
Randomize
Each copy will randomly rotate the original selected element(s) along the path/arc in relation to the start point of the input.
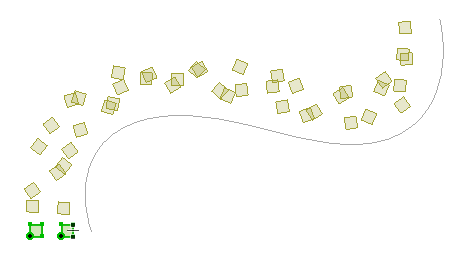
This can be useful for multiplying landscape elements, such as trees.
In the 2D window:
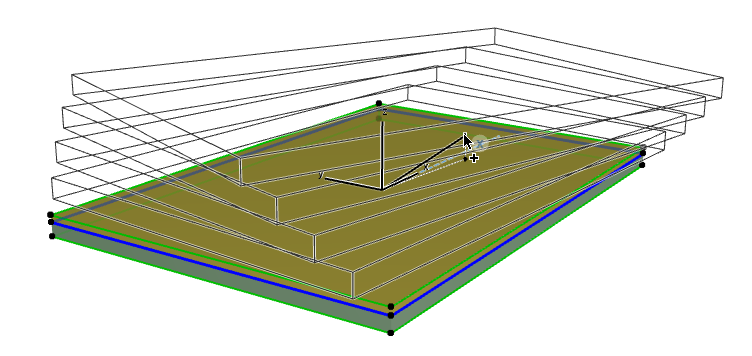
Use this field to enter a value that is added to the elevation of each subsequent copy of the multiplied object.

In the 3D window:
Optionally check the Vertical Displacement box.
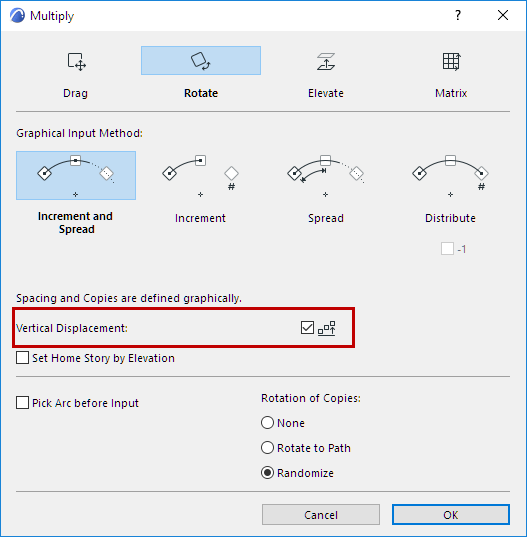
When you close the Multiply dialog box and then carry out the Multiply operation, you will define the vertical displacement vector graphically, as shown with this slab:
Set Home Story by Elevation
Check this to assign a Home Story to newly created elements based on their respective story locations. If you do not check this box, new elements will have the same Home Story as the original element you are multiplying.