Archicad 25 Help
Click here to see this page in full context

1.Create the desired 3D elements within the project using ARCHICAD construction tools (slab, wall, mesh, roof etc.).
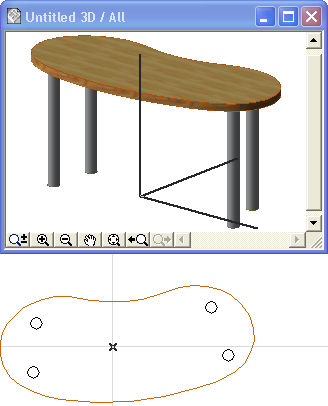
For example, you can create a table whose tabletop is made from a slab and legs are made with the column tool.

2.Select the desired elements either on the Floor Plan or in the 3D window.
Note: In the 3D window, unless you set up a special 3D projection (e.g. axonometry side view), the object will always be saved using its top view.
To use a special projection, see Setting an Object’s 3D Projection.
Note: If you do not want to show all the lines of the model in the 2D symbol, use the hidden line or the shading representation from View > 3D View Options.
3.Select, then save the object with the File > Libraries and Objects > Save Selection as command, and choose Object.

When saving an object from the 3D window, you are reminded that its top view will be used as the floor plan view when you place it, unless you set up a special 3D projection (e.g. axonometry side view).
To use a special projection, see Setting an Object’s 3D Projection.
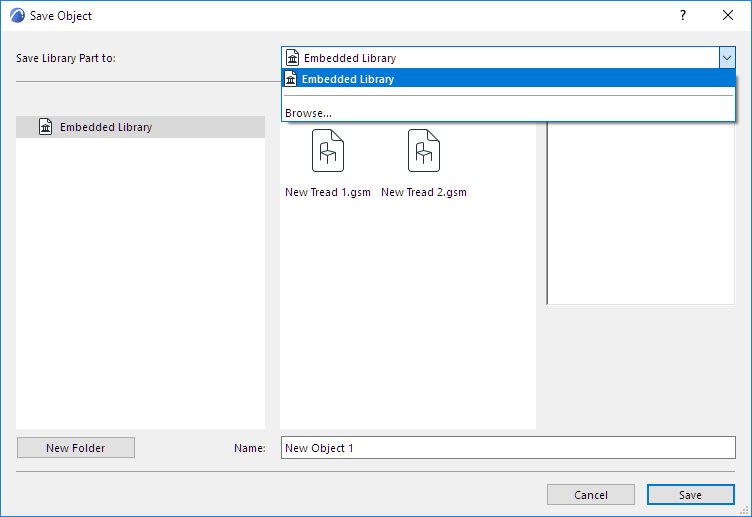
4.In the Save Object dialog which appears, enter a name and choose the desired folder location for the object:
–to the Embedded Library (default choice. It is recommended to save customized, project-specific objects to your Embedded Library.)
–browse for a linked library
–to a BIMcloud library that has been added to the project
Note: In Teamwork, you must reserve the BIMcloud Library folder before saving to it.
Optionally, click New Folder to create a new folder within the selected library folder.

5.Click Save.
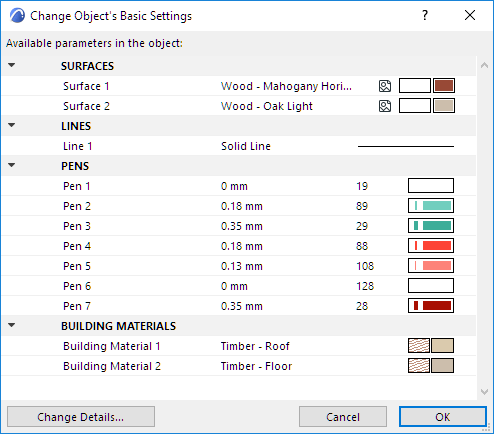
6.The Change Object’s Basic Settings dialog box appears. Here, you can define the new library part’s default Surfaces, Fills and Pens. Even after placing the library part, you can further fine-tune these attributes in Object Settings.
Also, to add information to your new library part (for example, keywords to make it easy to search for in Object Settings or BIM Components), click Change Details at bottom left.

7.Click OK.
8.Place the object with the Object tool. Note that the created object is stretchable, but will be distorted after stretching since it was not scripted parametrically.
For information on editing the resulting GDL library part, see Editing Custom Library Parts and Components.
Setting an Object’s 3D Projection
In the View > 3D View Options > 3D Projection Settings dialog box (Parallel projection), set the desired projection. ARCHICAD will automatically rotate the library part according to this setting.
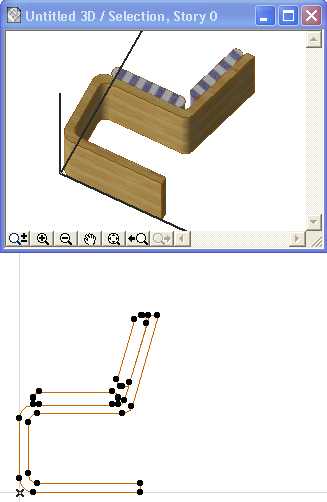
For example, if your model is lying on its side (see the chair object below) set the following: side view, azimuth=90°.
