

Working with Railing Segments and Nodes
Segments
A Segment is the part of the Railing between two Nodes (like a segment of a polyline). The Segment has its own settings, which include the Railing Pattern and Segment Height.


One Railing, Two Segments
You can easily see Segments and Nodes in Edit mode: Turn on the Segments and Nodes visibility.

Segments and Nodes in Edit Mode
Within a Segment, all component instances are clones of each other. You can see this in Edit mode: selecting a Baluster or an Inner Post selects all of its instances within the Segment.
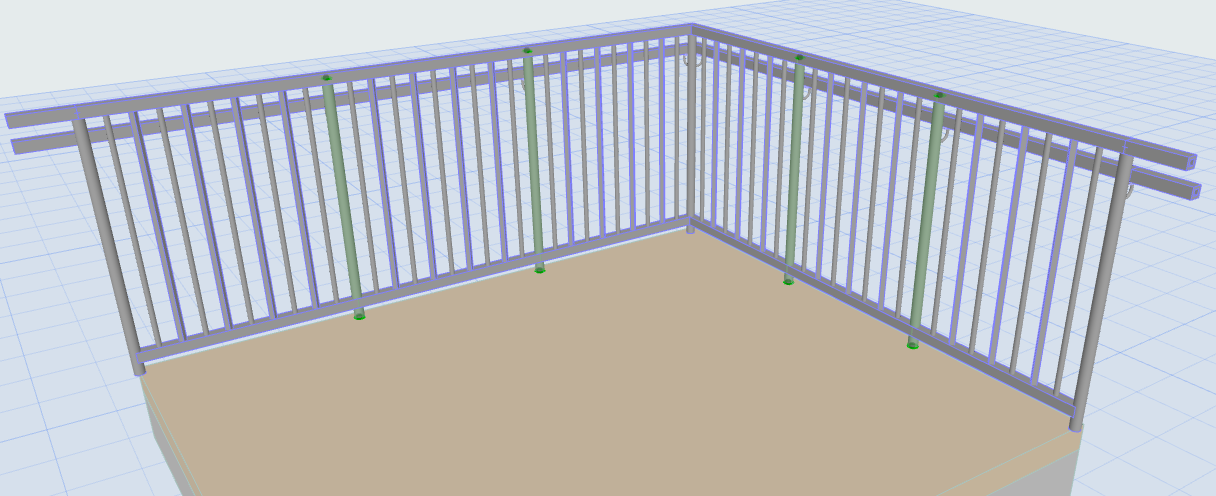
Edit Mode: All Inner Post Instances Are Selected

Edit Mode: All Baluster Instances Are Selected
Create Independent Segments and Nodes
You may wish to create independent Segments from the Segments of a selected, associative Railing.
Select the Railing and use the pet palette command:

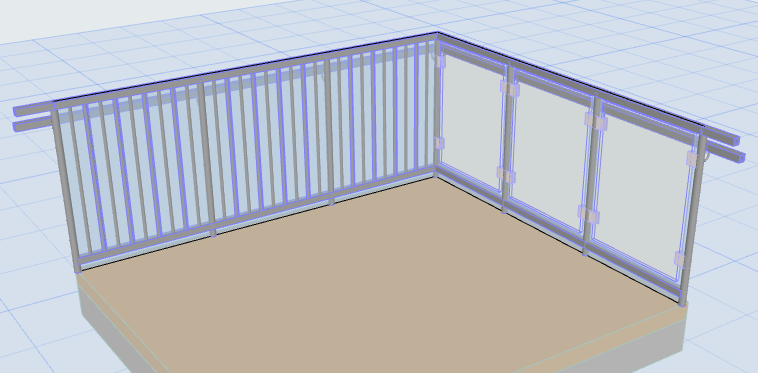
One Railing, Two Independent Segments
Nodes
Nodes are generated at the points of the Railing polyline. One or more Posts are located at each Node.
Associative Nodes
The visible Nodes of an associative Railing are round dots, generated at each point that you click to define the Railing.
See also Place Associative Railing.

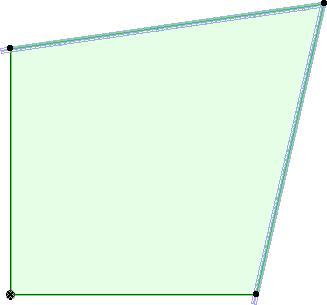
Visible Associative Nodes
A Node may also be invisible: When you place an associated Railing, its Nodes may be generated automatically, even if you didn’t explicitly click: for example, when you click on two opposite corners of a polygon.
These are also associative Nodes, although they do not appear as dots.
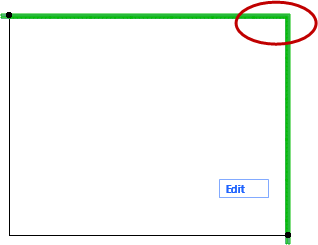
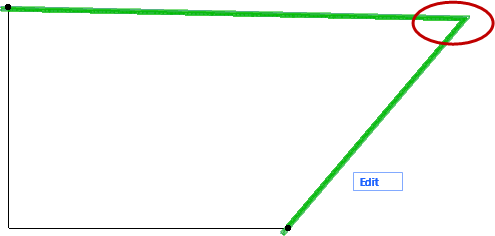
Automatically Generated, Associative Node (Invisible)
Static Node (Square Dot)
A Railing’s static Node has a square shape.

Add New Static Node

Associative and Static Nodes of Railing along a Slab
Segment Settings (Railing Tool)
Change Associative Segments/Nodes to Static
Change Associative Segment to Static
1.Select the Railing.
2.Click on a Segment.
3.Use the Railing Segment Type command from the pet palette to open the Segment Type dialog box.
4.Choose Static Segment.
Now the Segment has been disassociated from the Slab.
You can now edit the two geometries (e.g. Slab and Segments) independently.


Railing Segment Type: Static or Associative
Another method:
1.Select the Railing.
2.Enter Edit mode.
3.Select the Segment.
4.Use the Info Box or open the Segment Settings dialog to change its Associativity to Static.

Change Associative Railing Node to Static
1.Select the Railing.
2.Select the associative Node.
3.Do one of the following:
–Drag an associative Node away from its parent element, to a new position.
–Use the Railing Node Type command from the pet palette to open the Node Type dialog box, then check Static Node.
4.Now the Railing Node has been disassociated from the Slab node. Note the Node shape: it is now rectangular.
You can now edit the two geometries (Slab and Railing Nodes) independently.

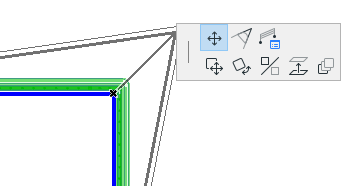
Railing Node Type: Change to Static
Another method:
1.Select the Railing.
2.Enter Edit mode.
3.Select the Node.
4.Use the Info Box or open the Node Settings dialog to change its Associativity to Static.