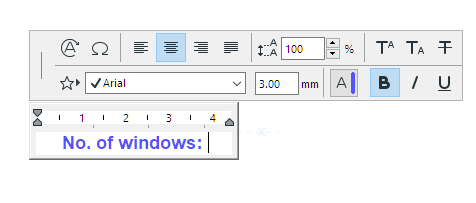
Use this function to create your own symbol Label, consisting of any combination of symbols or custom text, including Autotext.
1.Use the Text tool to place a Text box.
2.Insert the desired text.

Use Autotext as needed to display element-specific information (e.g. #NumberofWindows).
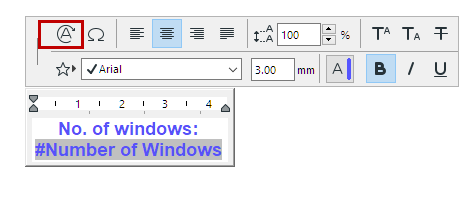
3.If the Label should have a frame, use a 2D tool (e.g. Line tool) to create a frame of any shape around the text.

Hints:
–If the label contains Autotext, consider the estimated size of the resulting Autotext value (e.g. number of digits or length of expected text), and draw the frame accordingly.
–It may be a good idea to make the centerpoint of the text block and the frame element coincide, and to use a center anchor point for the text block.
4.Select all the 2D elements.

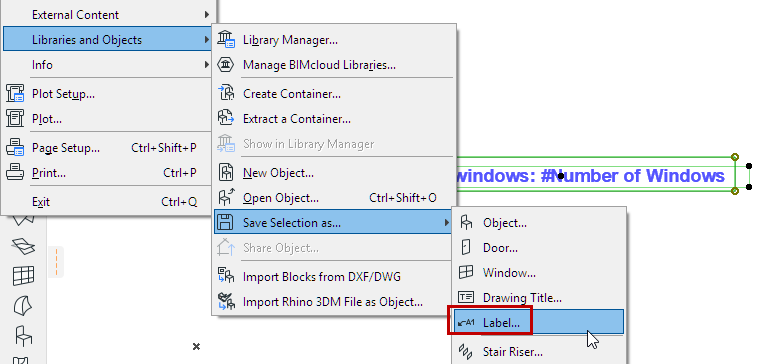
5.Use File > Libraries and Objects > Save Selection as, and choose Label.
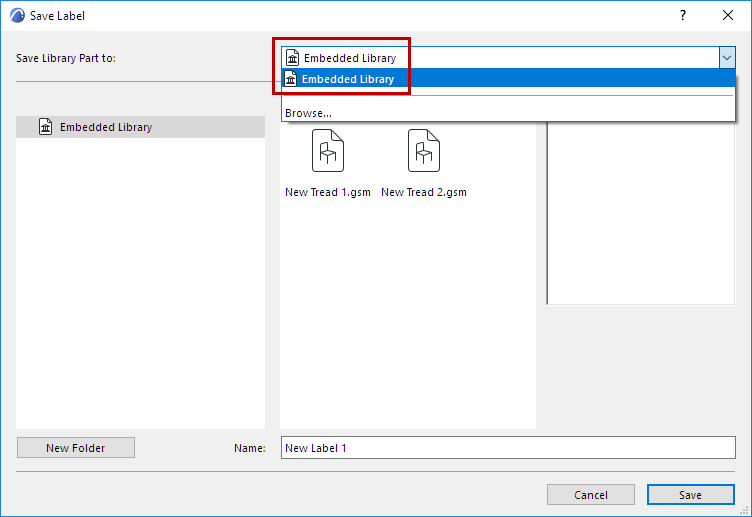
6.In the Save Label dialog which appears, enter a name and choose the desired folder location for the object:
–Embedded Library (default choice. It is recommended to save customized, project-specific objects to your Embedded Library.)
–A BIMcloud library that has been added to the project
Note: In Teamwork, you must reserve the BIMcloud Library folder before saving to it.
–A linked library
Optionally, click New Folder to create a new folder within the selected library folder.
7.The Change Label’s Basic Settings dialog box appears. Here, you can define the new Label’s Fills and Pens. Even after placing the Label, you can further fine-tune these attributes in Label Settings.
To add information to the new Label (for example, keywords to make it easy to search for), click Change Details at bottom left.
8.Click OK to close the dialog box.
9.Place the new Label. If associated to an element, its Autotext information is shown as applicable.

Example: Fixed Glass Symbol Label
In this example, the custom label consists of a simple line drawing to indicate fixed glass. This label has no frame.
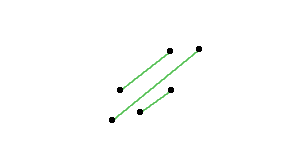
It is applied to all the fixed-glass panels of a Curtain Wall (using Documentation > Annotation > Label Components of Selected Elements).
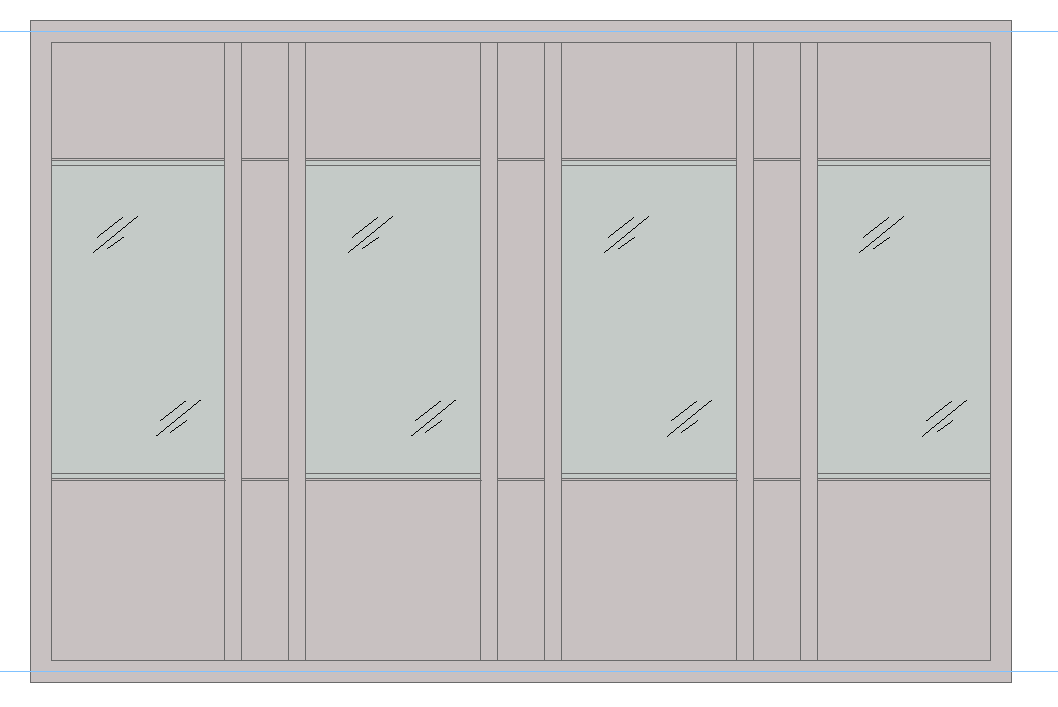
See also Labeling Curtain Walls.