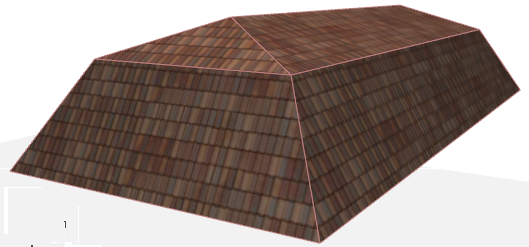

To create a Mansard Roof, you want a Multi-plane Roof that has two different levels to accommodate two different pitches.
1.Begin with a regular Hip Roof.
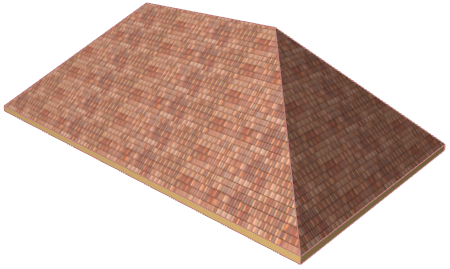
2.Select the Roof.
3.In the Multi-plane Geometry panel of Roof Settings, click Add to add a new Roof level.
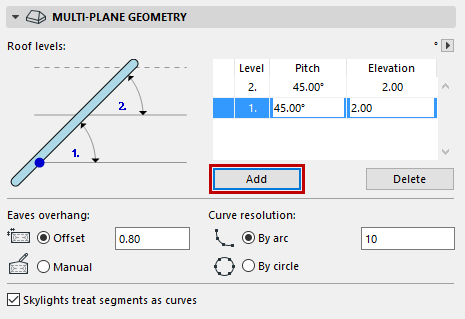
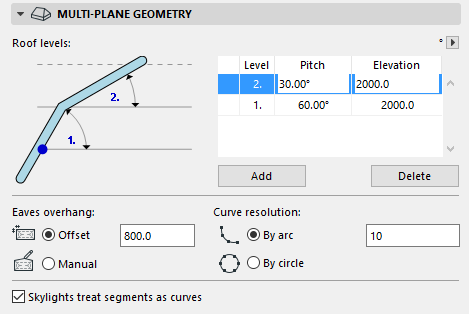
4.Adjust the pitches of each level. In this example, the first, steeper level is 60 degrees. The top, flatter level is 30 degrees.
5.Adjust the elevation of Level 1 so that it ends (and Level 2 begins) at 2000 mm.
6.In the Model panel of Roof Settings, adjust the surfaces as desired.
7.Change any other Roof Settings as needed. In our example, we have set the eaves overhang offset to 0.
8.Click OK to close Roof Settings. The Mansard Roof is complete.
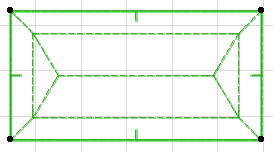
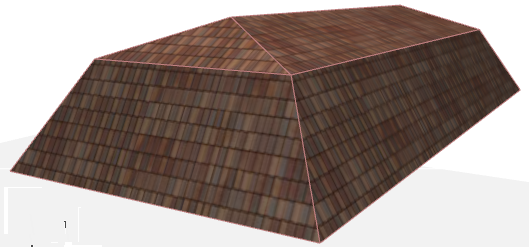
As needed, define custom attributes for the individual planes of the mansard roof by changing the parameters in the Custom Plane Settings, available from the pet palette during editing.
See Customize Roof Plane.
For example, you can gable a roof plane at each end of the upper Roof level to create a Gablet roof.
See Gablet Roof.
You can further edit the geometry of Roof levels.
See Edit Roof Levels.