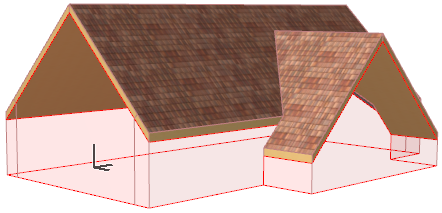

Create this by trimming two separate gable roofs to each other.
1.Start by creating two roofs gabled at each end, and placed atop each other, like this:
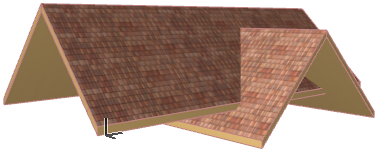
To see how to make a gable roof, see Gable Roof.
You can adjust the pivot line elevations of each roof as needed to achieve the correct geometry.
2.Before doing the trim, make the trimming bodies visible at View > On-Screen View Options > Trimming Bodies. This shows you how the roofs will cut each other.
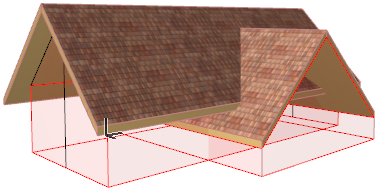
3.Select both roofs. From the context menu, choose Connect, then Trim Elements to Roof/Shell.

4.Since you want both selected Roofs to do the trimming, leave the option as-is in the appearing dialog box and click Trim.
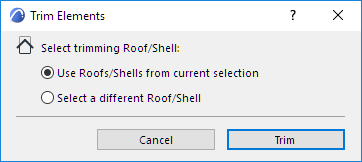
5.View the result. We see that some bits have been left out of the trim.
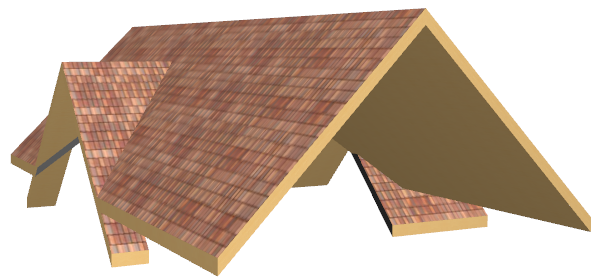
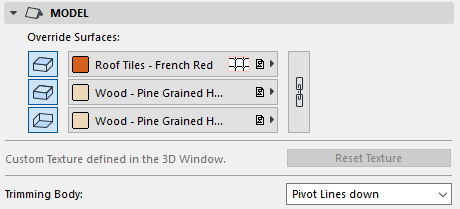
The reason is that the trimming body for both Roofs is the part inside of the pivot line and going downward: this is defined in the Model panel of the Roof Settings dialog box:
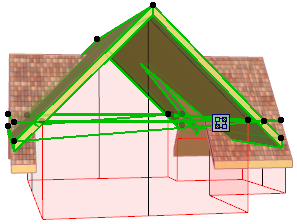
For this reason, any parts of the trimmed Roofs that fall outside of that trimming body are not trimmed.
6.To fix this, just change the trimming body definition of both Roofs to “Contours Down.” See how the trimming geometry changes.
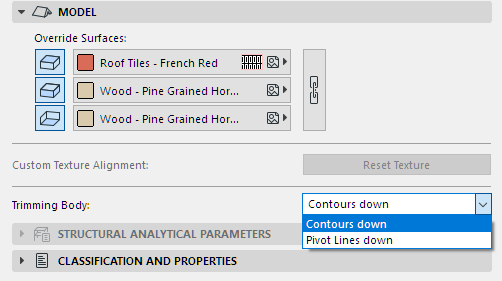
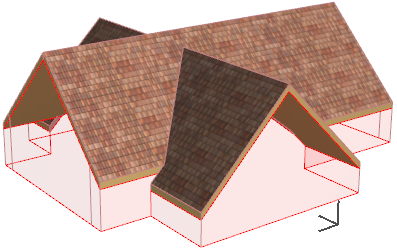
You do not have to re-do the Trim command; the trimming relationship is updated automatically.
