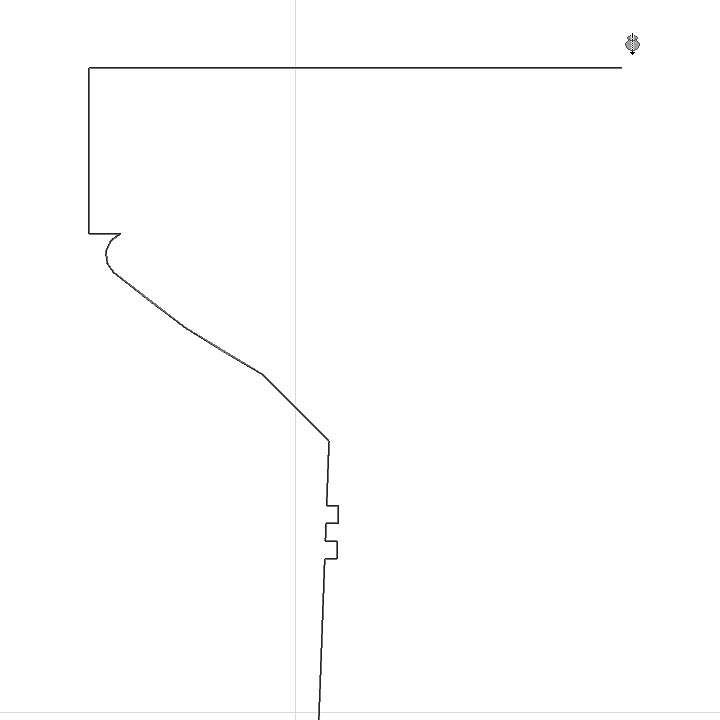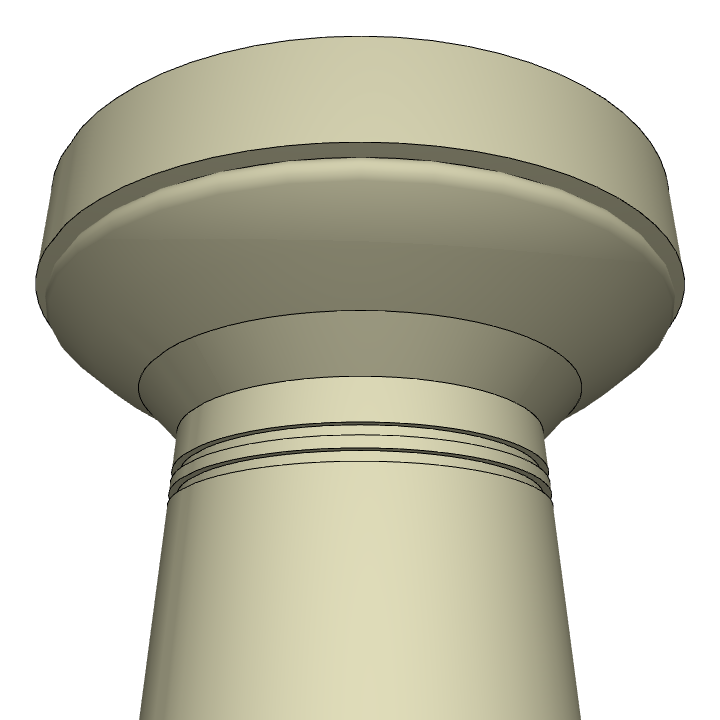
Use the Revolved method to create a Morph by defining its profile (either a default shape or a freehand profile), then revolving the profile around an axis.
Activate the Morph Tool and choose the revolved geometry method.
On the Floor Plan or in Section:
1.Draw the Morph profile - a polyline or a closed polygon - with the usual polygon input methods. (The resulting Morph will have as many faces as the number of polygon segments.)
Note: You can use the Magic Wand to trace any closed polygon as your profile.
2.Double-click to complete the polyline or polygon.

3.Click twice to draw the revolution axis.
4.In the appearing dialog box, enter the Morph’s revolution angle. A positive number will revolve the Morph toward you. A negative number will revolve the Morph away from you.

5.Click OK to complete the Morph. View it in 3D.

In the 3D Window:
1.Choose the input plane. Either click to find the default plane, or choose another input plane based on existing elements or using the Editing Plane controls.
This is the plane on which you will draw the profile and then its revolution axis.
If you click in “empty space”, the default input plane is at the base height defined in Morph Default Settings.
2.Draw the Morph profile - a polyline or a closed polygon - with the usual polygon input methods.
Note: You can use the Magic Wand to trace any closed polygon as your profile.

3.Complete the polygon.
4.Click twice to define the revolution axis.

5.Move the cursor to complete the revolution axis. (Navigate in the 3D view to find the best angle for seeing the feedback.)
6.The Morph is complete.
