Note: Part of the Library Part Maker add-on. See Library Part Maker.
All commands needed for creating a Library Part are available on a single Library Part Maker palette.
Open Library Part Maker Palette
Open the palette using one of these commands:
•Design > Design Extras > Library Part Maker
•Window > Palettes > Library Part Maker
Selection and Highlight
Use the Palette icons to help you identify and select to particular Library Parts and components:
1.Select a Library Part Name from the pop-up.
2.Click the Zoom button to zoom to its Design Area on the Floor Plan

Select Components by Type
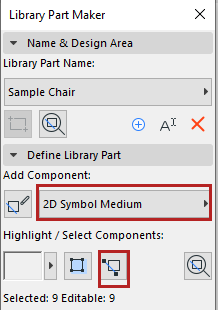
1.Select a Component Type from the pop-up (e.g. 2D Symbol Medium)
2.Click the Select Components button.

All Components of this type are now selected on the plan.
1.Select a Component Type from the pop-up (e.g. 3D Model Full)
2.Click the Highlight Components toggle button.

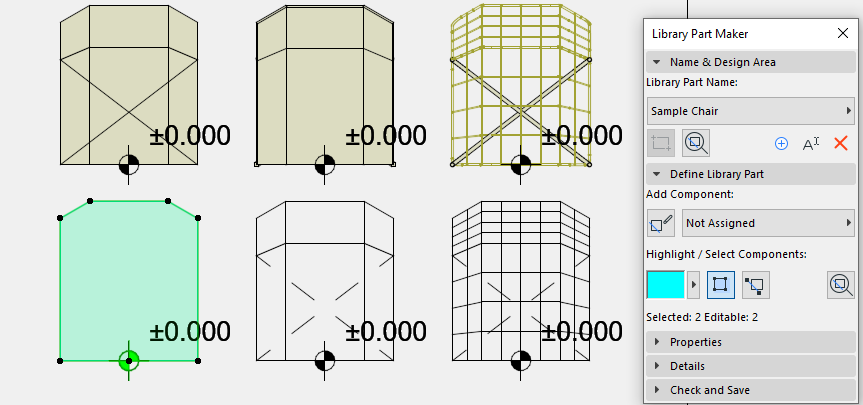
All Components of the selected type are now highlighted on the plan.

To remove the highlight, click the Highlight Components button again.
Highlight Unassigned Components
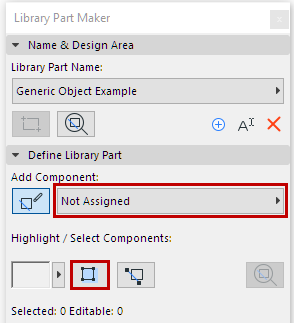
•Select the “Not Assigned” Component Type from the pop-up
•Click the Highlight Components toggle button.

All Components on the plan that have not been assigned a type are now highlighted.

To remove the highlight, click the Highlight Components button again.
Set Highlight Colors
Click the pop-up next to the Highlight preview to access its color setting interface. You can set a separate color for not assigned components, as well as Transparency (this is useful in the 3D window).
