Use the Fill tool to draw freehand fills in the project - for example, to create patches in a Section or Elevation view.
1.In Fill tool settings, choose a Fill Category.

•The first three (Drafting/Cut/Cover) are the same categories defined in the Fill dialog box. See Fill Categories
–Use the category that corresponds to the Fill function: if you are patching a section element, then choose Cut Fill; if you are working on an uncut element in elevation, choose Cover Fill.
•The two other categories (Building Material and Surface) make it easier to match cut fills based on Building Materials, and cover fills based on Surfaces. See descriptions below.
2.The Fill pop-up now contains Fills of that Category. Choose a Fill type (or Surface or Building Material).
3.Draw a freehand fill.
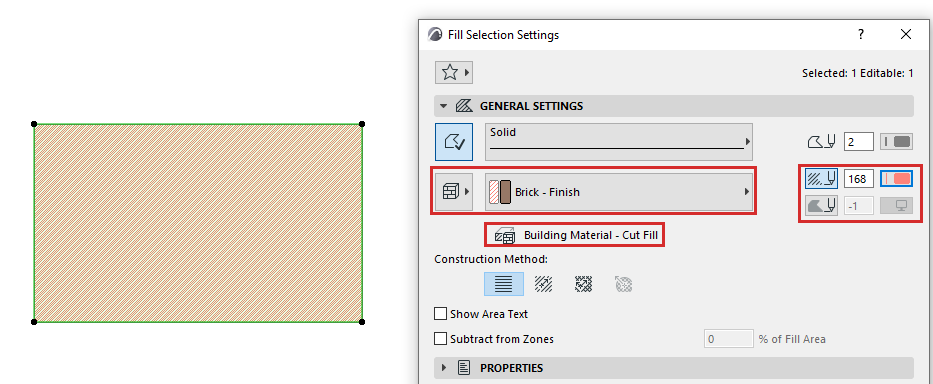
Uses the cut fill and colors of the chosen Building Material.
If needed, you can override these background/foreground colors for the Fill element.

Notes:
–A Fill element in this category is treated as a “Cut Fill” in Graphic Override Rules.
–In criteria (e.g. Find and Select or Schedules), “Building Material - Cut Fill” is a separate, specific criterion.
1.Choose a Surface from the pop-up.

2.Choose to use either the Color, Cover, or Texture of the chosen Surface.

Notes:
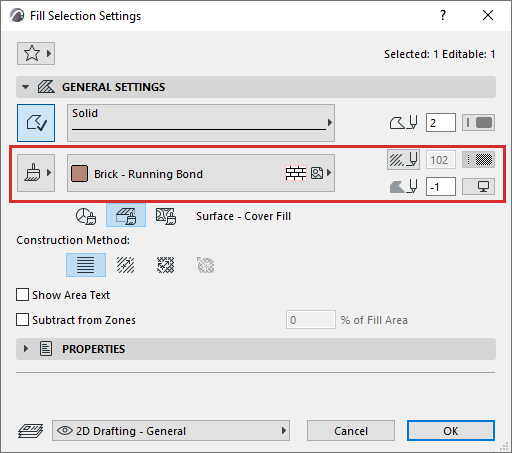
–A Fill element in the “Surface” category is treated as a “Cover Fill” in Graphic Override Rules.
–In criteria (e.g. Find and Select or Schedules), the Fill’s Surface Color/Cover/Texture are each separate criteria.
Surface - Color Fill
Uses the Surface color’s Background Pen.
If needed, you can override this color for the Fill element.
Surface - Cover Fill
Uses the Surface Cover Fill's Foreground Pen.
Override the Foreground and Background pens of the Fill element if needed.

Surface - Texture Fill
This Fill is based on the Surface Texture. It does not use pens.
