
Place Level Dimension on element
You can place a Level Dimension on any of the following elements:
•Slab
•Mesh
•Roof (single-plane and multi-plane)
•Shell
•Stair (and Stair sub-components)
Note: A Level Dimension placed in empty space (instead of an element) will be associated to the story level.
1.Open Level Dimension settings.
2.In the Dimension Type panel: Choose marker type, size, rotation, and pen.

3.In the Text Content panel: Choose how to display the elevation value.
•“Single value” is a basic option to display the elevation of the element’s visible top
•“Multi-line”gives you more options via Autotext to choose different measured levels and reference levels. You can also add custom text and superscript.
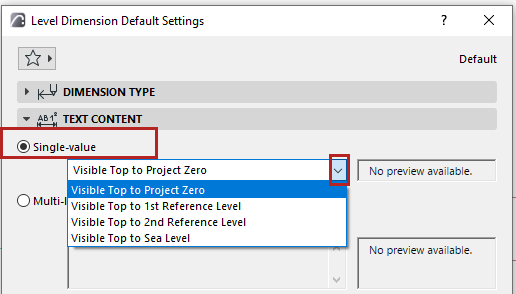
See details at Text Content.
4.Hover your cursor over the element, then click to place. You must click on visible, selectable parts of the target element.
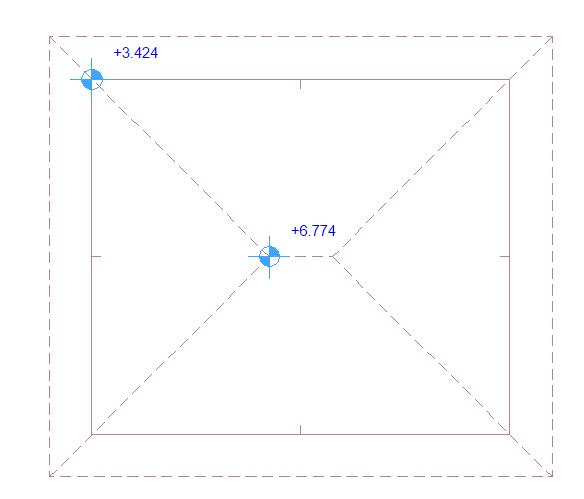
Level Dimensions on a Roof
If the cursor is over multiple elements: click Tab until the desired element is highlighted, then click to place the dimension.
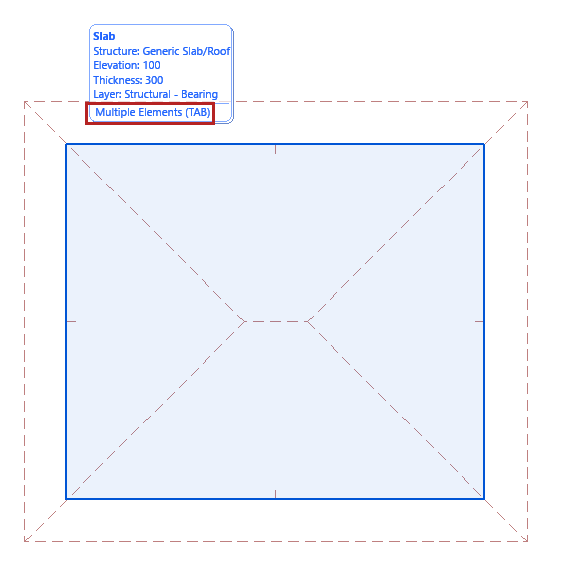
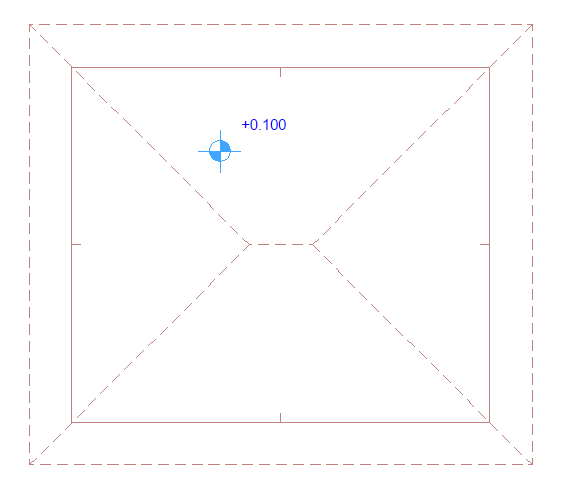
Level Dimension on a Slab
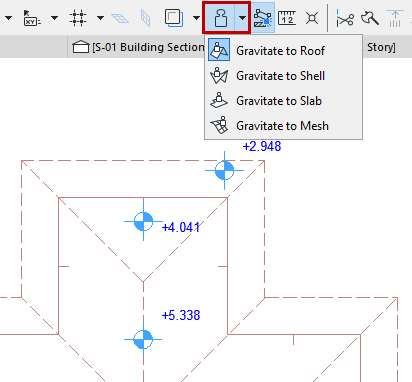
Use Gravity to filter target elements
If Gravity is on, the Level dimension can be placed only on the element type using gravity (either Slab, Roof, Shell or Mesh). See Gravity.
Edit dimension text
To edit the content and style of dimension text: see Text Style.
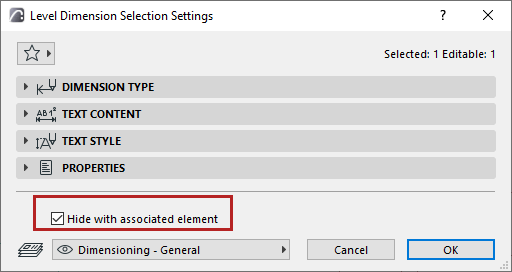
Hide with associated element
By default, a Level Dimension is hidden if its associated element is hidden (e.g. on a hidden layer). To display the dimension anyway, uncheck this box.
To place a static dimension (not associated to any element), go to Level Dimension Settings and check the Static box.