Junction-type MEP tools are the Tee, Wye and Take-off.

Generally, you will add junction-type MEP elements to an already placed, straight MEP element.
Note: Make sure the Autogroup function (Edit > Grouping > Autogroup) is turned off. Junctions cannot be placed on grouped elements.

1.Activate the desired Junction tool (Tee, Wye or Take-off).
2.Click on the existing element - the centerline or its endpoint - to place the junction.
Note: To place a Take-off, click on the element centerline.
3.Depending on where you clicked and the junction type, additional clicks may be necessary: move the cursor around to see the possible positions: should it branch off the right, left, top or bottom of the duct?.
4.Click in one of these four positions to choose the desired geometry.
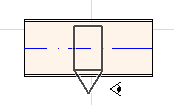 Right
Right 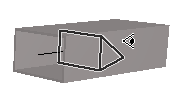
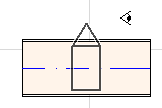 Left
Left 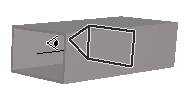
 Top
Top 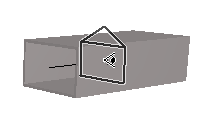
 Bottom
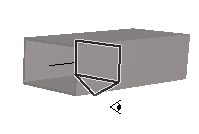
See also Start Routing with a Junction.
5.As applicable: Guide Lines will prompt you to click to define the angle at which to continue the next routing element.
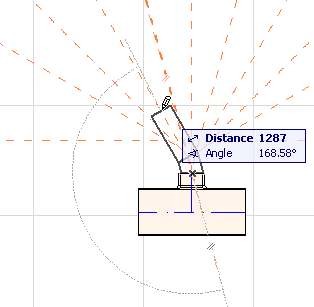
Note: If you prefer that the next placed element be vertical, do not choose any of the four horizontal directions. Instead, switch the Construction Method (use the Routing palette or the Tracker) to Vertical Rise, then place the next element.)
You can begin a Routing operation by placing a junction (Tee, Take-off, Wye) at an already placed straight MEP segment.
1.Click Start Routing on the MEP Routing palette
2.Click on the centerline of a placed MEP element
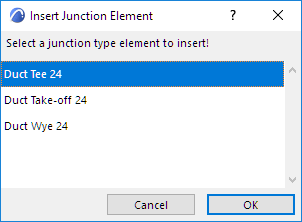
3.The Insert Junction Element dialog box appears.
Choose the type of junction you wish to insert (e.g. Duct Tee, Duct Takeoff, Duct Wye), then click OK. (Available junction types depend on whether the clicked element is a Duct, a Cable or a Pipe.)
