In the BIM Server configuration process, you will define basic properties of how the server works. Later, you can monitor and change Server settings through the BIM Server Control Center.
See BIM Server Control Center.
Click Next or Previous to move among the six pages of this wizard.
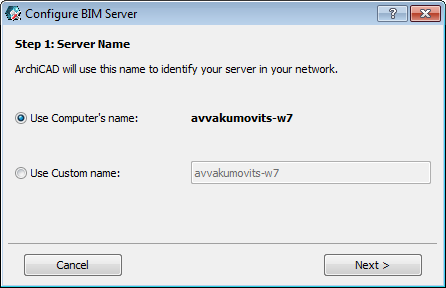
By default, the BIM Server will use the name of your computer.
Optionally, you can define a custom name for the BIM Server: in this case, all server selection pop-ups will identify the BIM Server by this name.
2.Enter or Browse the location of the default Project Data Folder. This will be the location of Teamwork Projects on this server.
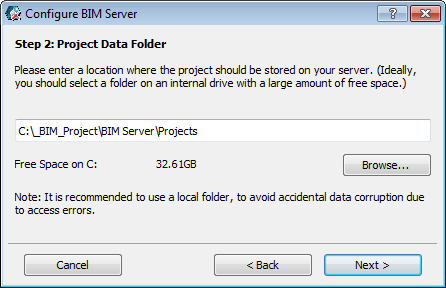
Note: Once a project is stored at this location, it cannot be moved to another location. However, in BIM Server Preferences, you can later change the default project location at any time (this will affect the location of newly created projects on this server.)
See also BIM Server Preferences.
3.Enter or browse the location of the Library Folder, where you will store your BIM Server libraries. (Ideally, you should select a location on an internal drive.)
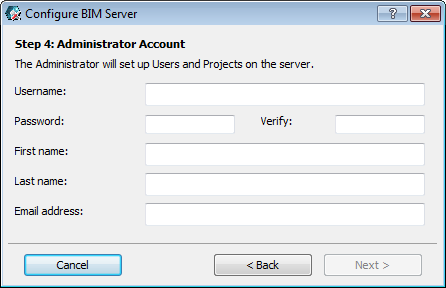
4.Enter data for the Server Administrator Account. The Administrator you define here (name, password, email address) is the initial Server Administrator, with sole access to the BIM Server Manager interface. (However, the Server Administrator can later define additional Server Administrators, on the Users page of BIM Server Manager.)
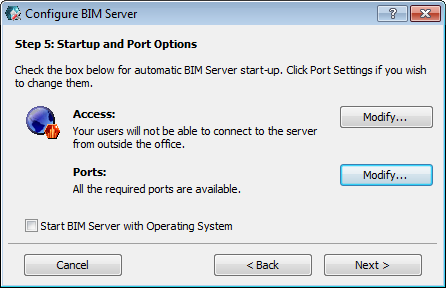
Access: By default, your BIM Server is not accessible from outside the office LAN. If you do want to enable internet access, click Modify, then enter an IP address or domain name in the appearing dialog box:
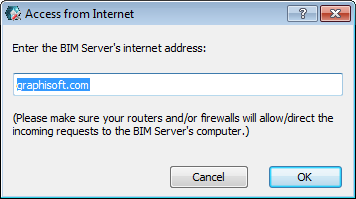
Note: For Internet access to work, the network and firewalls must be configured correctly.
For details, see: http://archicadwiki.com/Teamwork/BimServerConfiguration
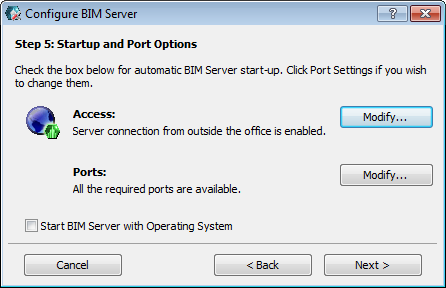
Ports: If you are warned that there is a problem, click Modify to access Port Settings and use the controls to identify alternative ports.

Start BIM Server with Operating System: If you activate this checkbox, the BIM Server will automatically start each time you start up this computer.
Later, you can alter these settings from the BIM Server Preferences dialog of the BIM Server Control Center.
6.Mail Server: Use these fields to define the Mail Server used to send information by email from the Server to users. The Mail Server definition can be modified later, in BIM Server Preferences.
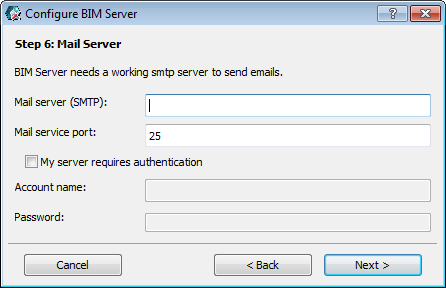
Note: Using a mail server is optional. However, if you don’t define a mail server here, you won’t be able to send emails to users from the BIM Server Manager (e.g. password reminders.)
7.Configuration of the BIM Server is complete. Click Start Server to start it up.