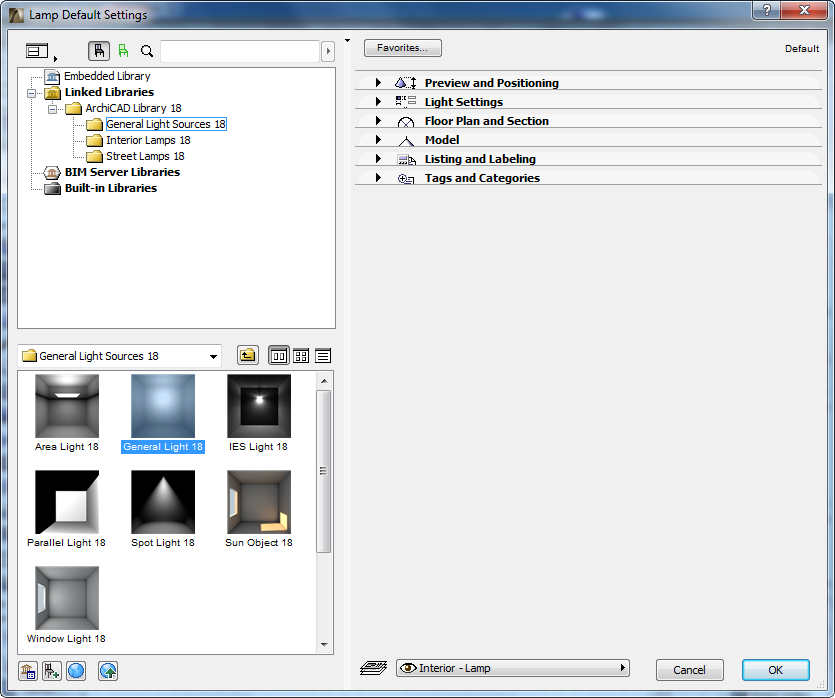
General Light Sources and Effects
Choose from among seven light objects in this category to provide a general source of light.

General lights, unlike lamps in the Interior or Street Lamp categories, include special effects such as Visible Light and Noise parameters. Click the parameters pop-up to access these Effects parameters.

The main Effects page contains graphical links to the sub-pages:

On each page, one or more sample images helps you understand the effect of the parameters.
Note: Not all effects are available for all General Light objects.
This effect controls properties of the light beam in the scene.
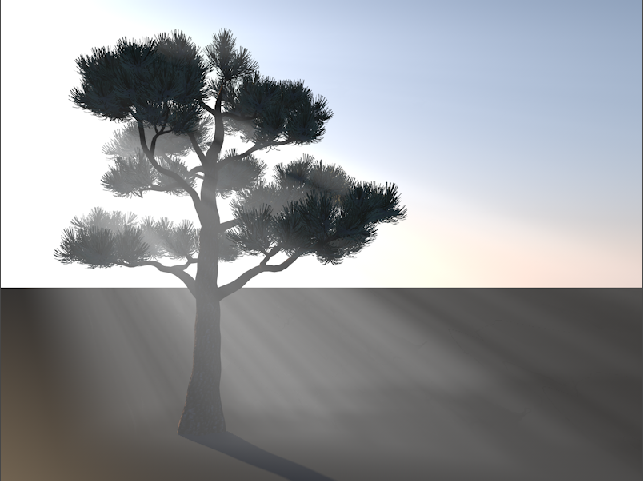
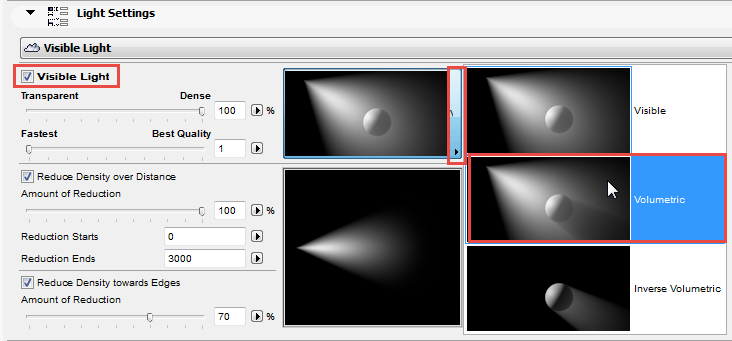
Use the pop-up to choose a Visible Light type: Visible, Volumetric, or Inverse Volumetric. The images on the pop-up help you understand the options.

•Visible: This type of effect will produce visible light that passes through all objects and does not affect them; this effect casts no shadow in the beam.
•Volumetric: Use Volumetric if you want your Visible light effect to cast a shadow.
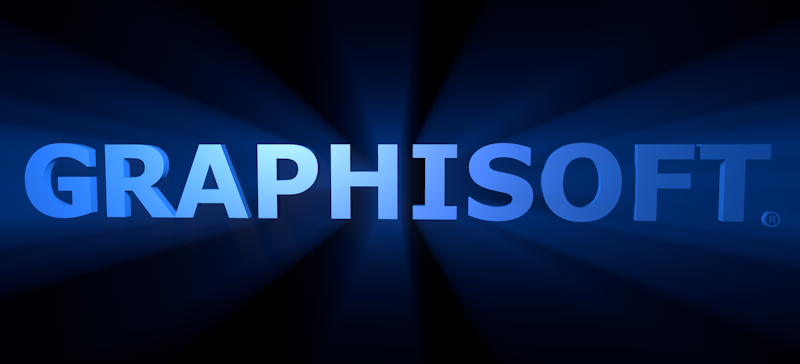
•Inverse Volumetric: This is the opposite effect of the volumetric light: the light is visible where the light cone would normally be in shadow. This can be useful if you want to give the impression that an object is radiating light (e.g. a neon company logo on the side of a building).
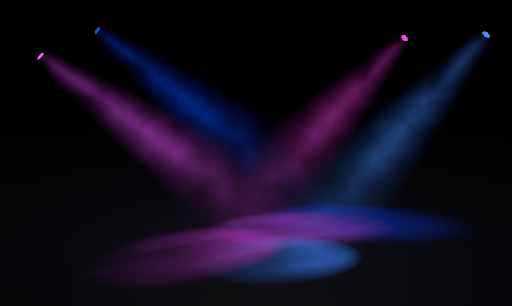
Density/Quality: Use the two sliders to set these parameters of the light beam.
•Transparent/Dense slider: defines how dense this light effect is.
•Fastest/Best Quality slider: The “Fastest” setting means few samples are taken, and the PhotoRendering effect is generated relatively quickly. The Best Quality will take more samples and take longer.
Reduce Density over Distance: Check this to have the light density decrease toward the edges.
•Amount of Reduction: 100 percent means the light fades entirely.
•Use the Reduction Starts and Reduction Ends fields to define where to begin and end this reduction.
Noise adds irregularities to the light source in two ways, to make the effect more realistic.
The images in the Light Settings Noise controls help illustrate what the parameters mean.
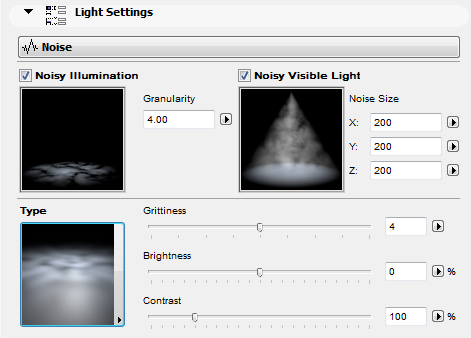
•Noisy Illumination: Check this box to add noise to the illuminated surface.
•Noisy Visible Light: Check this box to add noise to the Visible light beam itself.
Use the pop-up to choose a Noise type: plain Noise, or Soft/Hard/Wavy Turbulence (which produce a cloud-like effect). The images on the pop-up help you understand the options.
Use the sliders to further adjust the Noise effect you have chosen:
•Grittiness: A higher value will create a larger number of irregularities for a grainier effect.
•Brightness: Affects the overall brightness of the white “blotches” of the noise effect.
•Contrast: Affects the black/white contrast of the noise effect.
Caustics are patterns of focused light created on surfaces and within a visible light beam.
Check the box of the types of Caustics you wish to create (you can use both effects at once):
•Surface Caustics: Achieves a Caustic effect on the illuminated surface.
•Volume Caustics. Achieves a Caustic effect within the light beam itself.
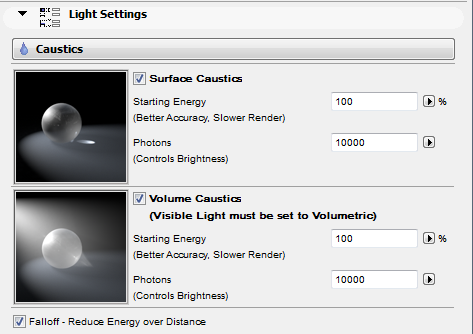
Important: The Volume checkbox will have an effect only if you have chosen enabled the Volumetric option for the Visible Light parameter (Visible Light page of Light Settings):
For both types of Caustics, you can set the following parameters:
•Starting Energy: Affects the brightness
•Photons: Affects the accuracy and quality of the Caustic effect; higher values increase rendering time.
Falloff - Reduce Energy over Distance: This is unchecked by default. If checked, you may not see the Caustic effect, if the light source is far enough away from the surface.
Using Caustic Effect in PhotoRendering
The Caustics settings of your Light Objects will have the desired effect in PhotoRenderings only if
1.the corresponding Caustics effects are enabled in PhotoRendering Settings (see Caustics); and

2.the Caustic channel of the affected Surface(s) are also turned on.
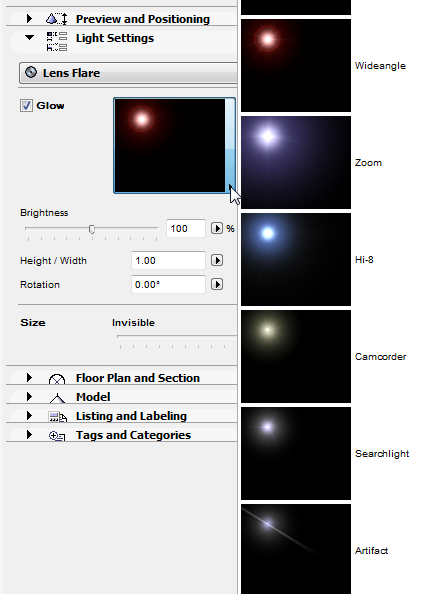
Lens Flare simulates the aberrations of real-world camera lens systems and film material. Its two main components are Glow and Reflexes.

•Glows are a type of over-exposure to light
•Reflexes are lens reflections
You can choose from a large number of predefined glow and reflex effects: click the pop-ups to see the images for each.
Glow: Check this box and use the pop-up to choose a Glow style for your Lens Flare.
Reflexes: Check this box and use the pop-up to choose a Reflex style for your Lens Flare.
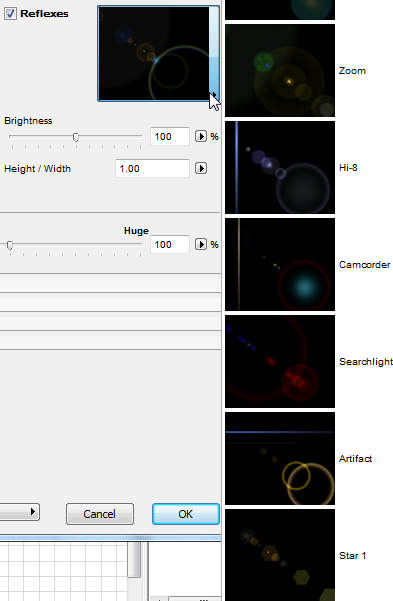
Use the Brightness slider to adjust the brightness of the Glow and/or Reflexes in the lens flare.
The Height/Width value express a proportion; changing this value will distort the shape of the effect (glow or reflex).
Use the Rotation parameter (enter a value in degrees) to rotate the Glow element.
Using the Lens Flare Effect in PhotoRendering
Lens flare is a so-called “post effect” which is applied after the rendering calculation is completed.
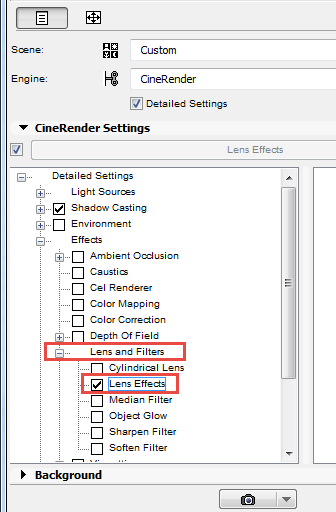
The Lens Flare settings of your Light Objects will have the desired effect in PhotoRenderings only if you turn on Lens Effects in PhotoRendering Settings (CineRender engine, Detailed view):
Clipping
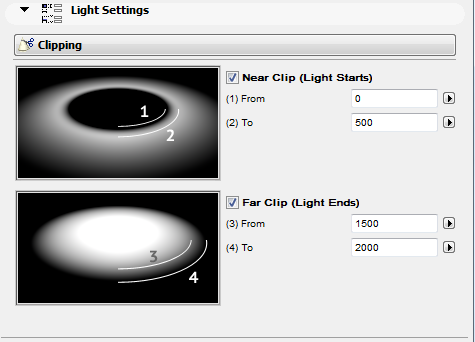
This effect clips the light effect between two points.
Check the boxes to create a Near Clip and/or Far Clip.
For each Clip, define where the clip effect should start and end.
Illumination-Related Special Effects
These effects are important general parameters for your light effects. Try out the checkboxes to see how the sample image changes, to help you understand the effect.
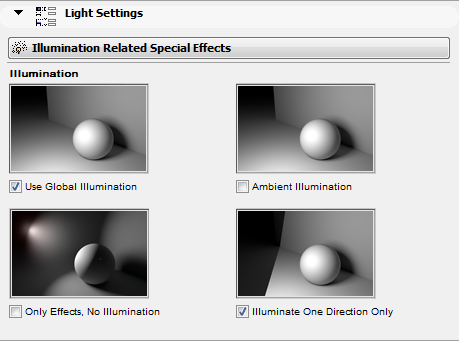
Use Global Illumination: This is on by default. Global Illumination (GI) is a sophisticated method for achieving realistic lighting effects in your model. The algorithm simulates the effects of not just direct light sources, but indirect light effects - that is, inter-reflections caused by light rays bouncing off surfaces.
Using Global Illumination can greatly increase render time.
See also Consider Global Illumination.
Ambient Illumination: Normally the brightness of a surface is determined by the angle at which a ray of light hits it. When Ambient Illumination is switched on, however, the angle does not matter. All surfaces are lit with the same intensity; this results in a much flatter look. Only the material color is considered in the lighting calculations.
Only Effects, No Illumination: With this option, just the visible light effect itself, plus any lens effect, will be shown. No objects are illuminated by the light source.
Illuminate One Direction Only: Check this if your rendering doesn’t need the light to illuminate the space in all directions. (Use the hostpots on the Show Illumination feedback lines in 2D and 3D to graphically adjust the direction.)
Shadow and Surface Related Special Effects

•Only Shadow, No Illumination: Use this if you want the light object to only cast a shadow, without producing any illumination. This can be useful if your scene contains multiple lights, and you don’t need all the illumination for the scene.
•Disregard Surface Transparency: Check this option to help minimize render times (e.g. for a test render).
•Ignore Diffuse Channel: With this option, the color properties of an object are ignored by the light source; only specular surfacing is produced by the light. This can be useful for objects such as a golden signature, where you would like specular glints, but no lightening of the color properties. This also produces a more metallic effect.
•Ignore Specular Channel: With this option, the light source produces no specular highlights on your scene’s objects. This can be useful if, for example, an object is lit from both sides by two light sources, producing too many shiny highlights. You can retain the lighting but reduce the highlights by using Ignore Specular Channel for one of the lights.
One of the General Light Sources is the Sun object. It is a simpler alternative to the sun defined in the CineRender’s Physical Sky settings; and it takes better advantage of CineRender capabilities than the ArchiCAD Sun.
The sun object provides lighting based on the Time and Location settings of the ArchiCAD Sun (see Sun.)
Alternatively, the Sun Object can be positioned manually: In Sun Object settings, check the Set Sun Position Manually checkbox. The Sun Azimuth/Altitude values are now editable, and they will be updated automatically as you move the object in the project.

Note that the PhotoRendering Palette’s Environment settings are not reflected in the 3D model, so in order to gauge the effect of the Sun Object, you must watch its effect in the Rendering Palette Preview, while moving it in the 3D window.