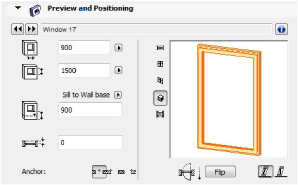
Door/Window Preview and Positioning Panel

The name of the opening is shown at the top of the panel.
Click the Info button to see further information about the Door/Window (e.g. author, description). If you share your own library part to the BIM Components Portal, you have the opportunity to enter this information during the process.
See Share Object on BIM Components Portal.
Use the navigation buttons to go the previous and next element in the library without having to use the browser area.

Use the fields to enter the following values for the Door/Window:
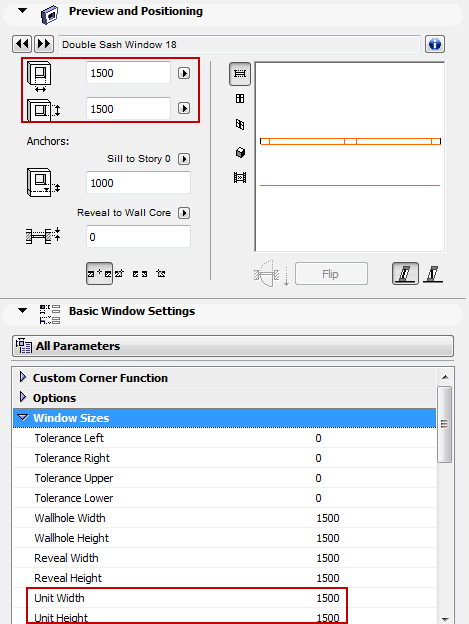
Width: Enter Width of the opening here.
Height: Enter Height of the opening here.
Note: These Width/Height values are the window’s Nominal Size values, which can also be entered in the Graphical Interface Panel’s Nominal Sizes and Tolerance panel, as well as under Window Sizes in the Parameters Panel.

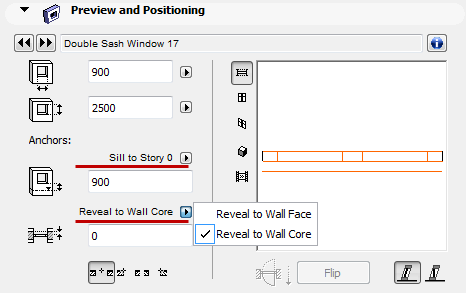
Sill/Header Value: Enter the height of the Door or Window Sill or Header from the chosen reference point.
Define the reference point for the sill/header by choosing from the pop-up above the value field:
See also Sill or Header Heights.
Reveal: Enter the depth of the Door/Window Reveal, if any.
Anchor the Reveal to either the Wall face or the Wall core (the closest core skin, if there are several core skins). This is relevant if you are using a composite Wall.
See also Anchor Reveal.
Note: The Reveal value, on the Preview and Positioning Panel, is the same as the Reveal Depth value in
•the Parameters panel of Door/Window Settings
•in the General Settings section on the Graphical Interface panel (e.g. Basic Window Settings) of Door/Window Settings, and
•in the Reveal Settings tab page of the Graphical Interface panel of Door/Window Settings
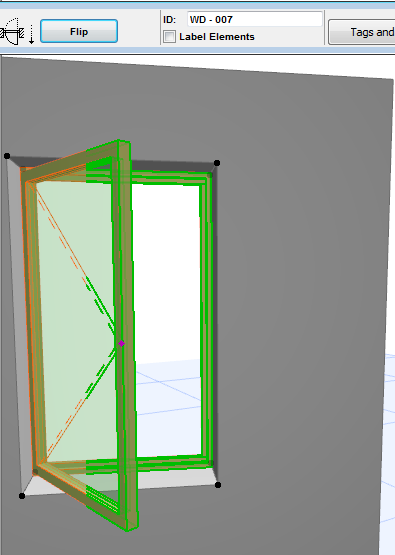
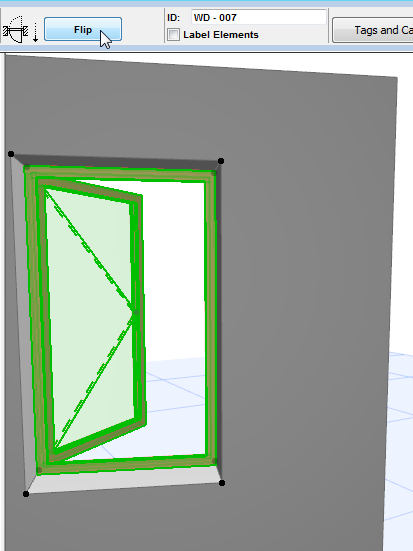
The Flip button switches the opening direction of a selected door/window from one side to the other, while keeping the frame in place. (This button is also available in the Info Box).
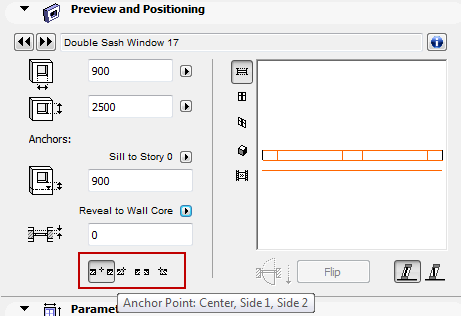
Anchor Point: This control affects the method used to place a new Window/Door. Choose either side or the Center as your preferred geometry method for placing the Door/Window.
As you place the opening into a Wall, you can switch Geometry Methods on the fly (use the Anchor Point control in the Info Box, or its shortcut.)
See also Placing Doors or Windows.
Opening Plane: This control is relevant if your door/window is placed into a slanted wall.

•Associated to Wall: The plane of the door/window will follow the plane of the wall.
•Vertical: The door/window will be placed vertically regardless of the plane of the wall it is placed into.
For more information, see Setting the Window/Door Plane in Slanted or Complex Walls.
The Preview Area at the right shows you the Door/Window in different displays, depending on which of the five icons (at left) that you choose. As you set different parameters for the Door/Window, keep an eye on this preview to see the effects of your edits.
Click among the Preview Options to vary the preview picture:
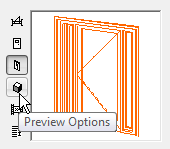
Move the cursor inside the Preview Area and the cursor will change to a “flip” arrow, allowing you (in the 2D Symbol or 3D views) to alternately view each side of your Library Part.
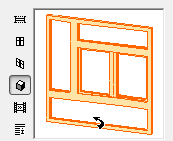
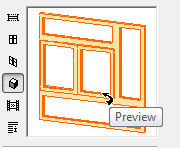
The preview options, from top to bottom:
•2D symbol
•hidden line front view
•hidden line axonometry
•3D shaded axonometry
•predefined preview picture
Note: To modify the predefined preview picture, use the Preview Picture controls in the GDL Object Editor.
See Preview Picture.
Move the cursor inside the Preview Area and the cursor will change to a “rotate” arrow, allowing you (with successive clicks) to rotate the 2D Symbol or 3D View of your Library Part.