Create a Single-plane Roof on the Floor Plan
Note: Apart from drawing a new Roof as described below, you can also select a Multi-plane Roof and split it into several Single-plane Roofs, using Edit > Reshape > Split into Single-plane Roofs or Design > Roof Extras > Split into Single-plane Roofs.
1.Select the Roof Tool. In Roof Settings or the Info Box, adjust the main roof parameters (e.g. pitch, surfaces).
2.Choose the Single-plane construction method from the Info Box or from Roof Settings.
3.Choose one of the three geometry methods in the Info Box (Polygon, Rectangle, Rotated Rectangle)
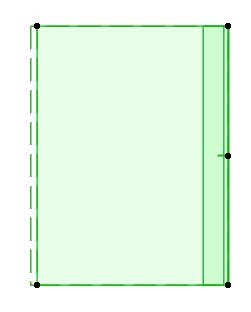
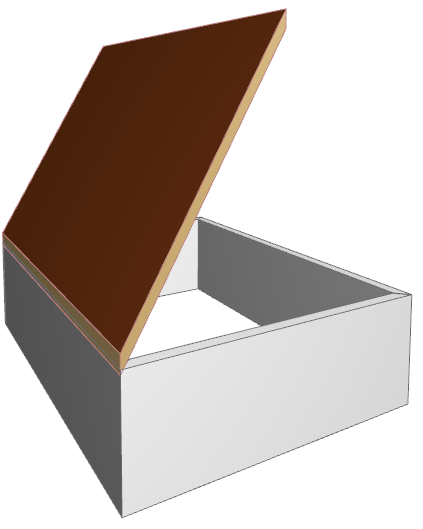
4.On the Floor Plan, click twice to define the Roof’s pivot line.
In most cases, you will want the pivot line of the roof to coincide with a wall Reference Line or a slab edge.
5.The eyeball cursor appears. Click on the side of the pivot line where you want the roof plane to rise (or, in the case of a negative roof pitch, slope downward).

6.Draw the contour of the roof by clicking on each of the new roof’s nodes. Or use the Magic Wand: click on an existing element to serve as the pattern for the roof’s contour.
See also Magic Wand.