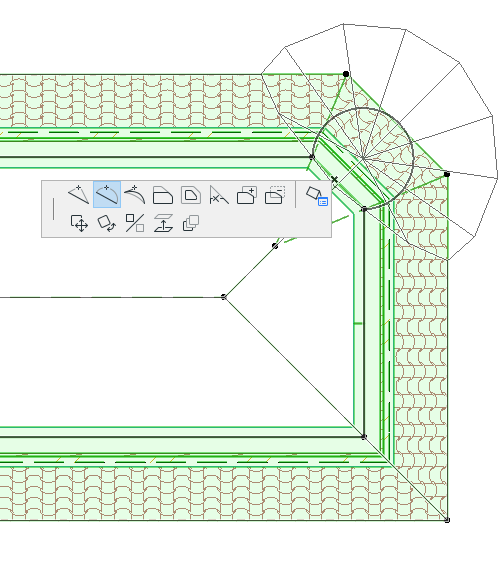
1.Begin with a regular hip roof.
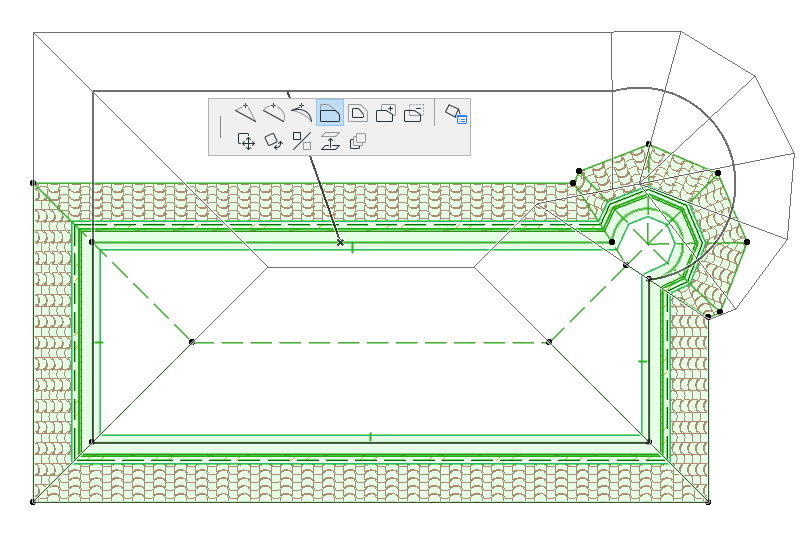
2.In the Floor Plan or 3D, select the pivot line on the plane where you want to add the tower.
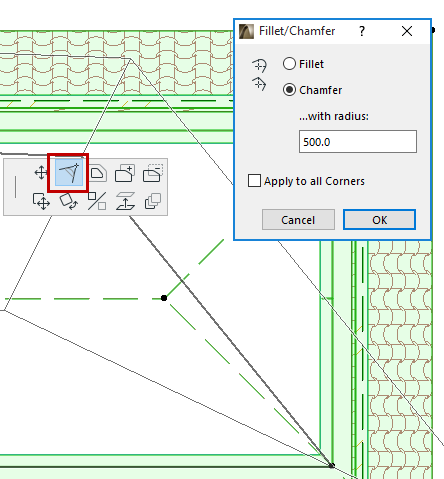
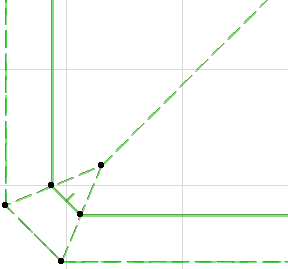
3.Chamfer the polygon to create an additional roof plane.


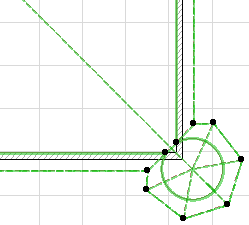
4.In this new plane, again select the pivot line and use polygon editing to add a curve to the edge and create a tower shape.
The number of divisions in all the arced planes of your Roof are distributed either by arc or by circle, as set in the curve resolution control of Roof Tool Settings (Multi-plane Roof panel).
See Curve resolution.
You can customize this arc resolution method for any specific arced plane (such as the tower), using the Customize Plane dialog box.
See Customize Roof Plane.
For example, you can specify that the tower consist of six divisions: choose By arc, then enter 6.
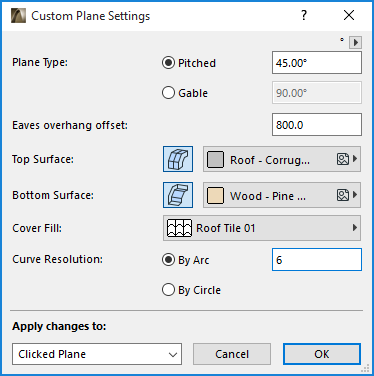
This way, if the geometry of the surrounding roof planes changes, the arced planes of your tower still remain divided into six.
