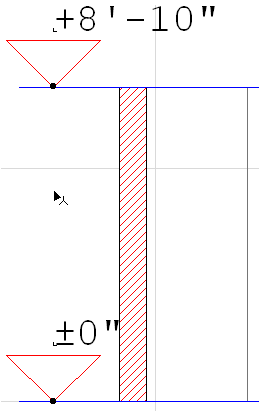
 construction method. Elevation Dimensions allow you to place height markers in Section/Elevation/IE and 3D Document windows.
A special case of the linear Dimension tool is the Elevation Dimensioning  construction method. Elevation Dimensions allow you to place height markers in Section/Elevation/IE and 3D Document windows.
Note: On the Floor Plan or Worksheet/Detail windows, use Level Dimensions. See Level Dimensions.
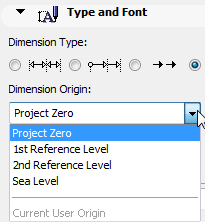
Elevation Dimensioning is calculated based on the Dimension Origin, which you can set as needed in Elevation Dimension Settings.
See Elevation Dimension Settings.

A series of Elevation Dimensions behaves as an associative dimension chain.
Place Elevation Dimension Chain
1.Activate the Dimension tool, with the Elevation Dimension construction method.

2.In the Section/Elevation/IE or 3D Document window: click the series of points where you need Elevation Dimensions.
3.Double-click (or click OK in the Control Box) and use the Hammer cursor to place the chain.
In Section/Elevation/IE windows, you can dimension all Story Level Lines in one step.
See Dimension Story Level Lines.
Edit Elevation Dimensions
Select and edit the whole series of Elevation dimensions by clicking on the invisible axis of the chain (where the cursor changes to Mercedes with Arrow) with the Arrow tool, or Shift-clicking with another tool active.

Note: Hotlinked Modules placed in the Project may contain Elevation Dimensions that refer to a User Origin. In this case, the dimension values will be the same as in the source Project. Different rules apply if you move the Elevation Dimensions in the host Project: