Rail Component Settings (Toprail/Handrail/Rail)
This panel is available in the Settings dialogs of all Rail-type Railing components: Toprail, Handrails and Rails.
Available controls depend on the selected Rail component (e.g. Built-in, Profiled). Some of the key controls are described here.
You must set up Component Settings for each horizontal Rail type separately (Toprail, Handrail, or Rail). Make sure you are in the particular dialog box of the Rail component you need (e.g. to edit the Handrail, use Rail Component Settings from the Handrail Settings dialog).
Rail 2D Symbol Type
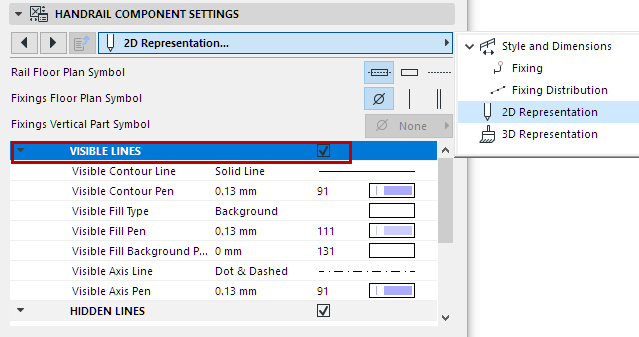
Select a Symbol Type on the 2D Representation tab page of Rail Component Settings.
Rail 2D Symbol Display
Set 2D display preferences for the Rail component, using the controls below (for Visible and Hidden parts of the Railing).
Show/Hide Rail’s 2D Symbol
By default, the visibility of Railing components in 2D views is defined at Document > Set Model View > Model View Options.
To override these settings, click the Custom option on the Railing Settings page. (See Component Visibility and Detail Level.)
Then, in Component Settings, use the Visible Lines and Hidden Lines checkboxes to show/hide this Component’s 2D Symbol.
Note: Component-level visibility settings do not take effect unless the Custom option is enabled in Railing Settings.
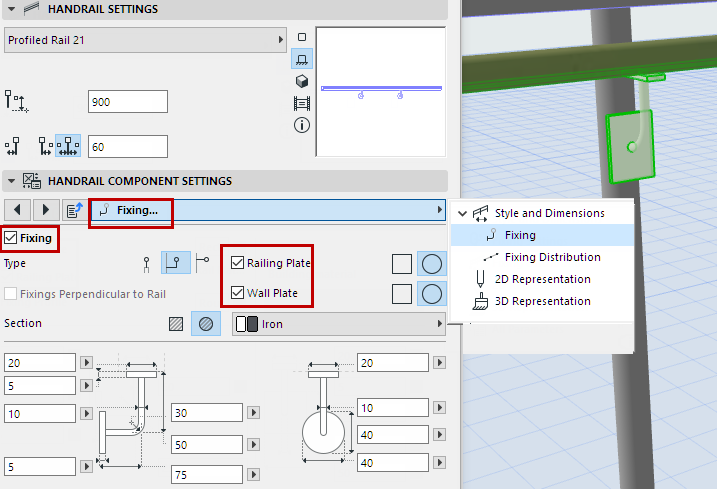
Check this box to add a Fixing to the Rail.
Use the Fixing tab page of Rail Component Settings to access the settings, including size and Building Material. The Profiled Rail Fixing, for example, can consist of a Wall Plate, Railing Plate or both.
Fixing Distribution
Use the Fixing Distribution tab page of Rail Component Settings to define how to place the Fixings along the Rail.
Choose a Distribution method:
•Distribute by Posts: Place a Fixing at each Post and Inner Post.

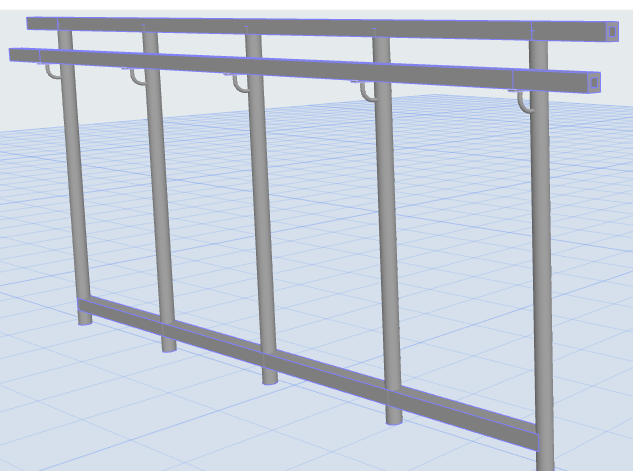
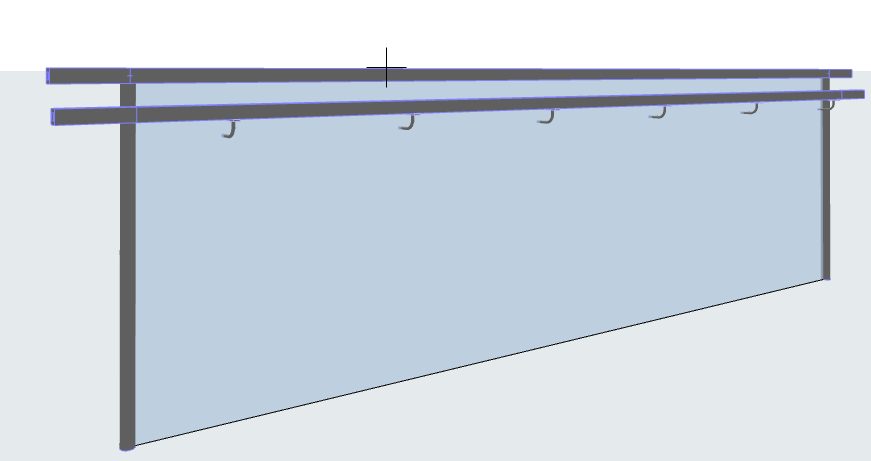
Handrail Fixings at Posts and Inner Posts
•Distribute by Divisions
◦In the Number of Divisions field, enter the total number of Fixings to place along the Segment length.
◦Distance from Ends refers to the gap between the first/last Fixing and the end of the Rail.
•Distribute by Pattern
◦Distribute the fixings evenly within the Pattern Length you specify
◦Check Automatic Layout (best fit), or
◦Choose a startpoint for distributing the Fixings.
-Segment Start or Segment End
-Center of Segment: One Fixing is placed in the center, and then rest distributed, at set intervals, on each side.
-Center of Segment with Best Fit: Fixings are distributed at the set interval, so as to be symmetrical over the length of the Segment.
-Custom Position: Enter the startpoint (distance from Segment start)
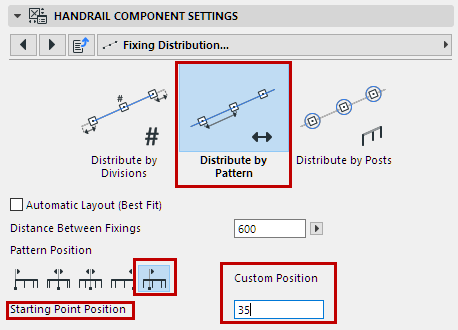
Evenly Spaced Handrail Fixings: Start from Custom Position