Curtain Walls and Other Elements
The following sections describe how Curtain Walls can interact with other elements.
Curtain Walls and Adjacent Zones
Split Intersecting Curtain Walls
Create Common Frame for Overlapping Curtain Walls
A Curtain Wall may be joined to one or more walls.
•If you move or rotate the Curtain Wall, then the joined wall will stretch accordingly.
•The Join command is also helpful in adjusting wall geometry to a slanted Curtain Wall.
To join a wall to a Curtain Wall:
1.Select the wall(s) and the Curtain Wall. (You may select any number of walls, but only a single Curtain Wall.)
2.Use the Design > Modify Curtain Wall > Join Wall(s) to Curtain Wall... command
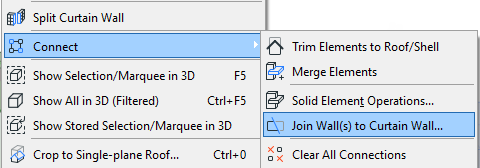
or the Connect > Join Wall(s) to Curtain Wall command from the context menu.

3.The Join Wall(s) to Curtain Wall dialog box appears. Use this dialog box to specify the exact connection point of the wall(s) to the Curtain Wall.
See details below.
4.Click Join.
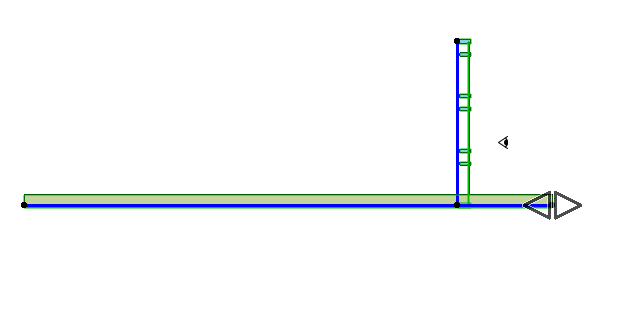
5.If the ends of the wall and Curtain Wall do not coincide, the eyeball cursor appears: click to define which end of the wall you want to join to the Curtain Wall.
As you move the cursor to either end of the wall, a double-arrow appears on the wall, to indicate that this is the end that will be joined if you click now.
Join Wall to Curtain Wall Dialog Box
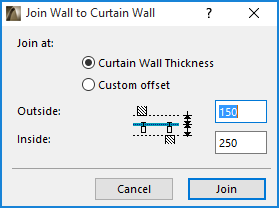
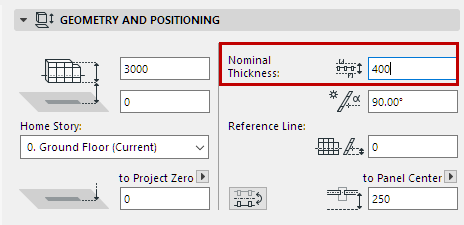
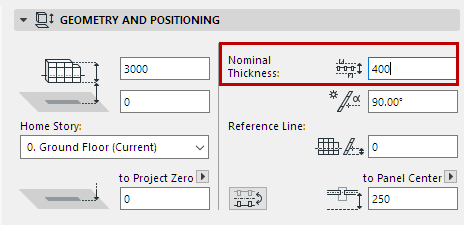
•Join at Curtain Wall Thickness: This is the default choice. These Inside and Outside offset values total the Curtain Wall’s Nominal Thickness, as defined in Curtain Wall System Settings Geometry and Positioning Panel. In our example, the Nominal Thickness is set to 400.
•The Outside value: this defines the point at which walls coming from the “Outside” direction of the Curtain Wall will be joined to this Curtain Wall.
•The Inside value: this defines the point at which walls coming from the “Inside” direction of the Curtain Wall will be joined to this Curtain Wall.
Both the Inside and Outside wall joining points are expressed as offsets from the Base Surface, as shown in the “Join Wall to Curtain Wall” dialog box.
For the purposes of offsetting joined walls from this Curtain Wall, the “Inside” portion of this Nominal Thickness is equal to the Panel offset from the Reference Surface (in our example, 250); the “Outside” portion is what remains of the Nominal Thickness (in our example, 150).
•Custom Offset: Click this to stop the adjoining wall(s) at points other than the Curtain Wall’s nominal thickness. Enter values for the offset from the Curtain Wall’s Base Surface to the Outside and Inside wall connection points.
To redefine the offset for an already joined wall, join it again.
Selected elements that participate in a join between a Curtain Wall and Wall(s) are shown with a “grip”. Click the grip to see a list of the Connections (including Solid Operations and Trims, as well as joined Walls/Curtain Walls) which involve the selected element. Use this list to manage these relationships.
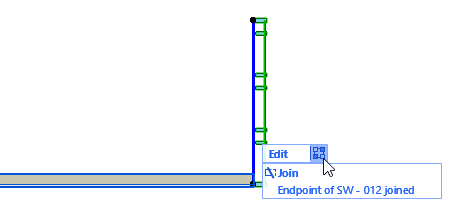
For more information, see Managing Element Connections.
Curtain Walls and Adjacent Zones
Adjacent Zones extend up to the Curtain Wall’s Nominal Thickness, as defined in the Nominal Thickness field of Curtain Wall System Settings (Geometry and Positioning Panel).
As with walls and columns, you have several options for defining how to calculate Curtain Walls which are bounded by Zones or which serve as a Zone boundary. Use the Relation to Zones pop-up on the Member Placement Panel of Curtain Wall Settings to define how to calculate these Zones.
See Relation to Zones.
Split Intersecting Curtain Walls
One way to precisely connect two Curtain Walls is to make them intersect, then split off the “extra” parts, using the Design > Modify Curtain Wall > Split Curtain Wall command.
This command works only for splitting one or more Curtain Walls with another Curtain Wall. It is available in any model window (but not in Curtain Wall Edit mode). It is analogous to the Edit > Reshape > Split command, which works on other ARCHICAD elements.
In this example, the two Curtain Walls intersect on the Floor Plan.
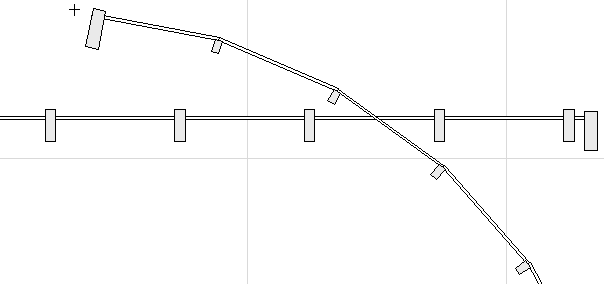
1.Select the curved Curtain Wall.
2.Use Design > Modify Curtain Wall > Split Curtain Wall, or the same command from the context menu.
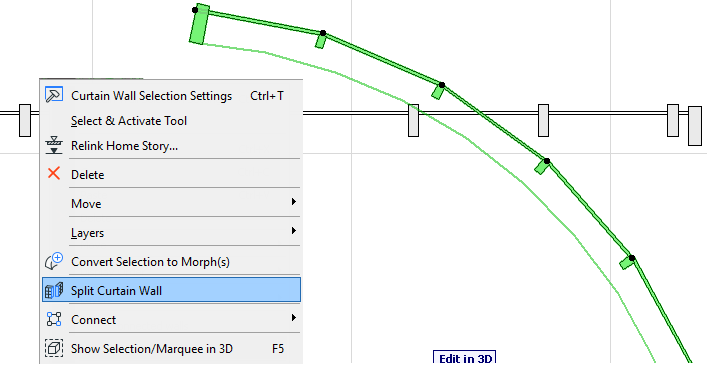
3.Click on the other Curtain Wall.
4.The eyeball cursor appears. Click either side of the curved Curtain Wall to define which part will remain selected after the Split takes place.

The curved Curtain Wall has been split into two separate Curtain Walls.

5.Now you can delete the one you don’t need, and the remaining Curtain Walls are joined exactly.
6.Repeat the process to split off, then delete the protruding part of the straight Curtain Wall.
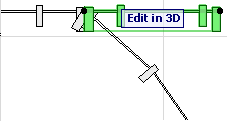
The result on the Floor Plan, and in 3D:
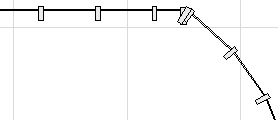

In such a case, the two adjoining Curtain Walls’ Frames may overlap. To remedy this, create a common Frame for both of them.