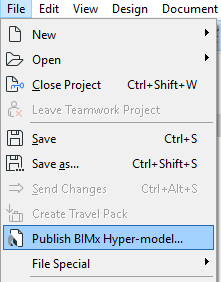
Create BIMx Hyper-Model Using a Wizard
Use this method (File > Publish BIMx Hyper-model) to create a new Hyper-model Publisher Set or republish an existing one, using a wizard.
Start by setting up the desired view in the 3D window. This will be the basis of your Hyper-model.
If you want to include a gallery of camera positions in the BIMx model, place cameras on the Floor Plan and select one.
You may need to optimize the ARCHICAD model before saving it in BIMx format to ensure the best possible performance.
See BIMx: Notes on Model Data, Size, Textures and Shadows.
1.Use the File > Publish BIMx Hyper-model command.

2.In the appearing dialog box, choose Create new publishing set.
3.Choose a publishing method: Upload to BIMx Model Transfer Site or Save file.
–Upload to BIMx Model Transfer Site will upload the file to the site at bimx.graphisoft.com. (You must register before using this site.)
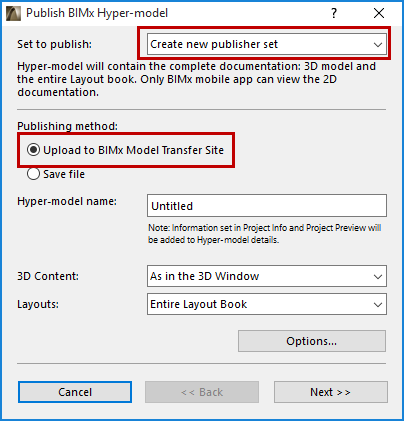
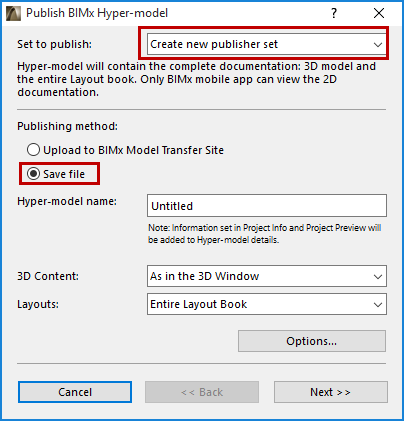
4.Hyper-model name: Optionally, use this field to rename the Hyper-model.
Note: The Hyper-model will include the ARCHICAD Project Info and Project Preview data.
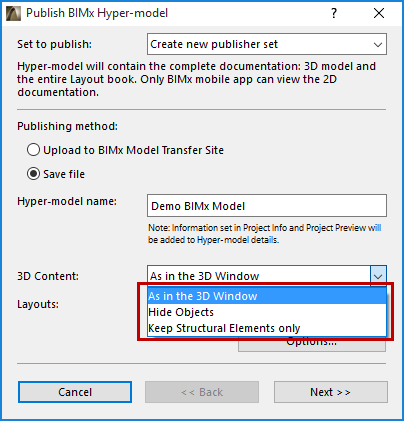
5.3D Content: Choose an option to filter the model’s 3D content:
–As in the 3D Window: Use the current view
–The Hide Objects and Keep Structural Elements only options limit the elements included in the 3D view, thus reducing file size. This may be important depending on the capacity of the mobile device to be used for viewing the BIMx Hyper-model.
See also BIMx: Notes on Model Data, Size, Textures and Shadows.
6.Layouts: Choose the Layout content to include in the BIMx Hyper-model: Entire Layout Book; No Layouts; or a selected subset.
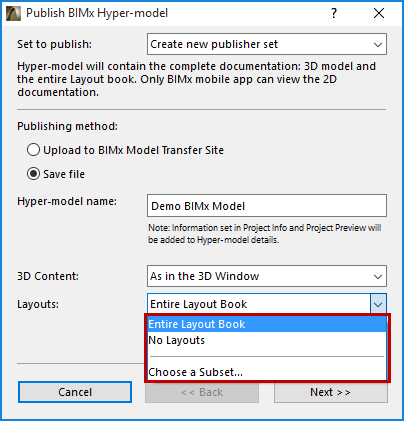
–Click Choose a Subset to select one Layout Book Subset.
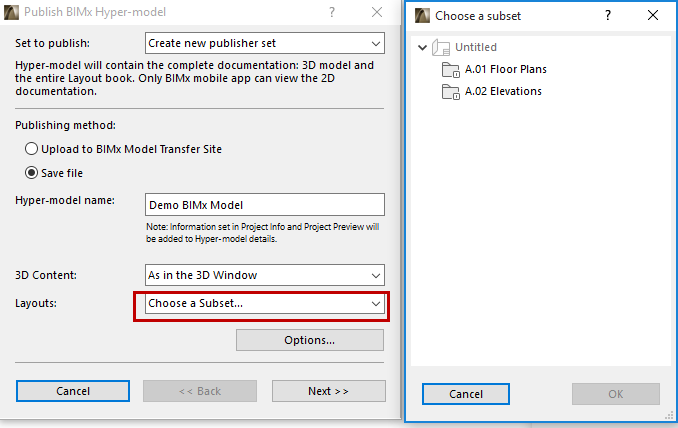
Note: When using this wizard, you cannot add or remove individual Layouts to the new Publisher Set. To do that, you must use the Publisher-Organizer.
7.Click Options to open BIMx Export Options.
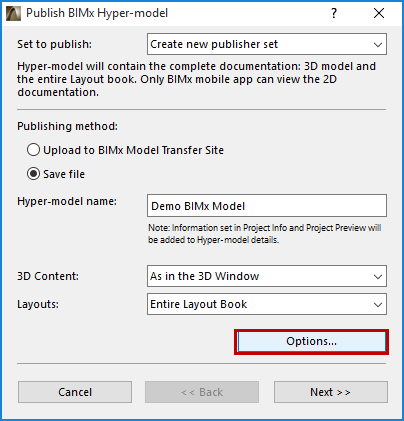
For details, see Step 3: Set BIMx Export Options.
8.Click Next.
9.Set the options depending on the publishing method you choose (either Upload or Save).
–If you are uploading the BIMx Hyper-model:
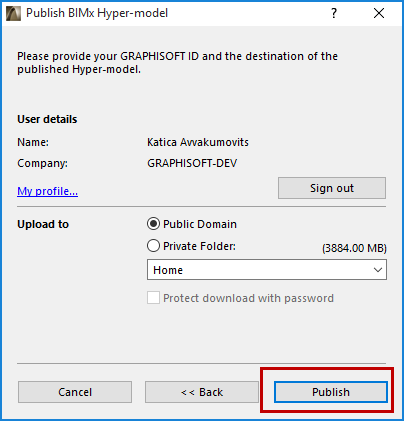
-Choose whether to upload to the Public Domain, or to a Private Folder. If you choose Private Folder, you can optionally password-protect the file.
–If you are saving the BIMx Hyper-model:
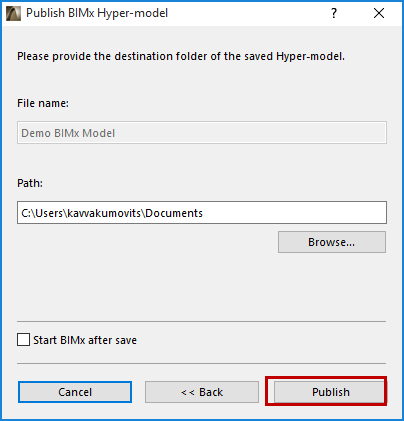
-Enter a destination file path.
-Optionally, check Start BIMx after save to open the BIMx model in BIMx Desktop Viewer.
10.Click Publish.
For details, see Step 4: The Publish Process.