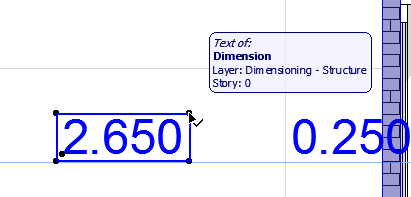
To open the Dimension Text Settings dialog box, you must first select the Dimension Text item (not the entire Dimension line).
Select Dimension Text
To select a Dimension text, do one of the following:
•Use the Quick Selection cursor
•Click on a corner of the text with the Checkmark with Arrow cursor

Note: To select a Fill Area text, make sure you have enabled Textbox handles at View > On-Screen View Options.
Open Dimension Text Settings
Select a dimension text (see above), then do one of the following:
•click the Text icon in the Info Box
•double-click the Dimension Tool icon in the Toolbox
•use the Ctrl+T shortcut
•click the Edit > Dimension Text Settings command. (This command is only available when a Dimension Text is selected.)
Only simple text items can be copied; superscripts will not be copied.
1.Select the dimension text only (not the dimension line itself)
2.Use the Copy command (Edit > Copy or Ctrl/Cmd + C)
3.Paste the dimension text (Edit > Paste or Ctrl/Cmd + V) - for example, to a text box or onto a Layout.
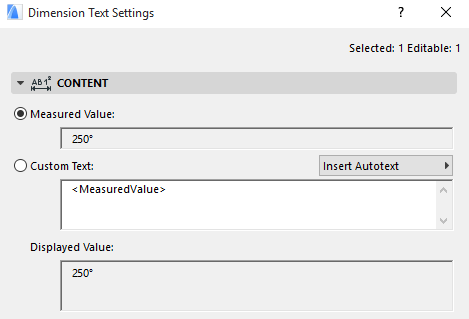
This field displays the measured value of the selected dimension.
The unit and accuracy of the dimension value can be set separately for each type of dimension value (e.g. length, angle, area) at Dimensions Preferences (Options > Project Preferences > Dimensions).
Choose this option if you want to add custom data to the dimension text. By default, the <MeasuredValue> Autotext item is displayed in the edit field as soon as you click the Custom Text radio button.
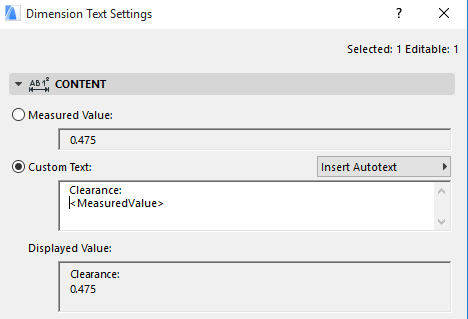
Note: For Level Dimensions, the <toPZValue> Autotext item is shown, representing “Project Zero” as the dimension origin.
In the Custom Text field, enter any custom text before and/or after the Autotext (or in place of it).
You can add multiple lines of custom text, separated by the Enter key.
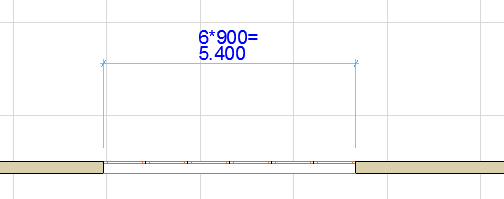
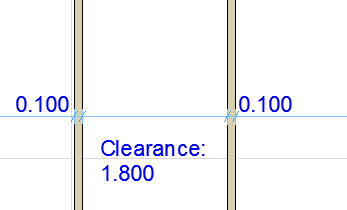
Such line breaks are shown in the Info Box with the Paragraph sign.

Regardless of any additional custom text that you may have added, the Autotext remains associative - that is, if you edit the dimension line, the Measured Value will be adjusted accordingly.
Insert Autotext as Dimension Text
From the pop-up field to the right, you can choose from additional Autotexts to add to the Dimension text field. The contents of this list depend on the type of dimension (e.g. Linear or Elevation dimension):
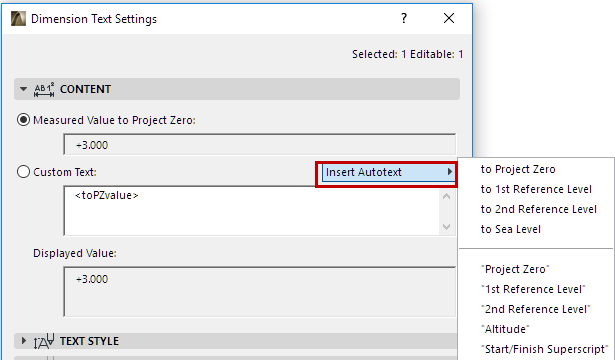
Autotext means that the Dimension text will display the current value of the chosen Autotext reference: for example, if you have defined a reference level called Sea Level, you can choose to Sea Level here as the Autotext, and Dimension Text will display the elevation dimension to that level.
If you choose a text in quotation marks (e.g. “1st Reference Level”), this text itself will be displayed, not its value.
Note: To define your project’s reference levels, use Options > Project Preferences > Reference Levels.
See Reference Levels Preferences.
Add Superscript to Dimension Text
Use the Start/Finish Superscript Autotext if you want the Custom text to include superscript text; click this option to insert a caret before the superscript text, and click it again (or insert a line break) to finish the superscript with a second caret.
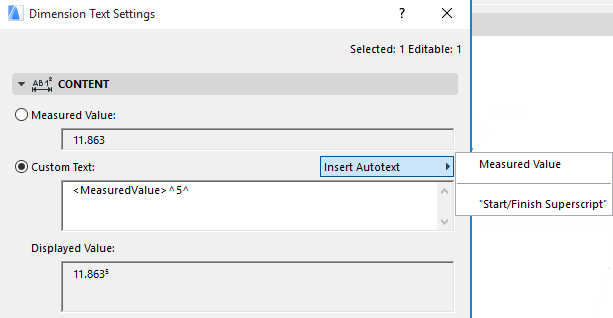
Note: If your dimension’s Measured Value already includes a superscript - because you are using Extra Accuracy defined in Options > Project Preferences > Dimensions - then add a space before inserting the Start Superscript caret. Otherwise, the caret itself will appear in the dimension text.
The Displayed Value field shows you what the dimension text will look like on screen.